|
|
|
Other progress on the Dodge's rebuild during January 2011. |
|
|
Restoration Part 37. Click here to return to the main Dodge lorry restoration page. Part of oldclassiccar.co.uk. Contact page. |
|
|
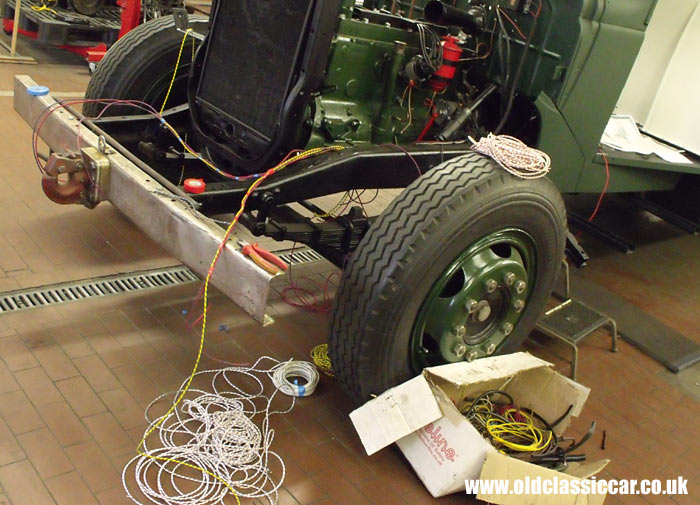
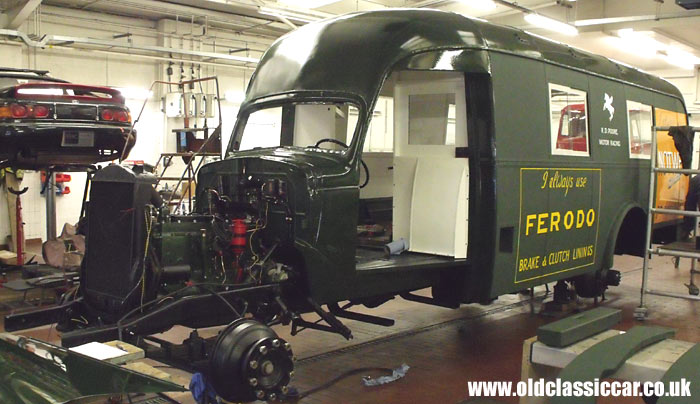
The update for January was split into two, this being Part two. Part One described the signwriting that was undertaken during four days early in the month. This page looks at the many other areas of the truck's restoration that also moved forward during this month. As well as a great deal of re-assembly, the other two major areas of progress in the rebuild were the re-wire from stem to stern, and the first running of the engine post-stripdown a couple of years earlier. It was a major relief to see the engine fire up after all this time. Touch wood all seems well in that department, although there are still a few issues with it starting on 6 volts (original) rather than 12 volts. The batteries, bought new a couple of years ago, need another looking at, as does the starter, to establish why it isn't keen on turning the motor over on 6 volts. |
| January was a great month for progress on the truck. Since committing to a show appearance at the end of February, all the stops have been pulled out to get the Dodge ready in time for its show debut. In addition to the signwriting, one big move forward was with the vehicle's wiring. The original wiring was in a terrible condition, so was one of the first things to head for the bin early on in the truck's stripdown phase in 2007. Virtually all the wiring used in the re-creation of the loom is proper, old-style braided cable, with soldered joints throughout. This stage continued on and off over a few weeks during January, fitting in with other work being undertaken on the truck at the time. |
|
| As in December, I spent most weekdays in January over at the workshop, helping out with whatever I could. Many loose parts were fettled and re-painted during this time, including the front inner wings shown below. A great deal of time was spent digging out suitable nuts, bolts and screws to re-attach the various loose parts. On the subject of fasteners, no Posidriv or Phillips screws were used anywhere, only slot headed screws as would have been used originally. |
|
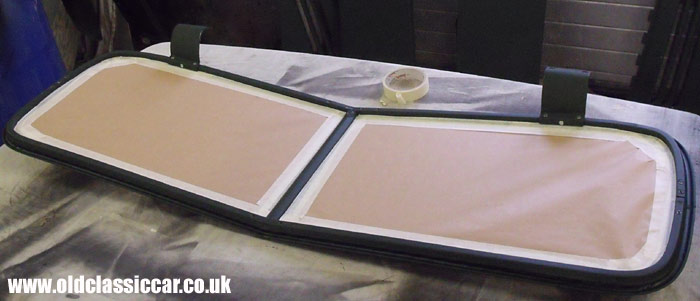
| The windscreen is shown here fitted together, and masked, ready for the final clear lacquer coat that would follow shortly. Once in its final clear coat, a new rubber was fitted and the whole assembly re-united with the truck once more. |
|
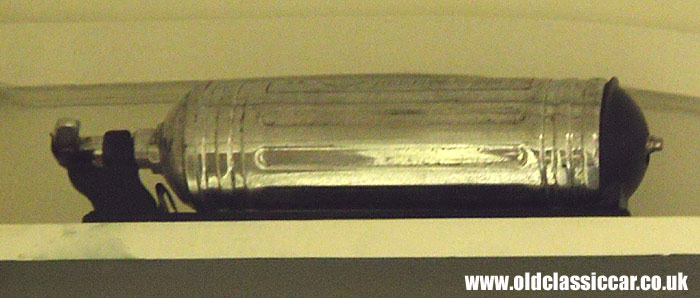
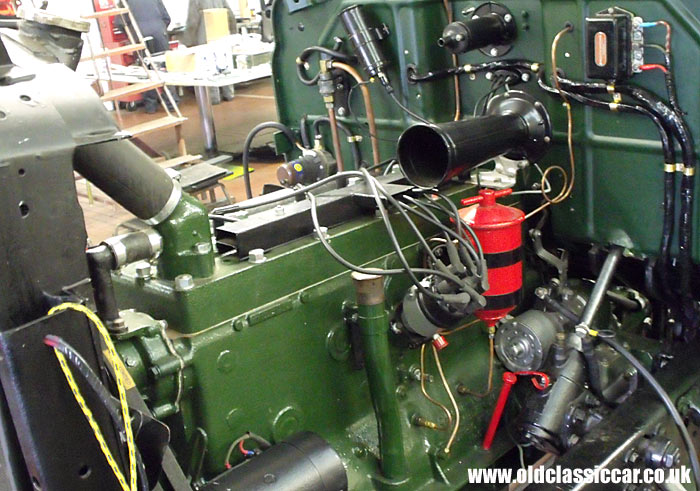
| The original Pyrene fire extinguisher bracket was re-furbished and screwed back in its original position, above the driver's door. The extinguisher itself is a period replacement, the one that had been fitted having long since disappeared. |
|
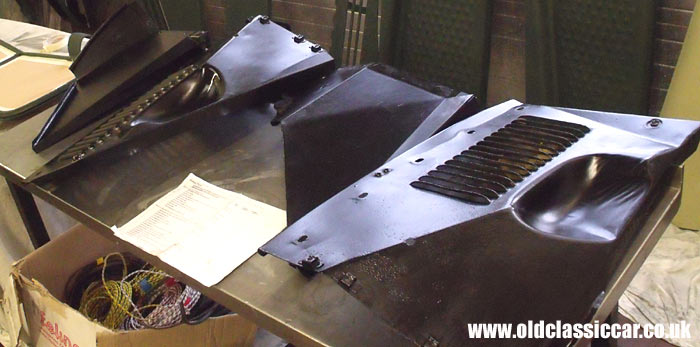
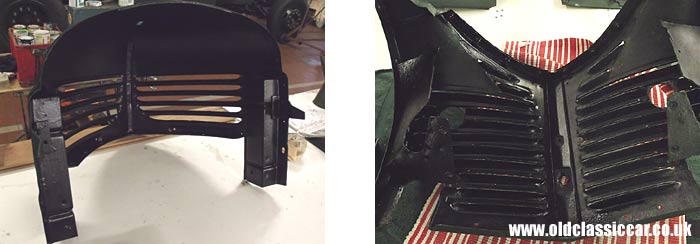
| One of the fiddliest things to repaint was the front end section, which comprises the two panels shown below. Rather than spray it, and risk any black paint making it onto the green upper side, this was done by hand with a tiny brush and took me the best part of two days :-) |
|
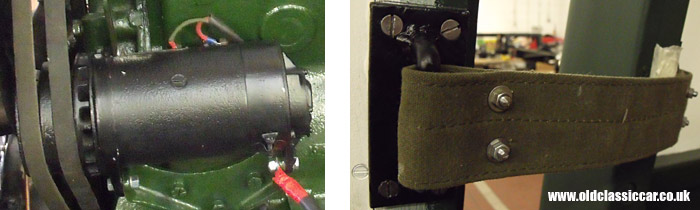
| During the re-wire, it became apparent that the dynamo wasn't putting out any charge so it was taken to a local specialist. He diagnosed dry soldered joints, so re-did them all, lubricated it, checked over the armature and brushes and returned it to us. It now puts out a healthy charge. Also shown, one of the two new rear door checkstraps, both of which were re-fitted in January. The screwheads were lined up later! |
|
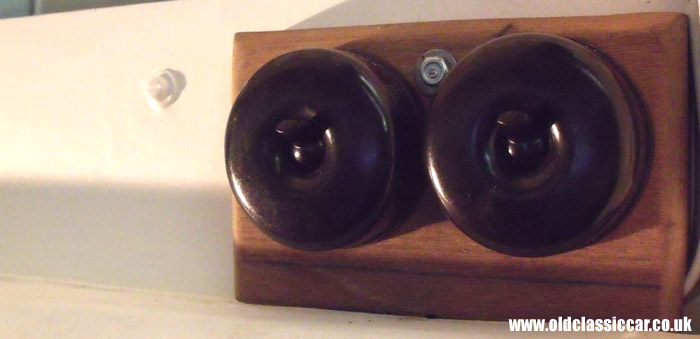
| Three old-stock interior lights have been fitted, two at the cab end, and one above the rear doors. Handily I just happened to have "in stock" a collection of old household light switches, in bakelite. Deeming these ideal for the job, the three best ones were dug out, checked, and fitted to the Dodge. They were mounted on wooden plinths, one of which is shown below during a test-fit. Both plinths were then sanded, stained, and given a wipe over with Danish Oil prior to being installed. |
|
| The 18th of January was a momentous day, in that it saw the first run of the engine following on from its extensive re-furb described in an earlier instalment. Due to the engine being quite tight, a 12 volt battery and coil were pressed into temporary service (on the starting circuits only). The first few attempts saw the engine cough a couple of times, and, following a tweak of the timing, it fired up after a couple of turns on the starter, and settled into a smooth, even tick-over. This was a big relief. The oil pressure held up well and there were no leaks or signs of boiling up. A second test-run of the motor saw the transmission being tested gently. This confirmed that the clutch, gears, prop and rear axle seem to be doing their job (all now greased and replenished with suitable lubricants as required), although there's no substitute for actually driving it and putting the transmission through some load. |
|
| The rear flooring had been re-laid sometime earlier, but only now was it treated to some "dark oak" oil-based wood dye, and a wipe over with the Danish oil also used on the interior light plinths. I'm really pleased with how it came out. |

|
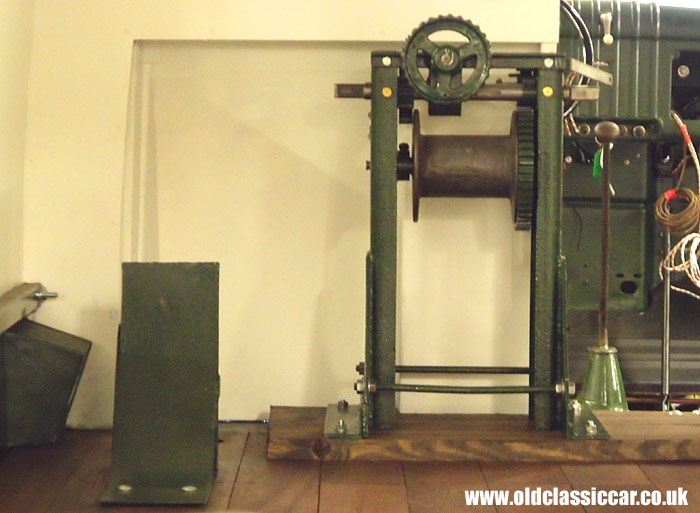
| Also in the rear section of the bodywork, the original wheel stops and winch were bolted back in, the latter on the original planking that came out of the truck in 2007 (it just needed planing at a local joiner and treating before re-use). The winch still needs replacement cable, but that can wait until later. Installing these items wasn't as straightforward as we'd hoped, as both fuel tanks had to be dropped down in order to tighten the nuts underneath the floor. The tanks were also dropped for a second time as a problem with the wiring on the fuel tank sender units was discovered, but only after the tanks had been re-fitted. Typical! The gear lever and handbrake lever, just visible in this photo, were re-painted a short time later too. |
|
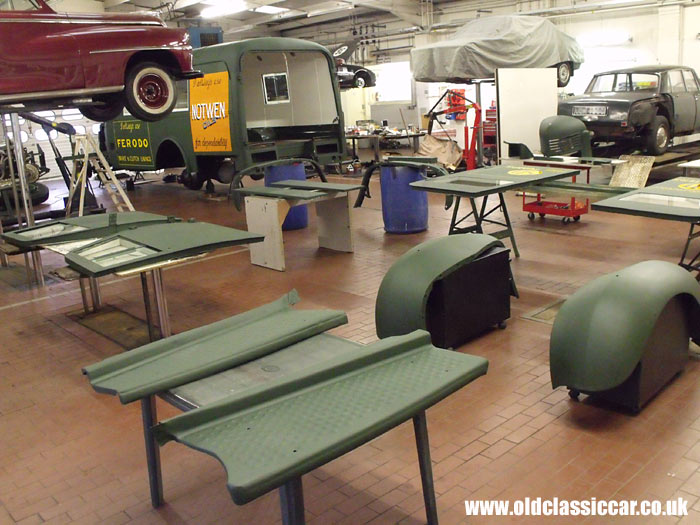
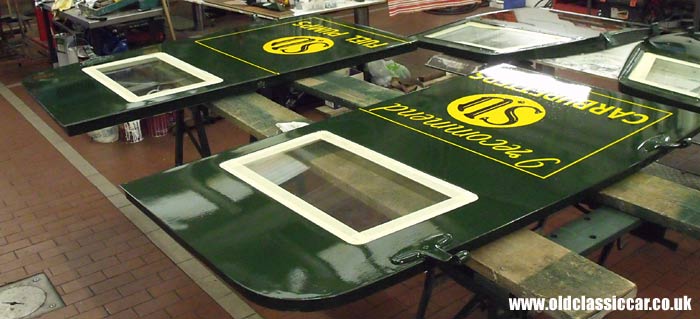
| The 26th January 2011 saw the next stage of the vehicle's paintwork undertaken, that of applying the clear lacquer over everything. Martyn, the signwriter, volunteered to take this task on. This could only take place though, once a suitable level of matting agent to use in the clear lacquer had been arrived at. Early tests on sample pieces proved quite tricky to accurately measure out. The aim was to achieve a final finish that looked neither very shiny, nor matt either, just a sheen typical of that found on many working lorries after the war and into the early 1950s. |
| Old photographs showed that the finish on the Dodge wasn't especially glossy either, so it was crucial to get the mix of lacquer : matting agent just right. In the end, an 80% mix of matting agent : lacquer was arrived at, anything less tended to leave a glossy finish on the test pieces. With this information to hand, VHC contacted HMG paints and put in an order for 10 litres of clear, mixed with 80% matting. Time was pressing as Martyn had other jobs lined up. Fortunately the batch arrived at 11am on Wednesday morning, so he set to work. The photo below shows the loose panels all laid out, ready for painting. |
|
| By early afternoon, the roof had been completed and is shown here wet, not yet representative of how the truck would end up looking. |
|
| The signwritten sides of the lorry were next to be painted with the clear lacquer. |

|
| Both rear doors sat on trestles and left to dry. Other activities in the workshop were suspended for the day, to minimise the risk of dust landing on the wet panels. |
|
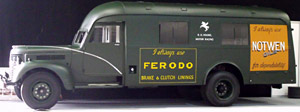
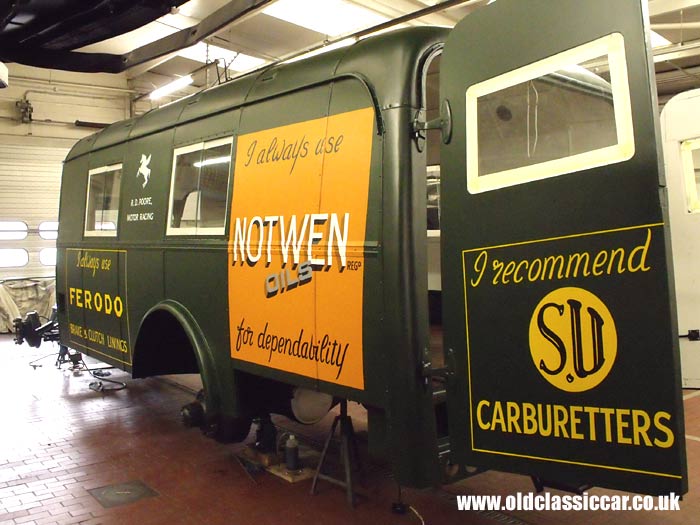
| As there was nothing for me to do, I went home and returned on Thursday - with some trepidation - to see how the final finish had come out. Would it be too shiny? or too dull? The final clear coat has had two effects on the paintwork - the main green areas have darkened down, while the shiny signwritten panels have toned down a little in sympathy, leaving the vehicle with an overall sheen, rather than a shine, which we reckon hits the spot pretty well. Too shiny and it'd have probably looked over-restored, perhaps akin to a fairground lorry, while leaving it too matt may just have looked a little too "military". Something inbetween was therefore required, the "oily rag" look. These photographs were taken under the workshop lights, rather than in daylight, but give a good indication of how the truck now looks. |
|
| And now for the offside. We've been recommended to give the bodywork a polish with carnauba wax after a few weeks have passed. How much this will alter the finish, if at all, I don't know, but anything that further protects the paintwork can't be a bad thing. We opted for brush painting this final coat, as some very light brushmarks in the final paint finish seemed appropriate for a 70+ year old truck. The masking tape still stuck to the windows in these shots was removed soon afterwards. |
| The truck will not be, and was never intended to be, a concours contender, and finding the right balance when it came to the final "look" of this old girl has led to many sleepless nights. I think we've got it just about right - smart, without looking like it was built yesterday. |

|
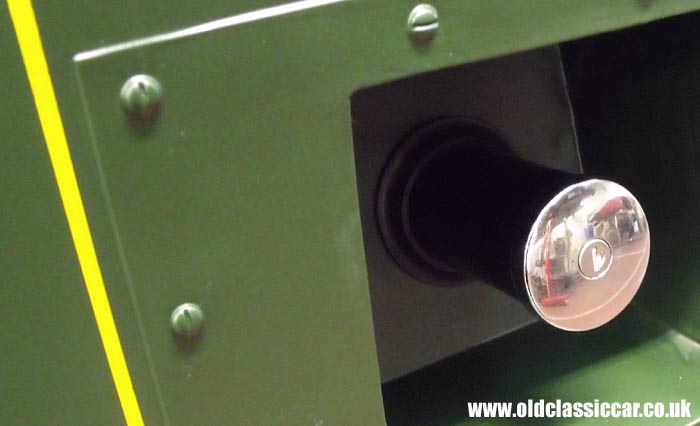
| After a couple of days waiting for the lacquer to dry, progress on fitting things back onto the truck could re-commence, albeit with great care. This next shot shows one of the two fuel filler necks in place. The locking caps were bought new from the USA, with both filler necks hailing from another area in the States. At least the rubber grommets were sourced in the UK! |
|
| The scuttle vent flap was re-united with the Dodge late in January too, as was the new-old-stock steering wheel, the latter being an item that turned up in Australia two or three years ago. Someone had hacksawed the original wheel, along with the top end of the column, from the truck prior to me collecting it in 1995. The opening mechanism for the windscreen can also be seen. |

|
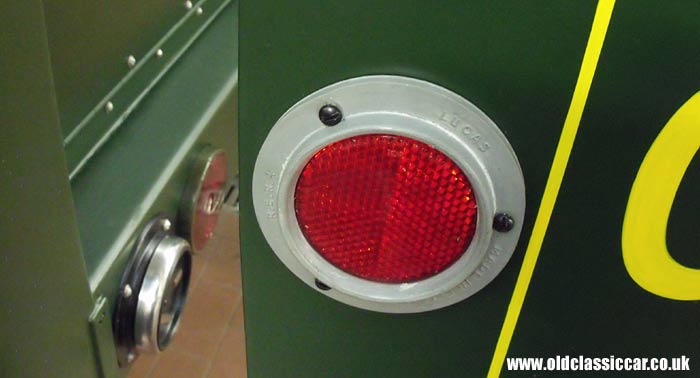
| I'd sourced a variety of replacement circular reflectors to fit onto the rear doors, mirroring the originals that were too tatty to re-use. In the end I plumped for these unused Lucas items, very similar to the originals but cased in rubber rather than steel. One less thing to rust! Also visible, the period directional turn signals and ex-military stop/tail light units (both "finds" on US ebay) now fitted in the rear panel. |
|
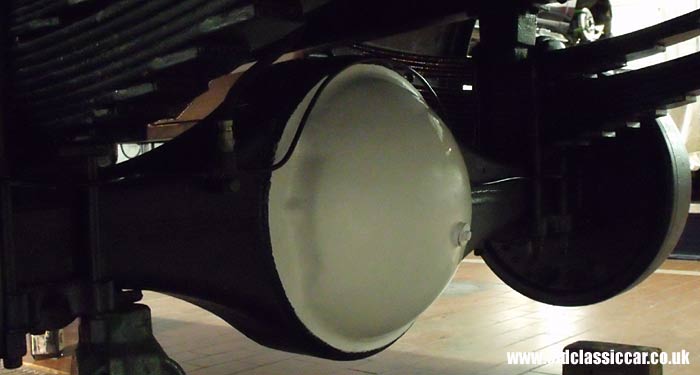
| As mentioned in an earlier instalment, when the back axle was de-greased, some of the original white paint on the centre of the diff housing was uncovered. This would have been applied during the truck's earlier incarnation as an RAF crewbus during WW2, so it seemed sensible to re-instate this link with its earlier history. The entire underside also received an extra coat of satin black chassis paint at this time. |
|
| It was decided that the road wheels should receive an extra coat of paint, replicating the process used on the main vehicle - ie a coat of Westminster Green matt (again from HMG), followed by a coat of the 80% matted clear lacquer. |

|
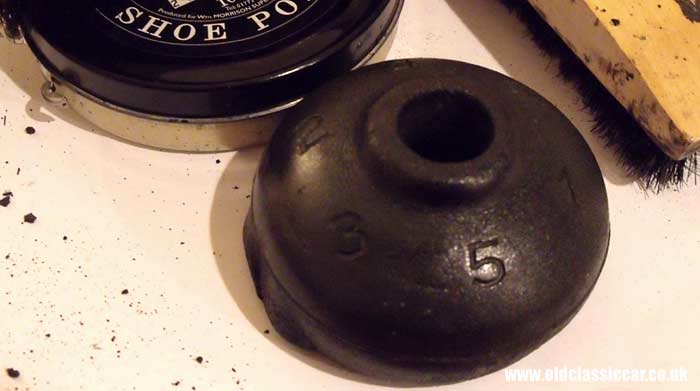
| A few odd jobs could be brought home to do, one of which was tidying up the rubber fixture at the base of the gearlever. Only the large Dodges of 1940/41 had five-speed gearboxes, lighter trucks making do with a four-speeder. Therefore finding a replacement was never going to be an option. Fortunately the original cleaned up quite nicely, the final stage being an application of black boot polish. First is off over to the right, below Reverse. |
|
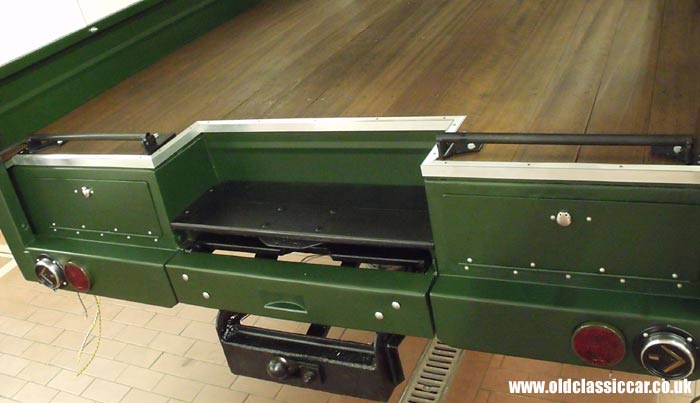
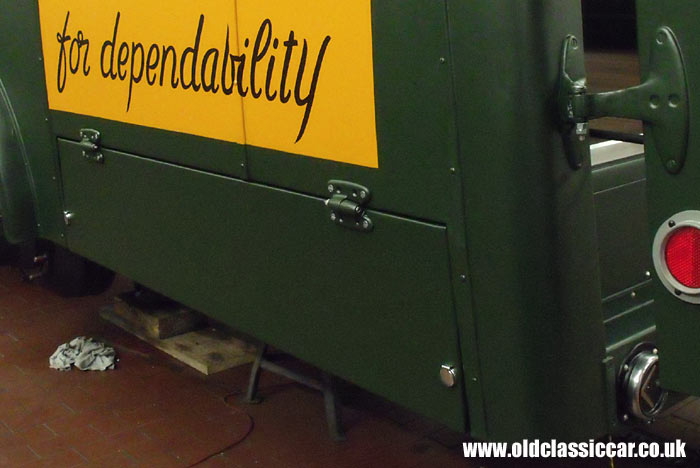
| Back to the main truck now. With the rear flooring treated, one of the VHC team set to work creating a suitable capping using aluminium section bought online. This really finishes off the flooring a treat I reckon. By this time, budget locks had been fitted to both locker doors either side of the step. All that remained was to carefully touch in the bolt heads with green and clear coats. The brackets for the (long since gone) ramps are also shown back in their correct locations. |
|
| Still working at the back end of the truck, it was time to re-fit the outer rear side locker doors, also fitted with budget locks that require the use of a 'T' handle to open them. Seeing them back in place made a big difference to the overall look and shape of the rear bodywork. |
|
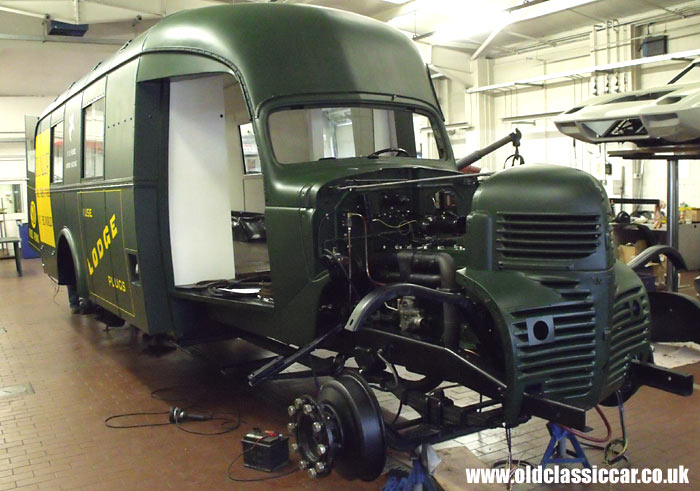
| By this stage, most of the back end had been re-fitted so attentions turned to the front once again. With the engine now having run a few times, the time had come to start looking at re-fitting the hefty front end panelwork. The end of January saw the nose section back in place, still only loosely in position at this stage so that it could be adjusted to suit the bonnet. The remainder of the panels (wings, inner wings, bonnet) were re-fitted in February, and will appear in next month's instalment. |
|
|
Return to the Dodge lorry restoration page for more info on this rebuild. Previous Page: Part 36 - Signwriting. Next Page: Part 38 - Front panels are re-fitted. |
|
|

Custom Search
|
 |
| Old Classic Car (C) R. Jones 2026. Content not to be reproduced elsewhere. |
| Website by ableweb. |
| Privacy Policy, Cookies & Disclaimers |