
Classic cars forum & vehicle restoration.
|
|
| Author |
Message |
Ray White

Joined: 02 Dec 2014
Posts: 6312
Location: Derby
|
 Posted: Wed May 23, 2018 10:36 pm Post subject: What could possibly go wrong?? Posted: Wed May 23, 2018 10:36 pm Post subject: What could possibly go wrong?? |
 |
|
Hello all. I am presently attempting the restoration of the near side front wing of my 1930 Austin Swallow saloon. Previous attempts at patching up a combination of rust bubbling and paint reaction over the years have finally come to an end. I have removed the wing from the car and stripped it back to bare metal. There is no going back now!!
A previous owner had clad the entire surface in filler over a red oxide primer. This, I believe, had been done for two reasons. 1) to give the panel strength and shape and 2) to disguise the various patches which had been welded in.
As expected, there were areas of good metal but patches of rust under the filler. Fortunately, I have not encountered any holes. I have a plan but I thought it would be of interest to others to see what they think.
First I will treat the bare metal with phosphoric or tannic acid to kill any active rust and stabilise the metal. I have used Fertan before with good results and I have some to hand so will probably use that. Once the acid has had time to penetrate the rust pitting and done it's job I will thoroughly rinse it off and allow to dry - (perhaps using a hot air gun to speed things up).
I can then paint the surface with red oxide high build primer. I prefer the quick drying zinc phosphate by Arc Rite.
Over this I plan on applying Upol body filler to disguise the uneven welds and even out sharp edges etc. This part of the process is the most tricky in my view. I hope I will be able to make as nice a job as the first time it was done. I don't however think I need to use quite as much material as I would hope a fibreglass skin to the underside will give the panel the much needed strengthening.
One question. Would it be a good idea to apply a coat of 'barcoat' to the zinc phosphate (red oxide) so as to prevent a reaction with the cellulose primer?
Once the flatting is finished I can apply a number of coats of plain high build cellulose grey primer with flatting down between to get a good surface for the colour coats - again in cellulose applied fairly quickly afterwards. I am using cellulose primer (as opposed to epoxy) so as to avoid any possible reaction with the top coats.
It is my intention to keep with dry sanding to avoid giving the cellulose any opportunity to absorb moisture.
Obviously I am just a DIY mechanic having a go at bodywork at home but I have been having fun with old cars now for over 45 years so I just do the best I can. |
|
| Back to top |
|
 |
Bitumen Boy
Joined: 26 Jan 2012
Posts: 1735
Location: Above the snow line in old Monmouthshire
|
| Posted: Thu May 24, 2018 7:21 am Post subject: |
|
|
Sounds like a good plan to me, Ray, but a note of caution on the acid front. Most acid based rust treatments fail because people - including the manufacturers - seem to think that the rust is "converted", dead and gone, once it has turned black. In my experience, however, acid treatment only works once all the rust has completely dissolved and you're looking at bright shiny steel, so you need to keep at it.
Also, you definitely need to use bar coat between the zinc phosphate and the cellulose primer. It may not be necessary but for myself I'd give the shaped filler another coat or two of zinc phosphate before applying the bar coat. I've done this several times on different cars using an oil based zinc phosphate (and even some stuff I suspect may have been old stock red lead, picked up at the farm suppliers) and can vouch for its effectiveness, but it's essential to completely remove the rust first |
|
| Back to top |
|
|
Rootes75
Joined: 30 Apr 2013
Posts: 3814
Location: The Somerset Levels
|
| Posted: Thu May 24, 2018 10:15 am Post subject: |
|
|
Good plan by the sounds of it.
I prefer dry sanding to be honest but I have used wet before aswel with the same results.
_________________
Various Rootes Vehicles. |
|
| Back to top |
|
|
ukdave2002
Joined: 23 Nov 2007
Posts: 4104
Location: South Cheshire
|
| Posted: Thu May 24, 2018 11:22 am Post subject: |
|
|
Hi Ray
Firstly use phosphoric acid; its what the professionals use, get the 45% concentrate. You can buy 5L for around £20 either from a body shop or on Ebay, I coated every part of the steel body with it prior to painting and had more than half of the 5L left. Even what looks like clean steel should be treated.
After 20 mins the phosphoric acid should be cleaned off with water and then "panel wipe" not thinners! and the panel primed immediately. There is absolutely no need for a bar coat, bar coats are to prevent reactions between different paints.
Next stage is to fill, the Upol products are great "Easy 2" is what I use, invest a couple of quid in an onion board for mixing, buy load of spreaders, 50 of them will be less than£10, treat them as consumable, as they tend to loose the clean edge quickly and wont apply the filler flatly, so you end up using more filler and paper.Mentioning paper use a good brand like 3M or Mirka, the cheap stuff tends to clog up very quickly.
When flattening the filler always use a block , never use the flat of you hand, if sanding a double curvature panel, sand at 45 degrees to the line of the panel in both directions, this will avoid flattening the crown of the curve. If filling a curved shape flex the spreader to the shape to minimise flattening.
After fattening apply a guide coat or I use the guide dust; flatten out any high spots and refill any lows, the repeat the process.
Now prime, whilst cellulose primer might be original, it certainly not the best, I use 2K paints, but they are nasty stuff and require addition equipment, a better option in a home workshop is epoxy primer,(epoxy primer is fine with cellulose) as this will not absorb moisture, thus not so critical that the panel painted straight away. Again use a guide coat to check for highs and lows. Solvent clean at each stage and use a tack rag every time prior to painting; primer or top coats.
When you are happy that the primer is nice and flat remembering that primer will make things look much better to the naked eye than they are! many of us have applied the top coat to good looking primer only then to spot all the highs, lows, paper scratches etc.
Are you using a gun or rattle cans for the paint?
Dave
Last edited by ukdave2002 on Thu May 24, 2018 11:29 am; edited 1 time in total |
|
| Back to top |
|
|
Ray White
Joined: 02 Dec 2014
Posts: 6312
Location: Derby
|
| Posted: Thu May 24, 2018 11:26 am Post subject: |
|
|
The advice about getting all the rust off first is well heeded and I am glad I asked about using 'Barcoat'. Part of the fun in all this is getting advice from people who have deeper knowledge than I have. Having said that, I took the wing to a local body shop and the guy politely told me where to go. The shop was not prepared to take on something where the desired outcome could not be guaranteed. In a way I can understand that; the body shop in question would not even countenance a "smart repair" on my modern because they couldn't be sure of the paint match.
I do know one firm - an established coachworks in Derby who would take on any traditional work but the cost for just this little Austin 7 wing would be horrendous. They once quoted £3k just to straighten out and paint a rear wing on my '26 Dodge Brothers tourer - but that was covered by insurance. As it happens, when they did do the Dodge repair they encountered previous repairs and ended up re creating the rolled edge to the wing which was missing and had been recreated in filler. Bodywork repair is a skill and I appreciate that. |
|
| Back to top |
|
|
ukdave2002
Joined: 23 Nov 2007
Posts: 4104
Location: South Cheshire
|
| Posted: Thu May 24, 2018 11:51 am Post subject: |
|
|
In some occasions Barcoat is a necessary evil, but you certainly won't require it. The biggest challenge I find is dust in the paint; as amateurs we normally have to use the same building for stripping engines, sanding and painting, you can take precipitations to keep it clean however it can never be the clean environment that a professional painting booth is!
If you can rig up a booth with some sheeting it helps to keep dust out but make sure you have got plenty of light, also its far easier to paint panels that are at body height.
The link below should give you some pointers for prep and paint:
http://www.oldclassiccar.co.uk/forum/phpbb/phpBB2/viewtopic.php?t=6134&postdays=0&postorder=asc&start=0 |
|
| Back to top |
|
|
Ray White
Joined: 02 Dec 2014
Posts: 6312
Location: Derby
|
| Posted: Thu May 24, 2018 2:20 pm Post subject: |
|
|
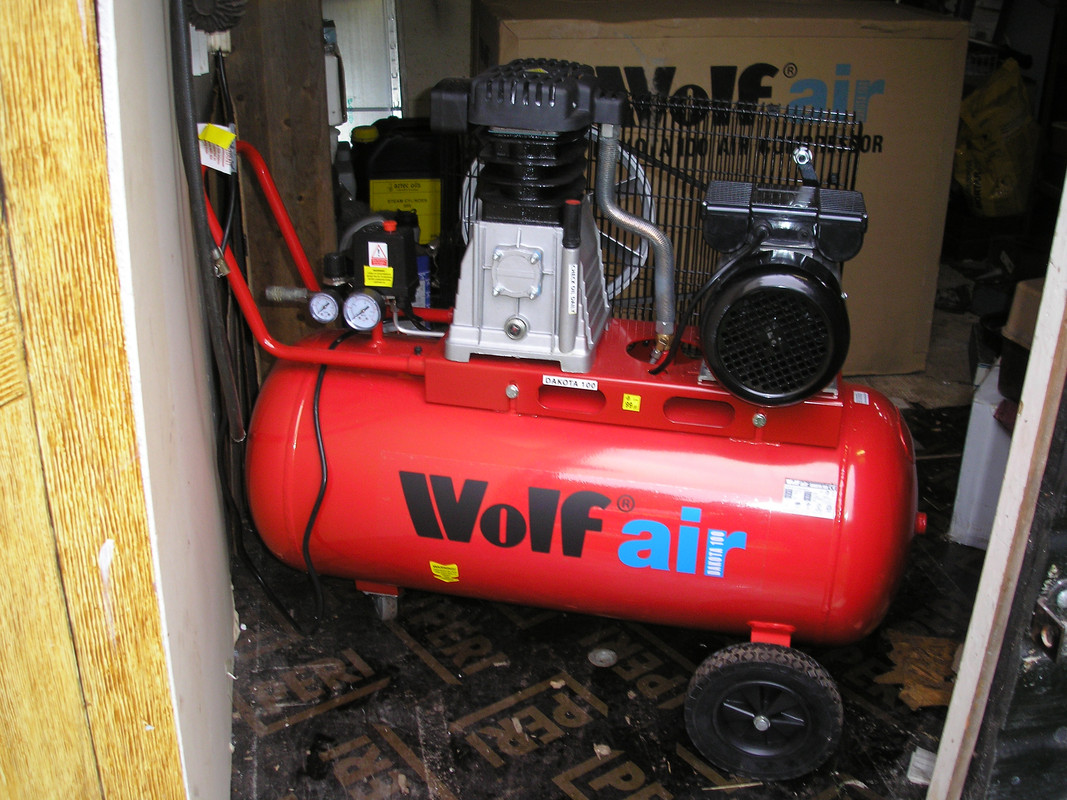
This is my compressor. After years of spraying with poor quality equipment I decided to get something decent.
 |
|
| Back to top |
|
|
|
|
You cannot post new topics in this forum
You cannot reply to topics in this forum
You cannot edit your posts in this forum
You cannot delete your posts in this forum
You cannot vote in polls in this forum
|
php BB powered © php BB Grp.
|


