|
|
| Author |
Message |
spacealbum
Joined: 06 Aug 2012
Posts: 9
|
 Posted: Wed Oct 17, 2012 8:17 pm Post subject: Devon restoration and engine date Posted: Wed Oct 17, 2012 8:17 pm Post subject: Devon restoration and engine date |
 |
|
Hello everyone. I wanted to say thank you for this highly informative thread that I followed for some time now. The wonderful pictures encouraged me to tackle many projects that I would have probably not dared to without looking at that first!
I also want to give some input on the question of engine dates. My engine has the number 1G585117 and cast date of 7.3.51. Since this fits nicely with your combination I really would assume that this is a date stamp on the block
Dirk |
|
| Back to top |
|
 |
Rick
Site Admin

Joined: 27 Apr 2005
Posts: 22439
Location: UK
|
| Posted: Wed Oct 17, 2012 8:37 pm Post subject: Re: Devon restoration and engine date |
|
|
| spacealbum wrote: | Hello everyone. I wanted to say thank you for this highly informative thread that I followed for some time now. The wonderful pictures encouraged me to tackle many projects that I would have probably not dared to without looking at that first!
I also want to give some input on the question of engine dates. My engine has the number 1G585117 and cast date of 7.3.51. Since this fits nicely with your combination I really would assume that this is a date stamp on the block
Dirk |
Welcome to the forum Dirk! It'd be interesting to read about what you're working on sometime 
RJ
_________________
Rick - Admin
Home:https://www.oldclassiccar.co.uk
Videos:https://www.youtube.com/user/oldclassiccarRJ/videos
OCC & classic car merchandise (Austin, Ford ++):
https://www.redbubble.com/people/OldClassicCar/shop |
|
| Back to top |
|
|
JohnAllen
Joined: 09 Oct 2012
Posts: 10
|
| Posted: Wed Oct 24, 2012 11:08 am Post subject: Re: PS |
|
|
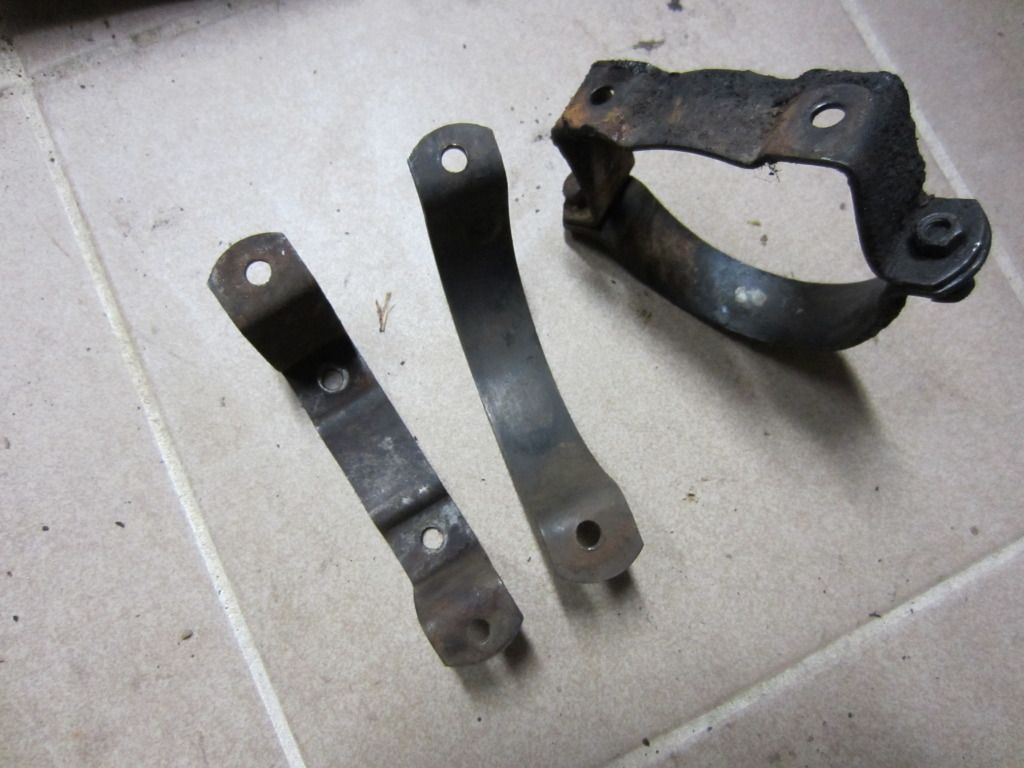
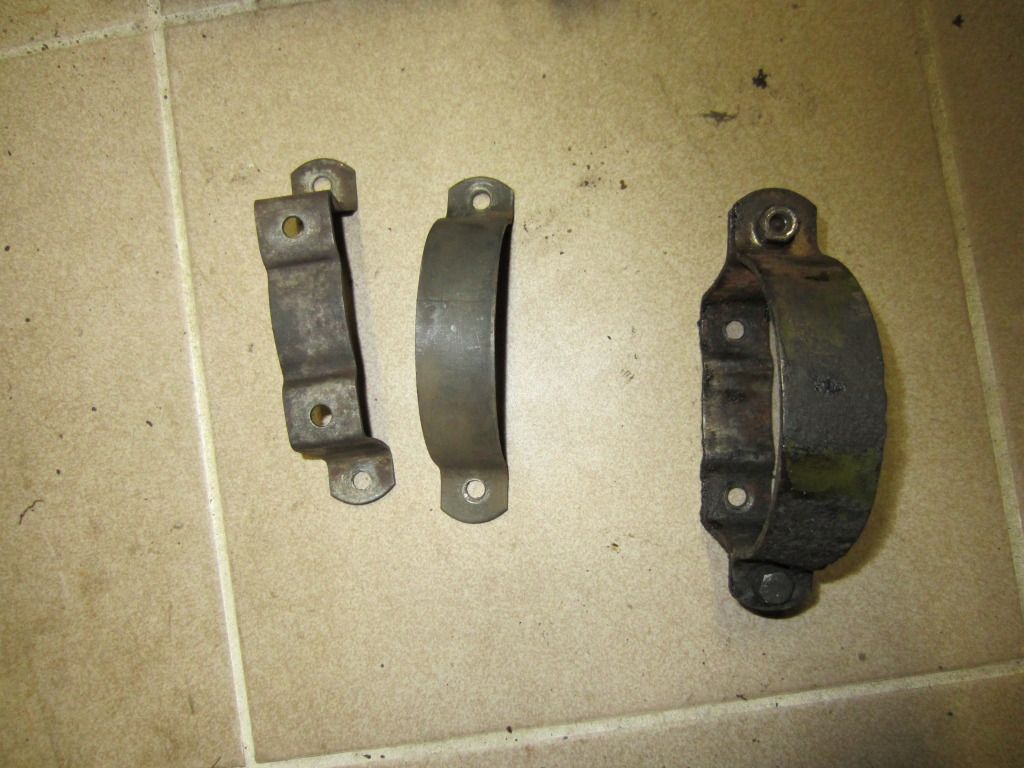
| British heritage cars wrote: | PS: I've found a very good trick to derust parts!
This is wat I do:

You should see small bubbles coming from the metal that is derusting
But never cover the bucket!
Never let the metal parts have contact in the water!
First put everything is place, then switch on the batterycharger!
And Don't put a flame in the water...
...The small bubbles are hydrogen...
... and we all know what happend to the "Hindenburg'' zeplin. 
Here are some results:
Kind regards,
Jonathan |
How long does this method take?
_________________
Regards John
To keep up to date with my project please visit...
www.johnhallen.co.uk/a40 |
|
| Back to top |
|
|
Penman
Joined: 23 Nov 2007
Posts: 4755
Location: Swindon, Wilts.
|
| Posted: Thu Oct 25, 2012 12:08 am Post subject: |
|
|
Hi
Don't use a metal bucket.
_________________
Bristols should always come in pairs.
Any 2 from:-
Straight 6
V8 V10 |
|
| Back to top |
|
|
gresham flyer

Joined: 06 Sep 2008
Posts: 1435
|
| Posted: Thu Oct 25, 2012 12:39 am Post subject: |
|
|
I have a friend who runs a local business building show engines,they have a large bead blasting cabinet.
I take everything to him for blasting,doors,bonnets,bumpers,brackets,etc etc,in fact anything made of metal.
Make sure it is primed very quickly or it will start rusting again.
Gresham Flyer. |
|
| Back to top |
|
|
bandolo
Joined: 02 Jan 2013
Posts: 2
|
| Posted: Wed Jan 02, 2013 11:06 pm Post subject: knobs position in Austin Devon |
|
|
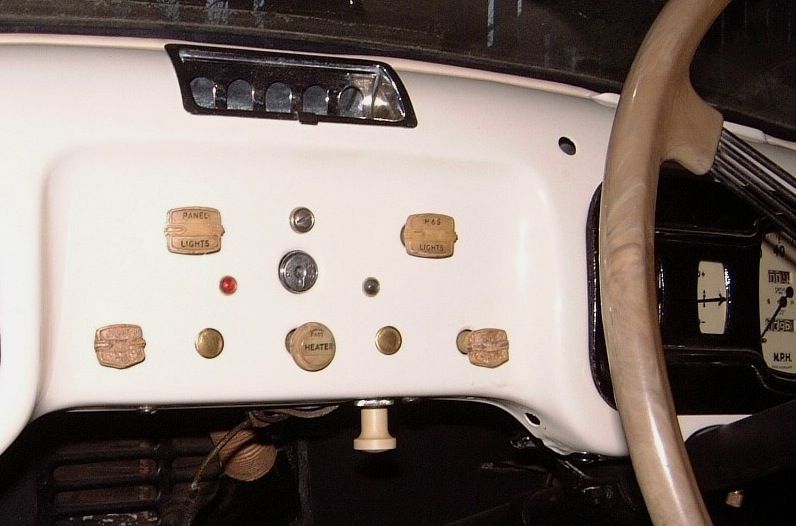
| Hi, guys. I will begin a complete restoration in an Austin Devon 1950, this year. Nowadays I am driving another Austin Devon, 1949, in a Street Rod version (it was from my grandfather), but both vehicles are with knobs in the dashboard in wrong position. Do you have a picture with the correct appearance of the Devon panel ? Thanks a lot for your attention, and have a great new year ! Greetings from Brazil, South America. |
|
| Back to top |
|
|
spacealbum
Joined: 06 Aug 2012
Posts: 9
|
| Posted: Sat Jan 12, 2013 12:02 am Post subject: knobs position in Austin Devon |
|
|
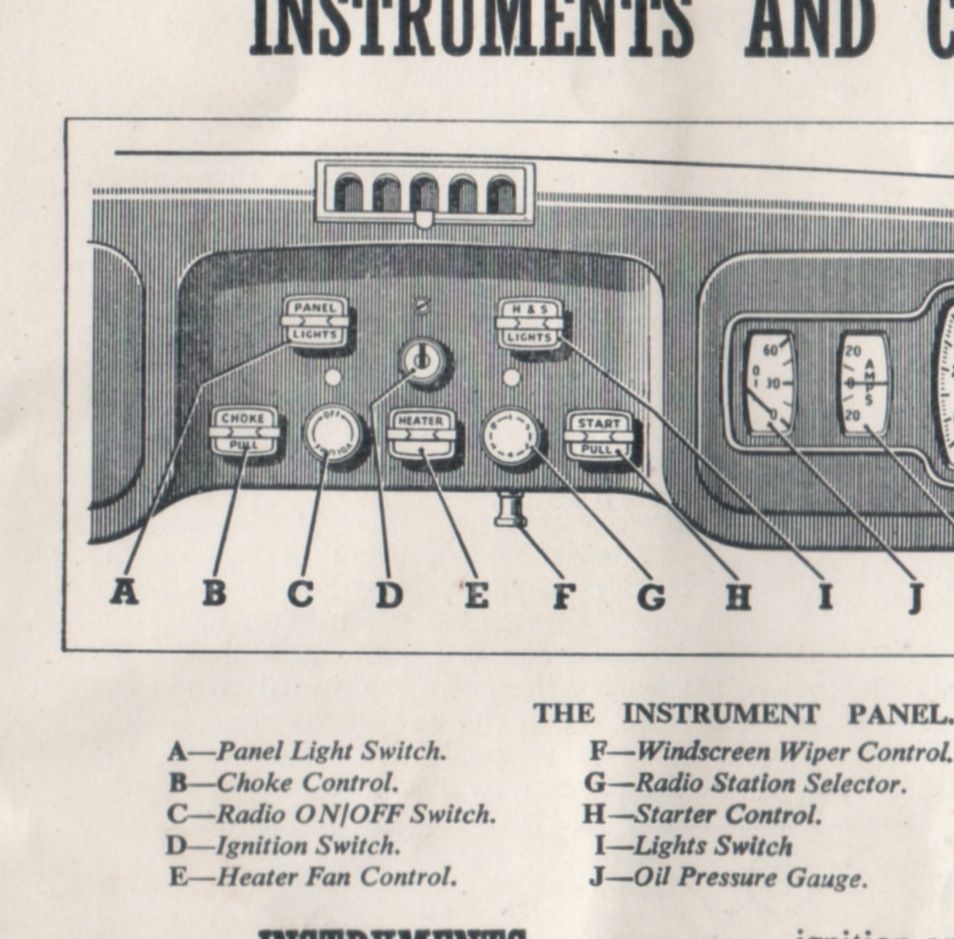
Here you go: in case the puictures will not show up:
top row, left to right: fascia/instrument panes lights - driving lights (this is a two position switch
bottom row, left to right: choke pull - blank (or radio on/off) - heater (on some cars this is a simple on/off switch on others a rheostat) - blank (or radio station selector) - starter pull
Dirk |
|
| Back to top |
|
|
bandolo
Joined: 02 Jan 2013
Posts: 2
|
| Posted: Sat Jan 12, 2013 1:09 am Post subject: knobs position in Austin Devon |
|
|
Wow ... Thanks for your attention !
Cheers ...and have a nice 2013 ! !
Flavio Fernandes, from Brazil. |
|
| Back to top |
|
|
British heritage cars
Joined: 10 Nov 2010
Posts: 202
|
| Posted: Tue Jul 30, 2013 11:09 pm Post subject: |
|
|
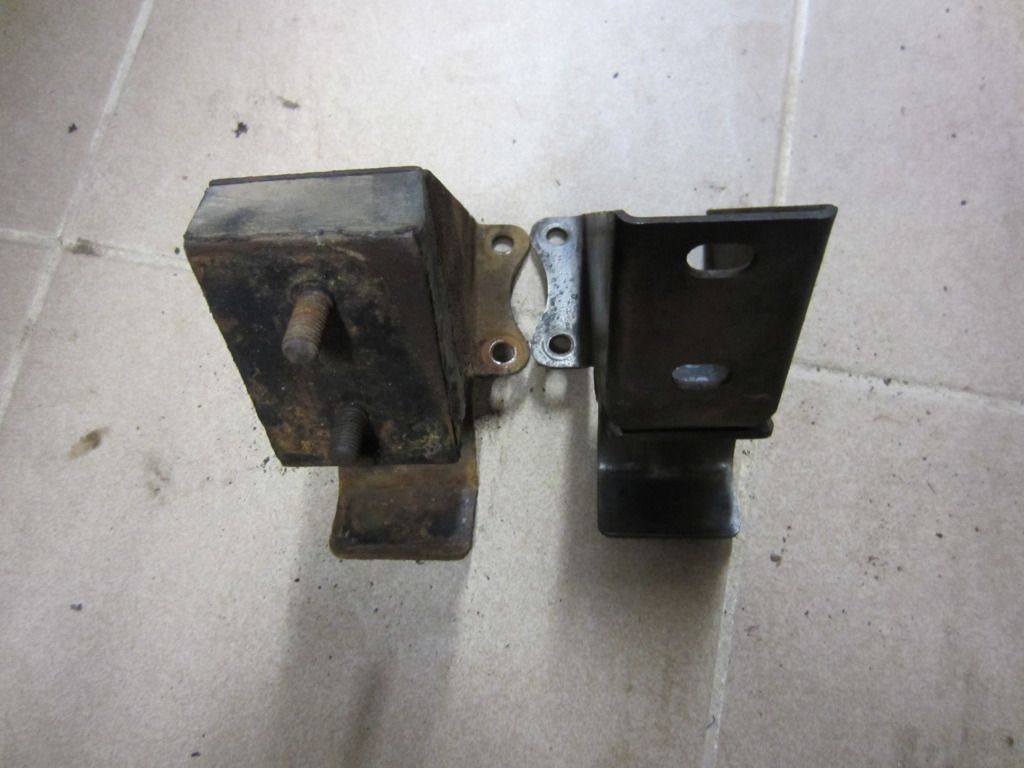
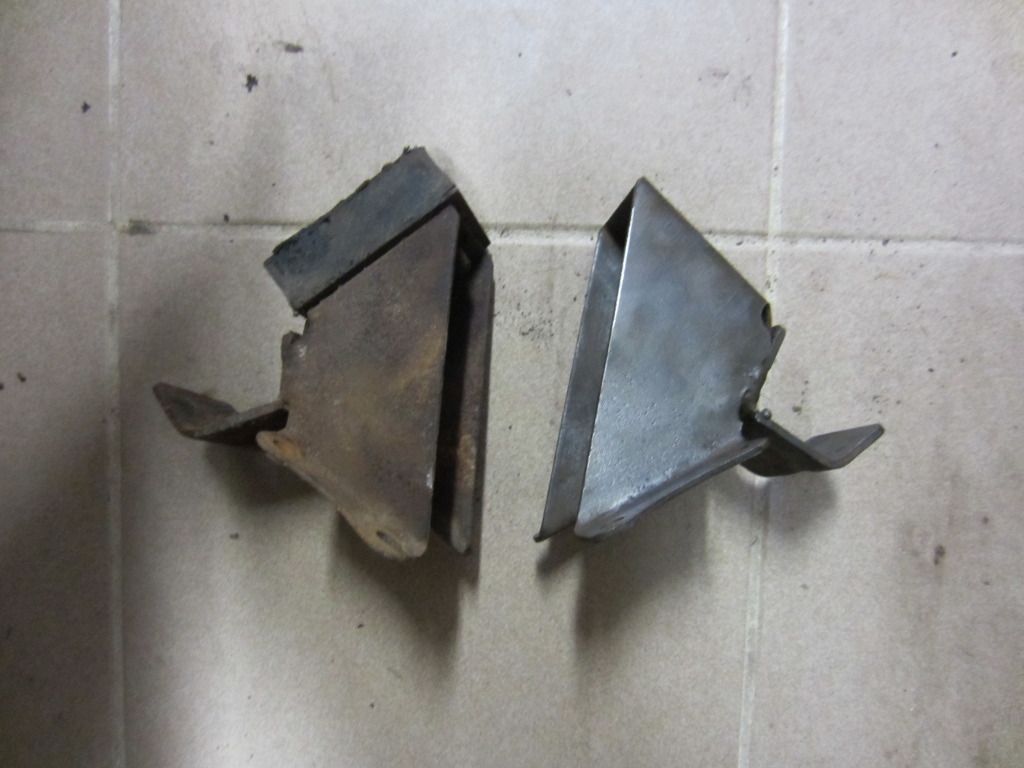
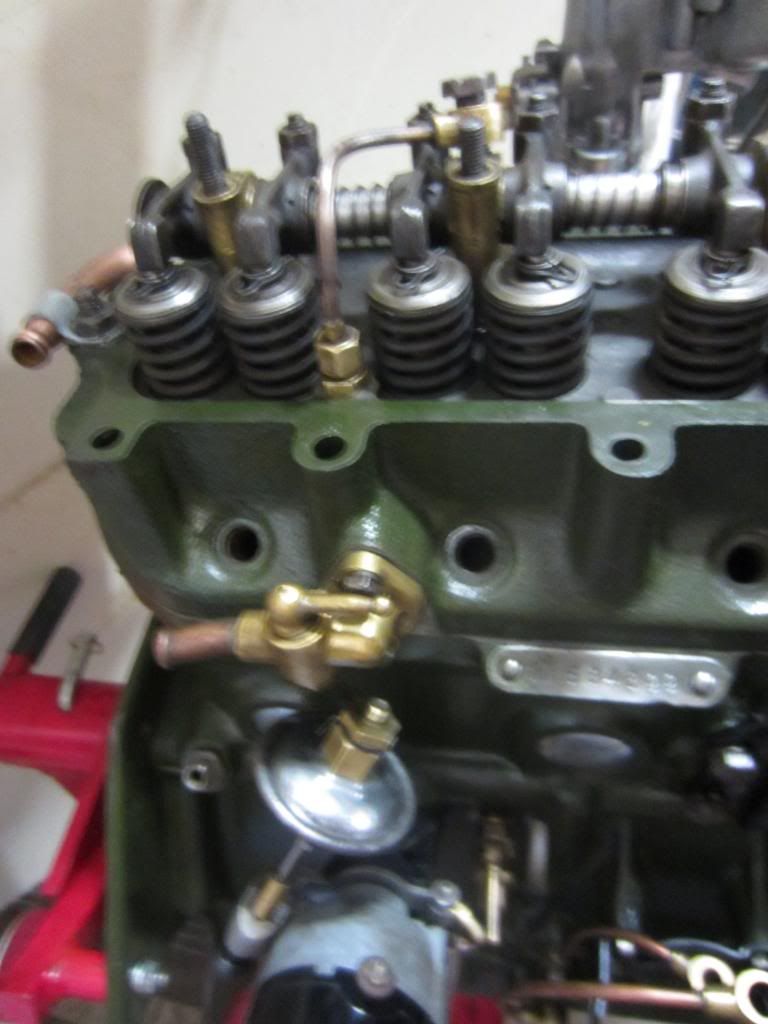
After doing some other work on differant cars I worked on the Austin Devon engine last few days..
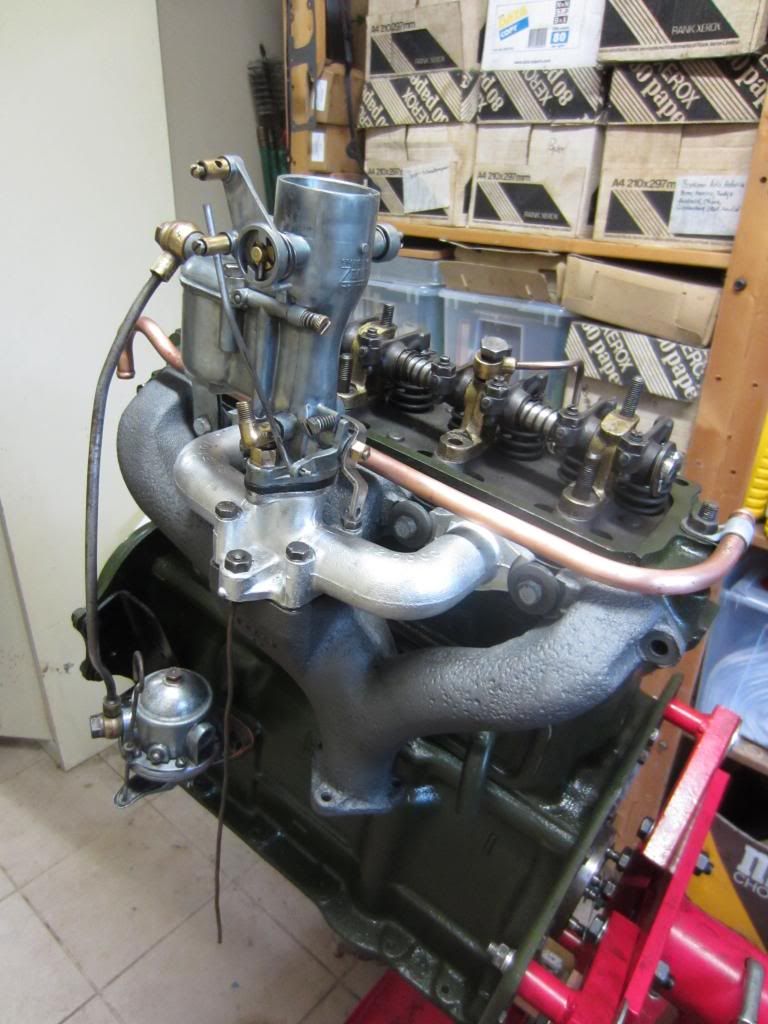
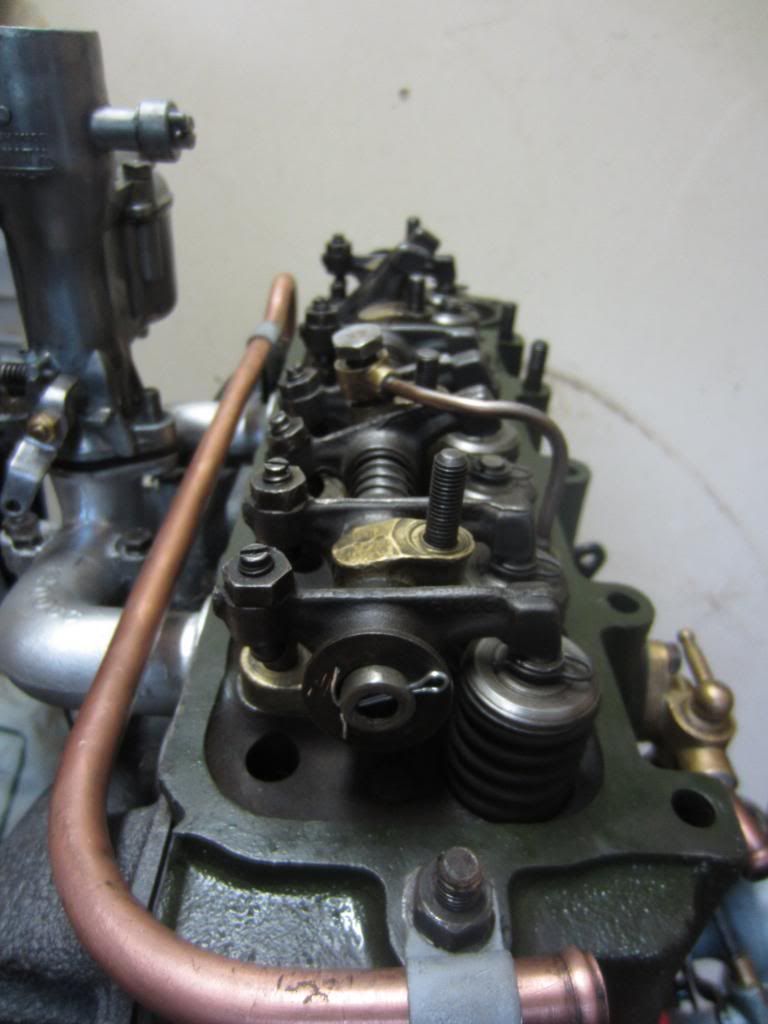
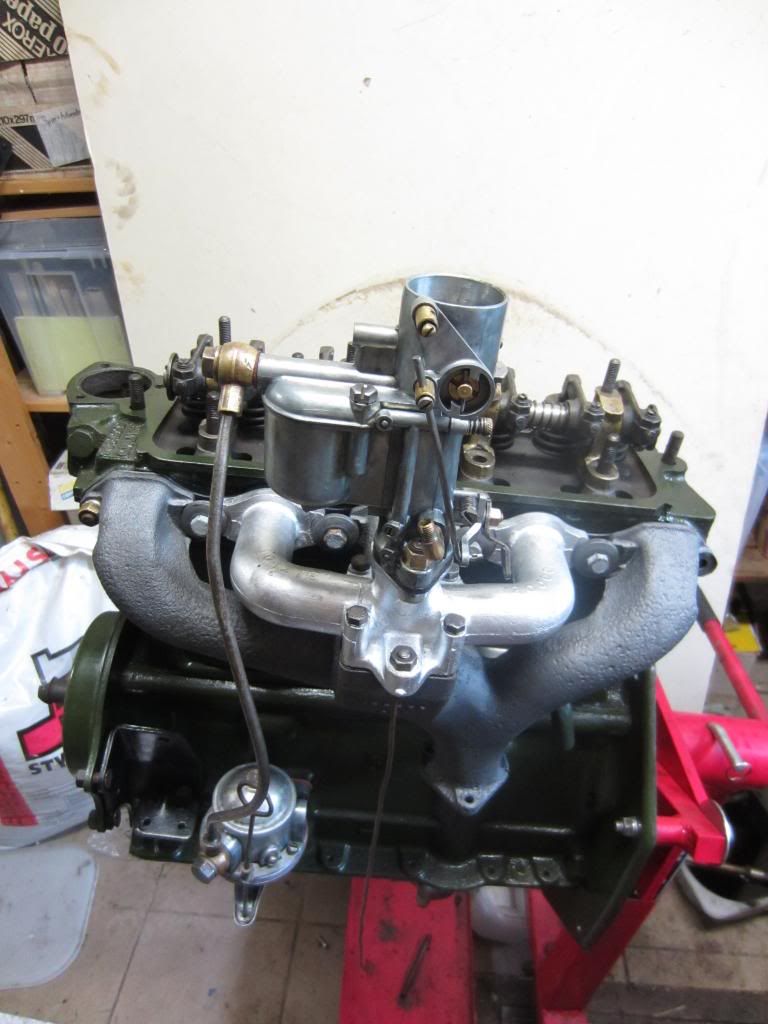
Today I test fitted everything...
it went from this
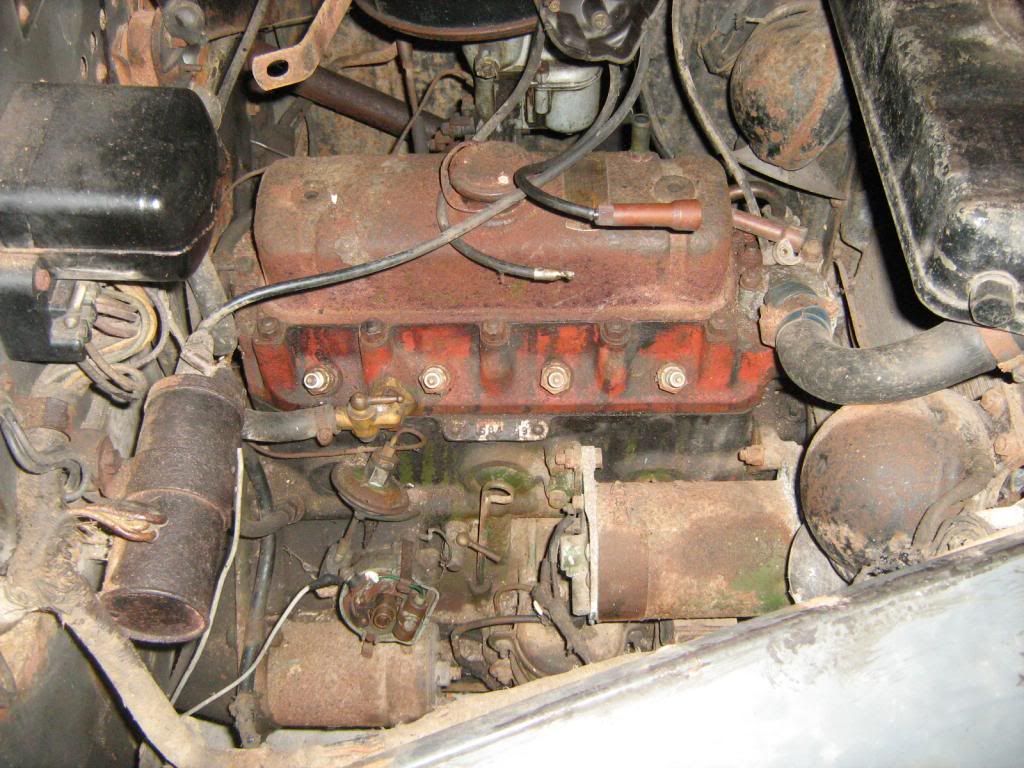
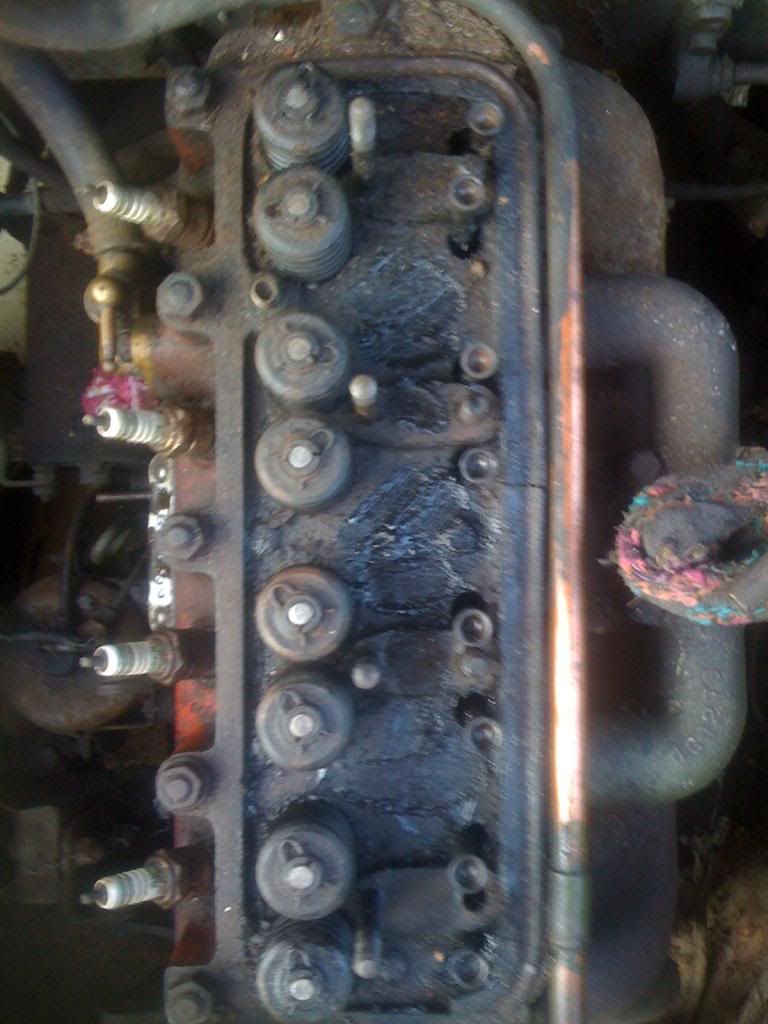
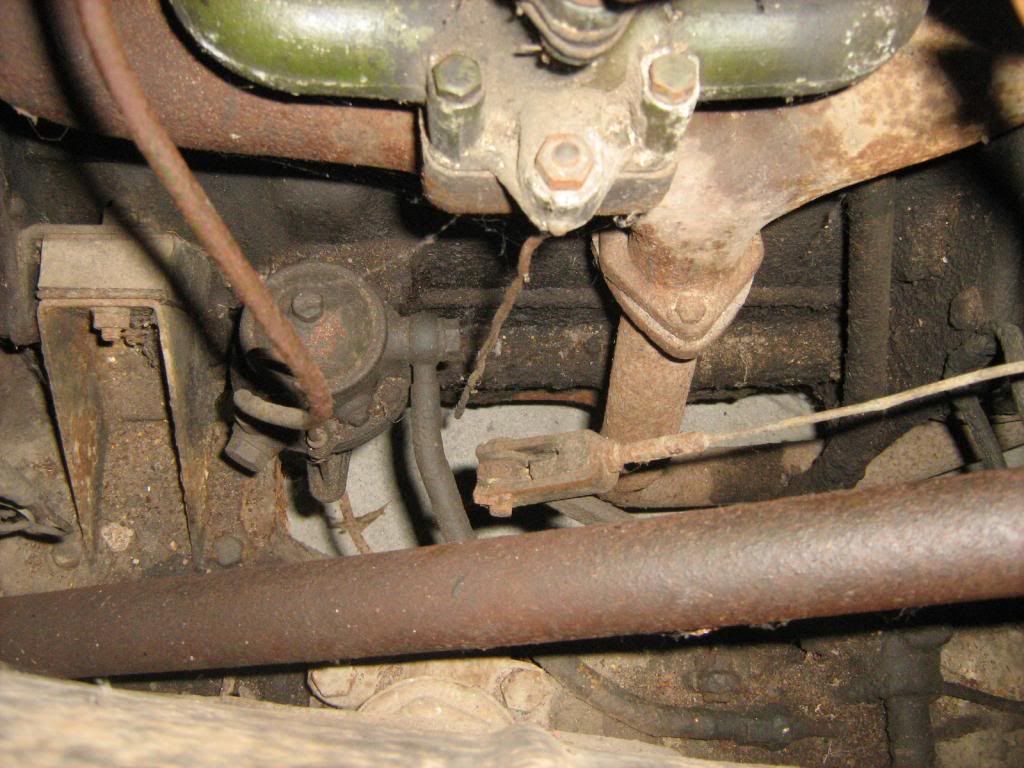

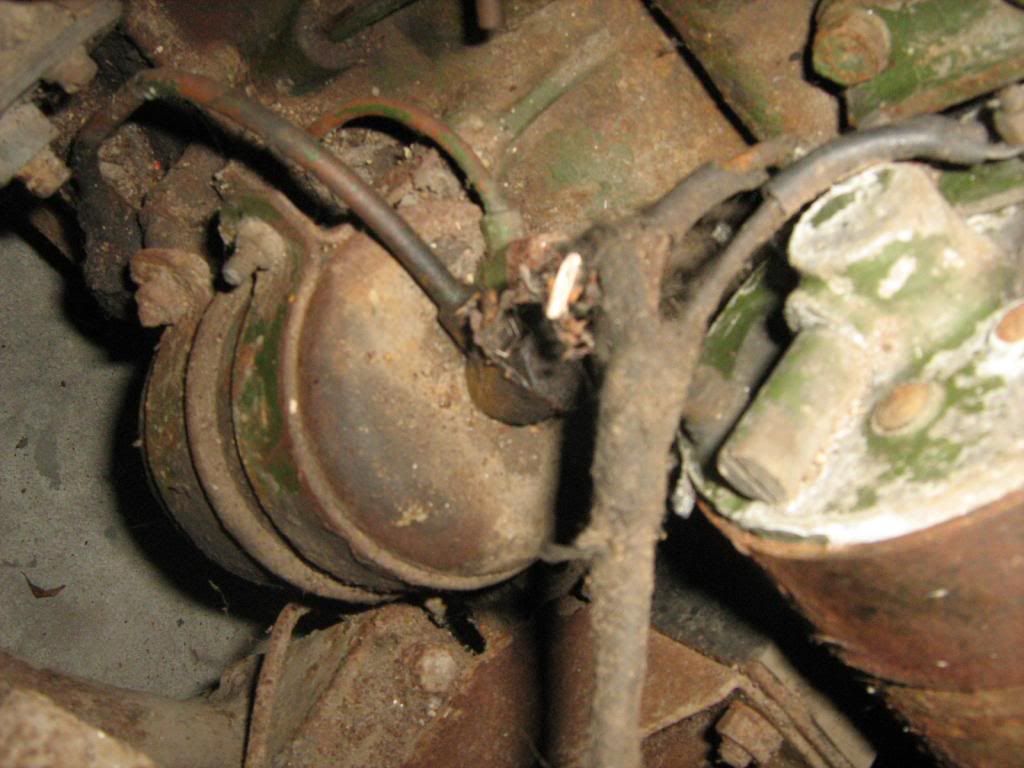
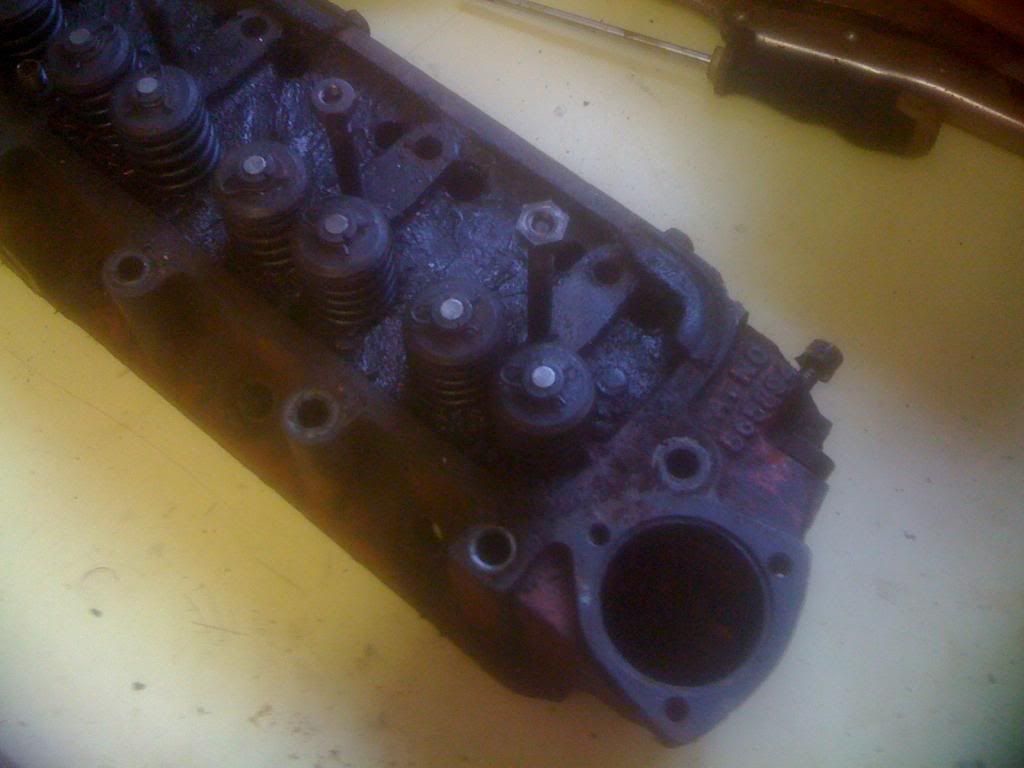
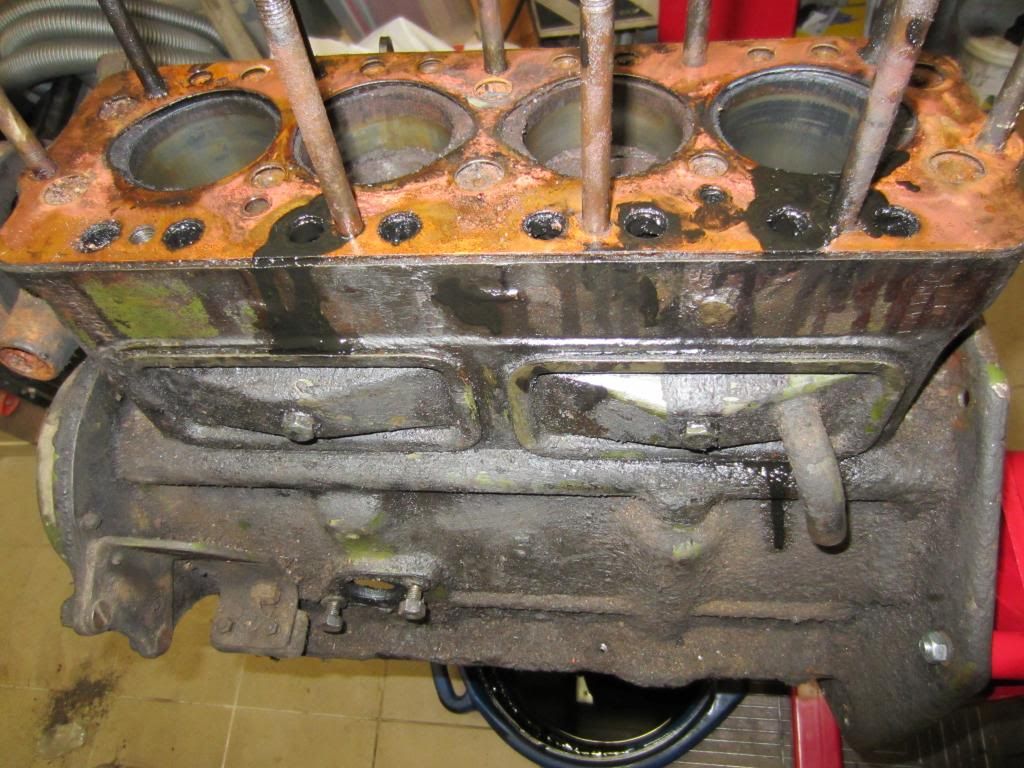
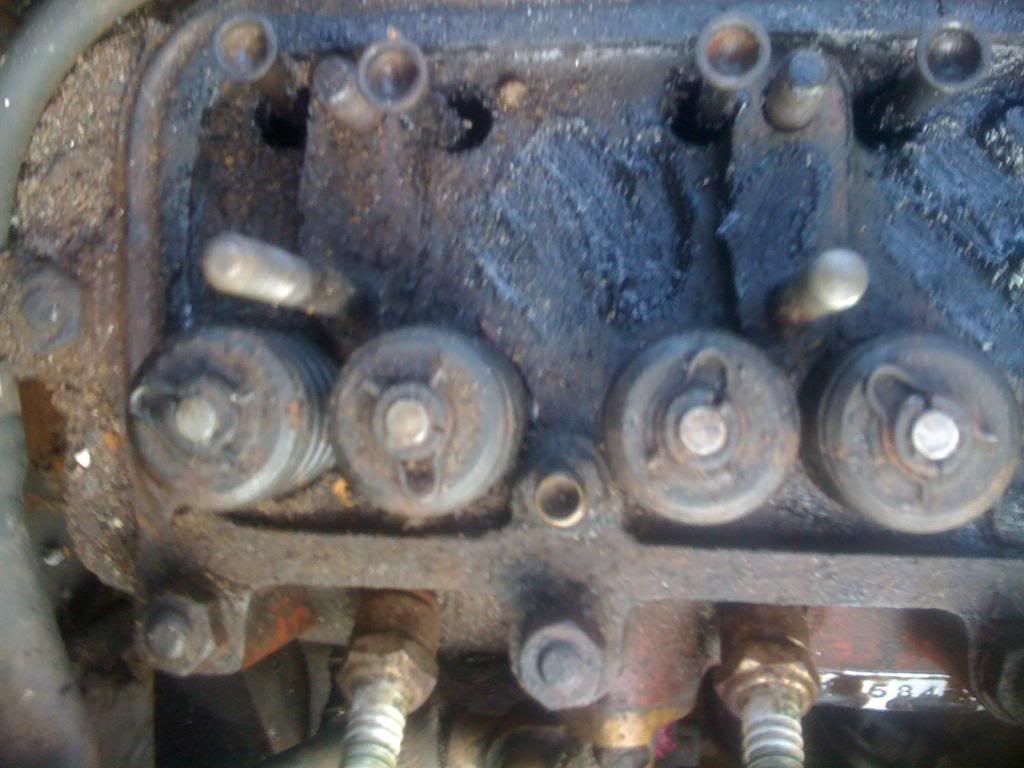
In to this:
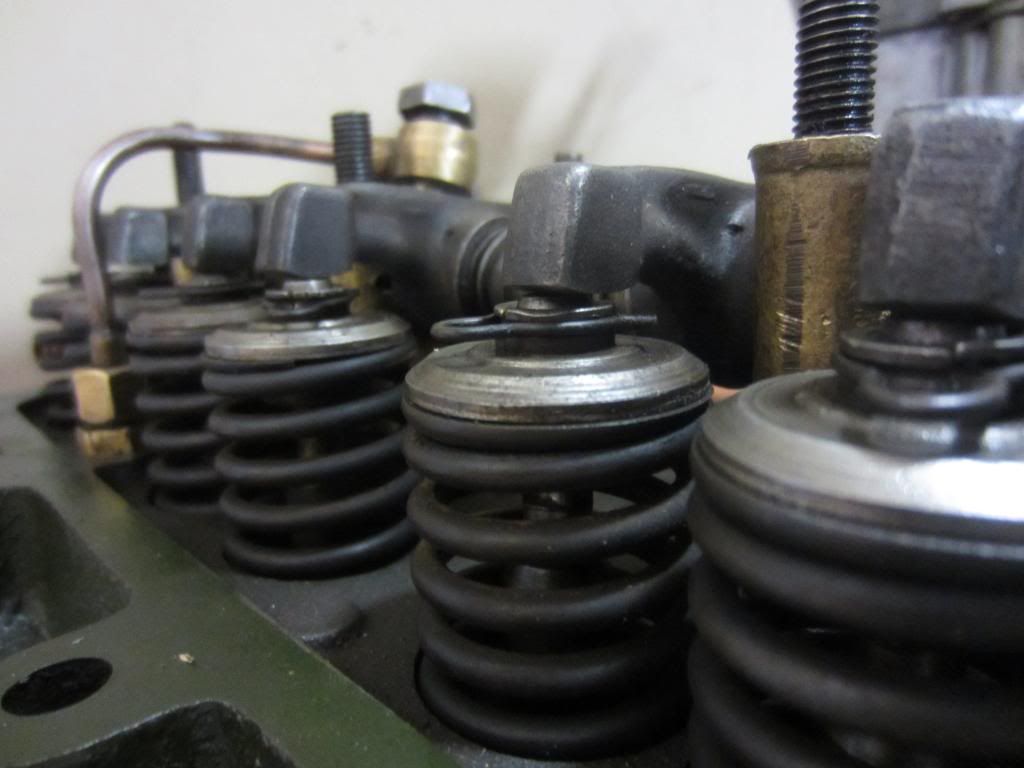
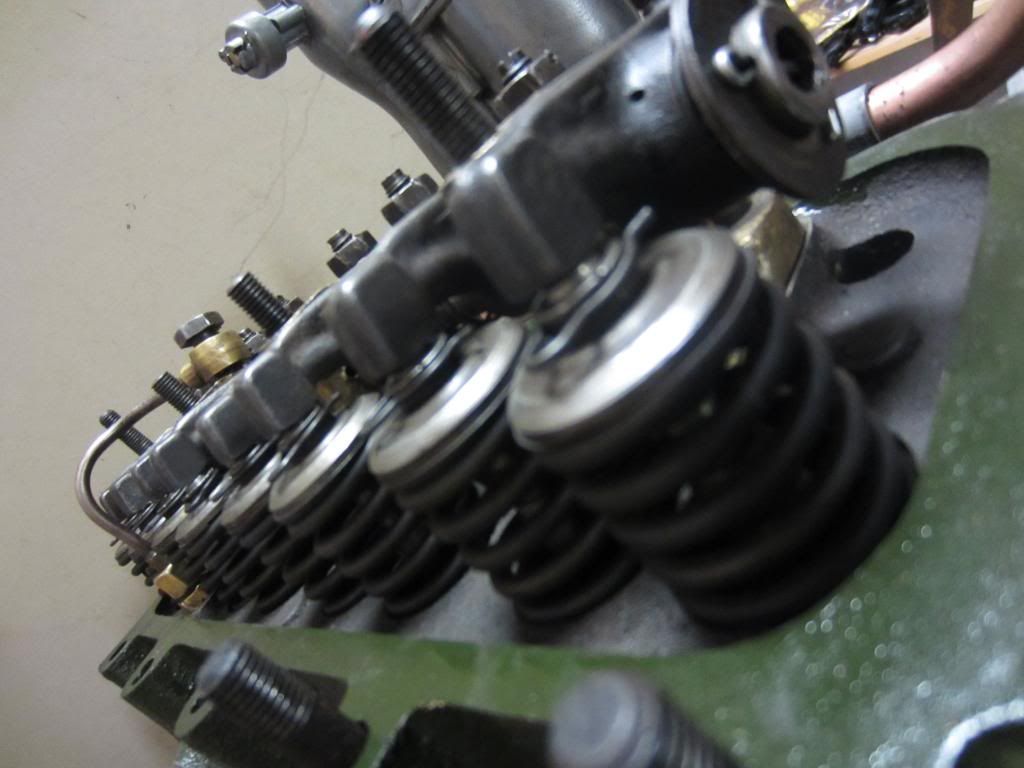
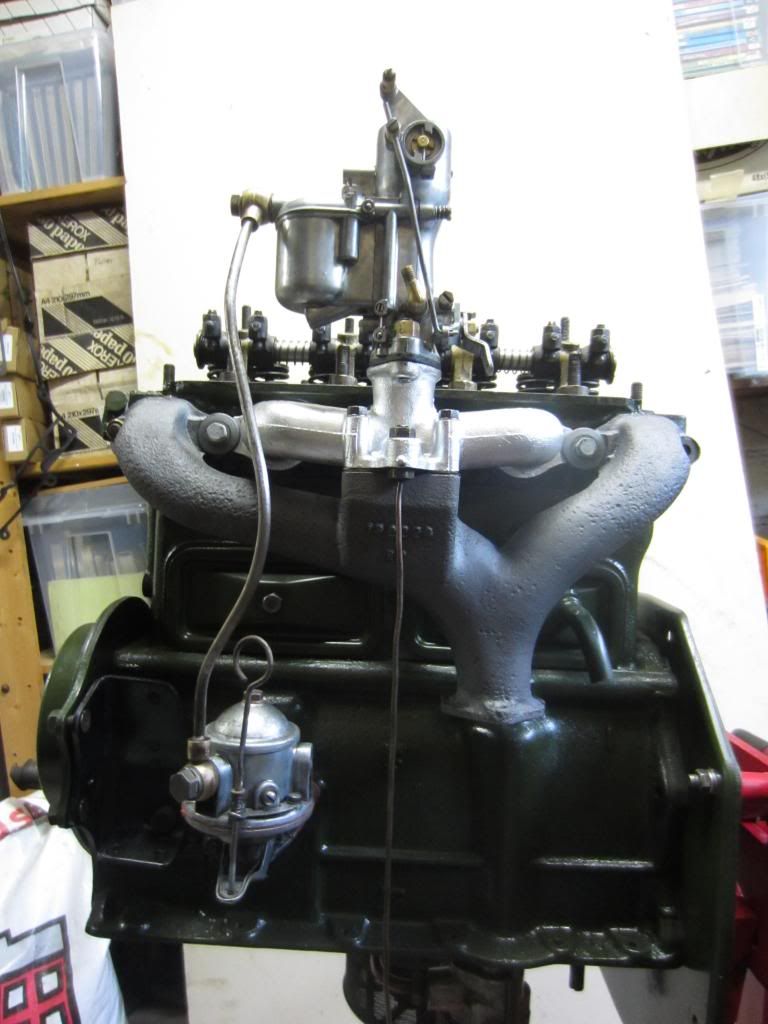
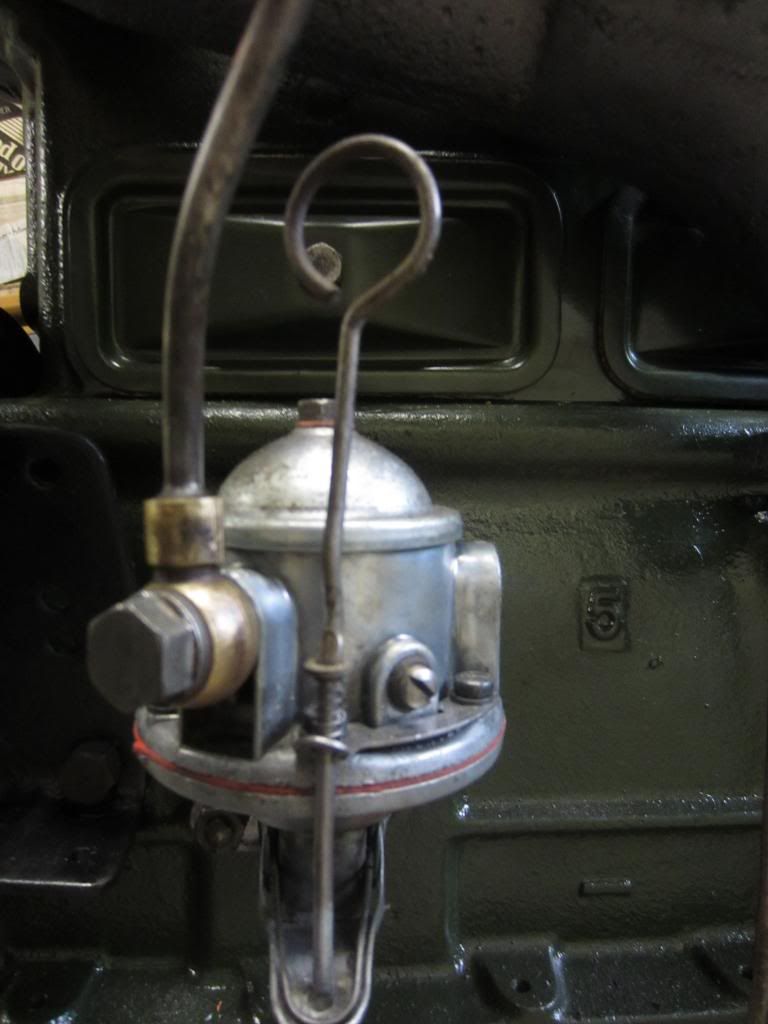
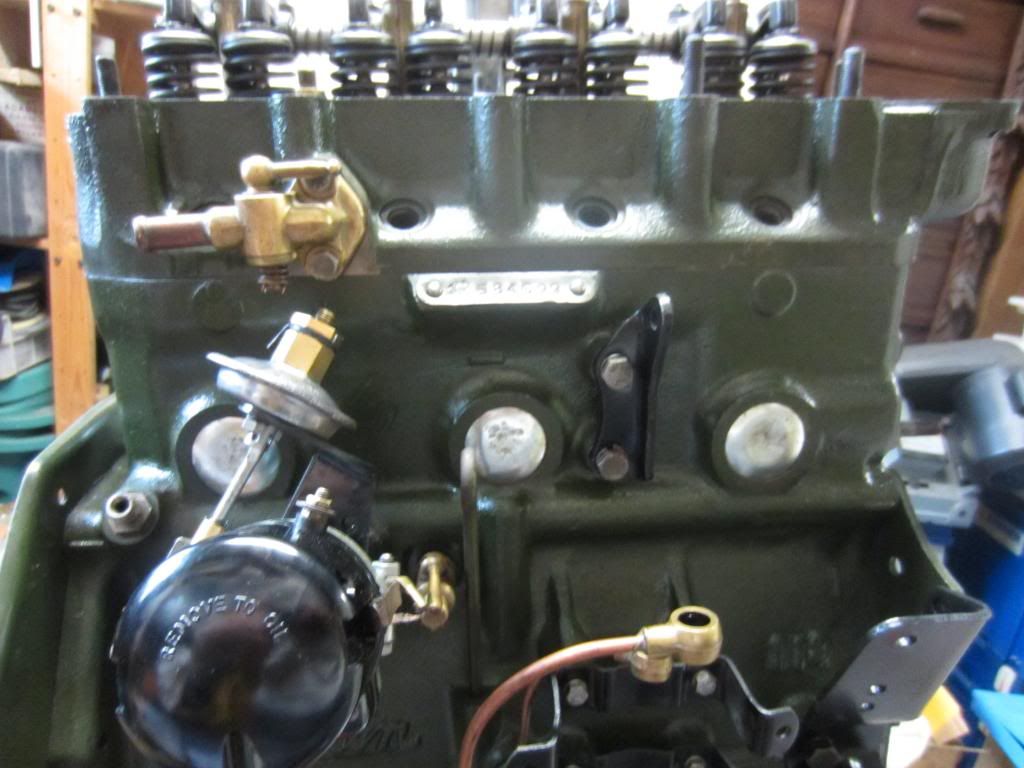
Kind Regards,
Jonathan |
|
| Back to top |
|
|
bob2
Joined: 06 Dec 2007
Posts: 1727
Location: Malta
|
| Posted: Wed Jul 31, 2013 7:43 am Post subject: |
|
|
nice well done!!
I'm presently doing my mini's engine in a similar state, same colour too! |
|
| Back to top |
|
|
British heritage cars
Joined: 10 Nov 2010
Posts: 202
|
| Posted: Thu Aug 01, 2013 9:28 am Post subject: |
|
|
| bob2 wrote: | nice well done!!
I'm presently doing my mini's engine in a similar state, same colour too! |
Thanks! I'm looking forward to see your pictures... |
|
| Back to top |
|
|
ukdave2002
Joined: 23 Nov 2007
Posts: 4104
Location: South Cheshire
|
| Posted: Thu Aug 01, 2013 9:35 am Post subject: |
|
|
Looking nice; not over done that spoils many a restoration 
Dave |
|
| Back to top |
|
|
bob2
Joined: 06 Dec 2007
Posts: 1727
Location: Malta
|
| Posted: Mon Aug 05, 2013 7:08 am Post subject: |
|
|
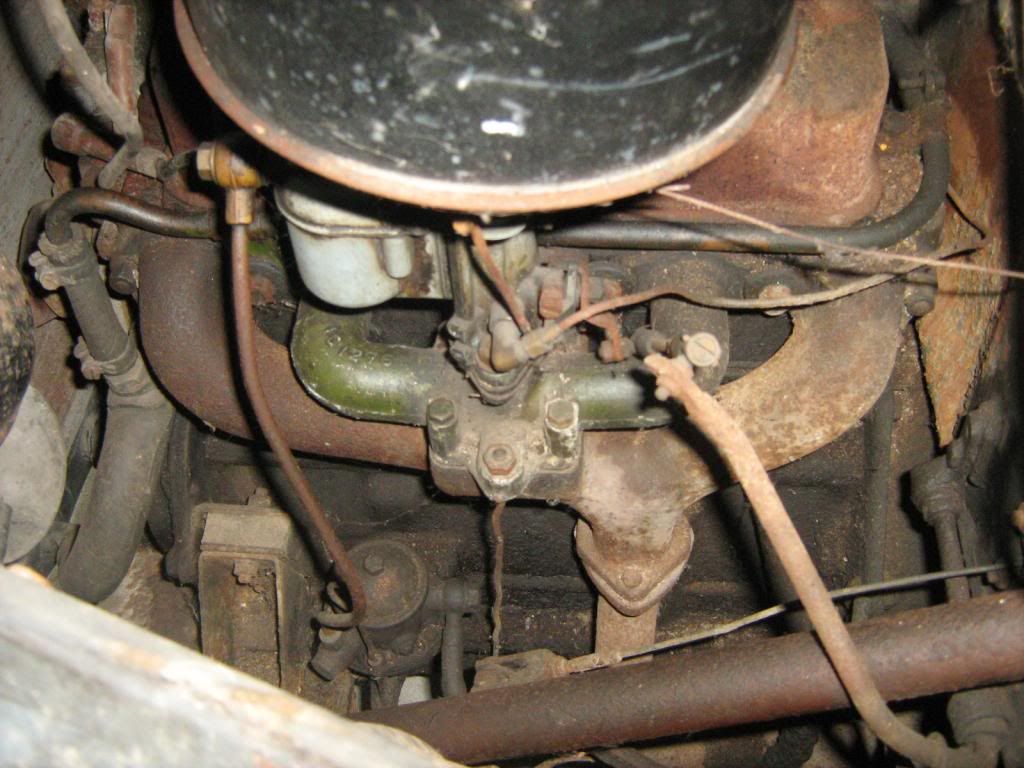
| Is the exhaust manifold painted or just cleaned and if its painted what did you use? |
|
| Back to top |
|
|
British heritage cars
Joined: 10 Nov 2010
Posts: 202
|
| Posted: Mon Aug 05, 2013 10:29 pm Post subject: |
|
|
| bob2 wrote: | | Is the exhaust manifold painted or just cleaned and if its painted what did you use? |
The Exhaust manifold I de-rusted with my electrolys trick.. and sprayed it with special heat paint in a darker shade of grey
and the inlet manifold I cleaned, took of all the paint with a wire brush and then painted it in a lighter shade of grey that looks allot like allumium, so it looks just bare aluminium but keeps its collor better
Kind Regards,
Jonathan |
|
| Back to top |
|
|
bob2
Joined: 06 Dec 2007
Posts: 1727
Location: Malta
|
| Posted: Tue Aug 06, 2013 7:40 am Post subject: |
|
|
Thanks Jonathan both inlet and exhaust on mine are iron so will both be painted!!!
I have both black and silver heat paint and do not know what colour to do mine! Probably go for silver and do the whole exhaust in it when I start on the underside later on this year! |
|
| Back to top |
|
|
|


