
Classic cars forum & vehicle restoration.
|
|
| Author |
Message |
CTDavies
Joined: 09 Dec 2015
Posts: 16
|
 Posted: Mon Feb 20, 2017 9:15 pm Post subject: Refitting the tie-rods, aka I've had an awful evening Posted: Mon Feb 20, 2017 9:15 pm Post subject: Refitting the tie-rods, aka I've had an awful evening |
 |
|
Hi all, I need your help.
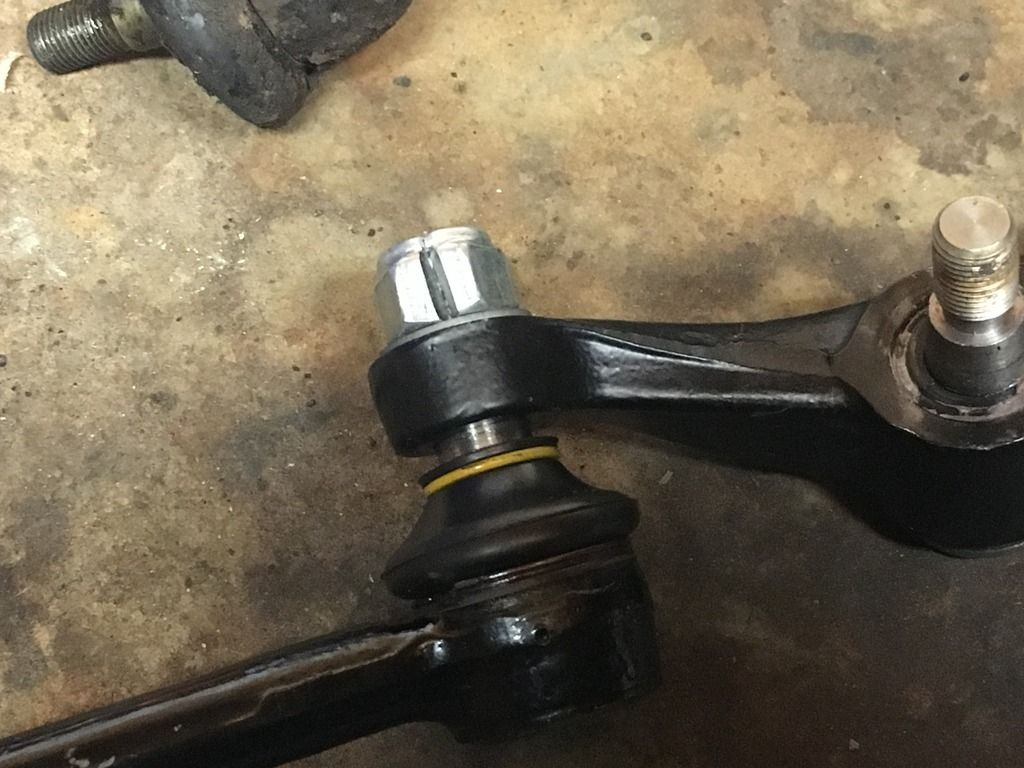
Tonight I tried to refit the tie rods but couldn't get the tapered ball pins in their sockets tight enough so they kept turning when tightening the nuts. Very frustrating. Is there a special tool or an easy procedure for this? Any adivse is greatly appreciated.
Chris |
|
| Back to top |
|
 |
Peter_L
Joined: 10 Apr 2008
Posts: 2680
Location: New Brunswick. Canada.
|
| Posted: Mon Feb 20, 2017 9:50 pm Post subject: |
|
|
| My first instinct would be "mismatched tapers". Having said that I have sometimes run a standard, none locking nut on first, lovingly tap it or help them together with a bottle jack. |
|
| Back to top |
|
|
47Jag
Joined: 26 Jun 2008
Posts: 1480
Location: Bothwell, Scotland
|
| Posted: Wed Feb 22, 2017 1:19 am Post subject: |
|
|
Chris,
Have you tried putting a jack on the tie rod end? Just enough pressure to cause a bind in the taper.
Art |
|
| Back to top |
|
|
CTDavies
Joined: 09 Dec 2015
Posts: 16
|
| Posted: Thu Feb 23, 2017 7:54 pm Post subject: |
|
|
Problem solved! Thanks to everyone for tuning in, but the bottle jack wouldn't do it or any other solution I could think of. The nylocks were so far in, I couldn't get them tightened or off again. This is so embarassing that this happened I should have thought of it myself that the tapered pins could be brought fully home with normal, non-nylock nuts first. Fortunatly I was able to get the whole tie rod assembly off again, so I took it to -guess where- the local machine shop. The owner took one casual look and said 'split 'em' (in German). He meant the nuts. The only way of solving this was by using his special chizel to split nuts (this sounds awful). But that's what he did.
This guy has the most amazing collection of tools. He looks at something, walks to the back of his shop and comes back with some special tool that I have never seen or even heard of before. Of course he always tells that it cost hundreds way back when, and I politely nod obligingly.
So yesterday evening I mounted the tie rod assembly again with non-nylocks anticipating that I might have to remove it again sometimes during the later restoration, But: Afterwards I could put the nearside (continental nearside) wheels back on. Progress!! Maybe over the weekend I'll reassemble the other hub and get the other wheels on too. Then I can take her off the jacks.

Thanks for stopping by... |
|
| Back to top |
|
|
Peter_L
Joined: 10 Apr 2008
Posts: 2680
Location: New Brunswick. Canada.
|
| Posted: Thu Feb 23, 2017 9:08 pm Post subject: |
|
|
I am still rather puzzled that the tapers didn't hold. Are they fully home now ?
Nut Splitters. A handy addition to the tool box. Has also been used to remove damaged bolts. Place a large washer between the splitter and the bolt head, liberal coating of grease on the mating surfaces, tighten up the splitter and rotate.
 |
|
| Back to top |
|
|
CTDavies
Joined: 09 Dec 2015
Posts: 16
|
| Posted: Sun Feb 26, 2017 7:46 am Post subject: |
|
|
Yes, Peter, that was the tool he used. I won't buy one yet, as I'm not sure I need one that often myself, though. The tapers are now fully home, and they do match. On the steering arm side I was able to use nylocks as I could add some force by using a bottle jack but on the connector tube end I used non-nylocks as the angle prevented me from using the jack there.
I got a lot done yesterday. All wheels were fitted, although I'm having problems with the front left one. The trailing brake shoe is jamming against the drum which makes it impossible to turn the wheel and I can't seem to adjust the shoe as the piston in the brake cylinder seems seized. I might just have to remove both shoes here for now and be done with it.
I'm hoping to get that sorted out today, then I can roll her out of the garage for the first time in more than a year.
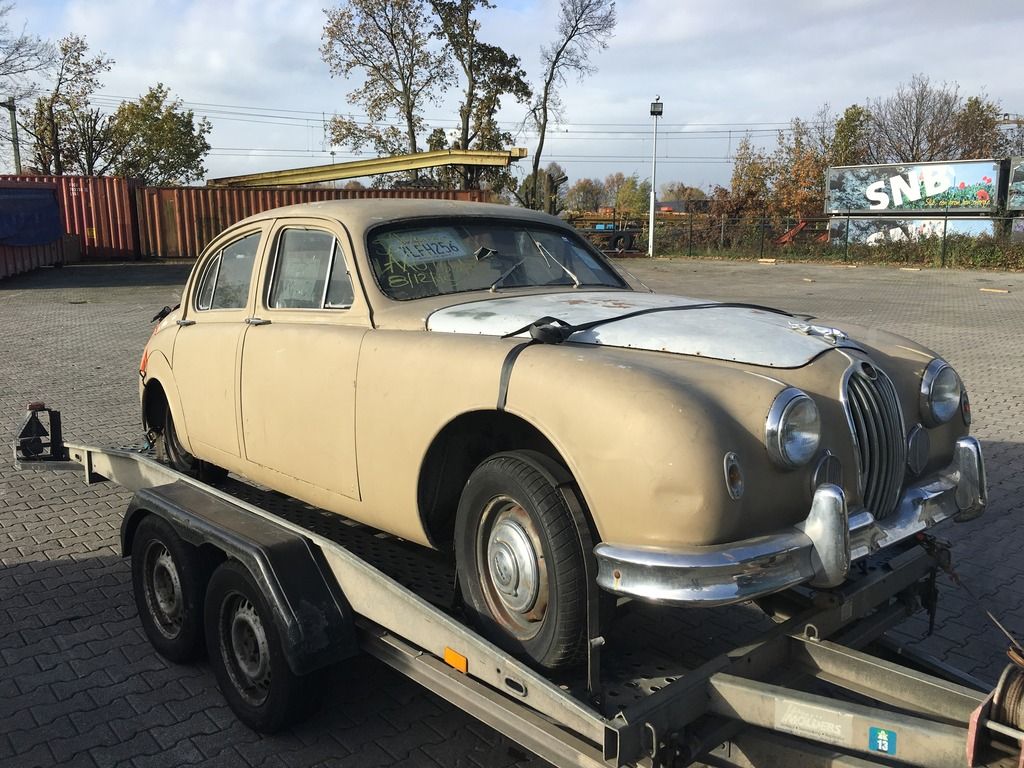
This is what she looked like when I picked her up at the shipping company's place on 13th November 2015.
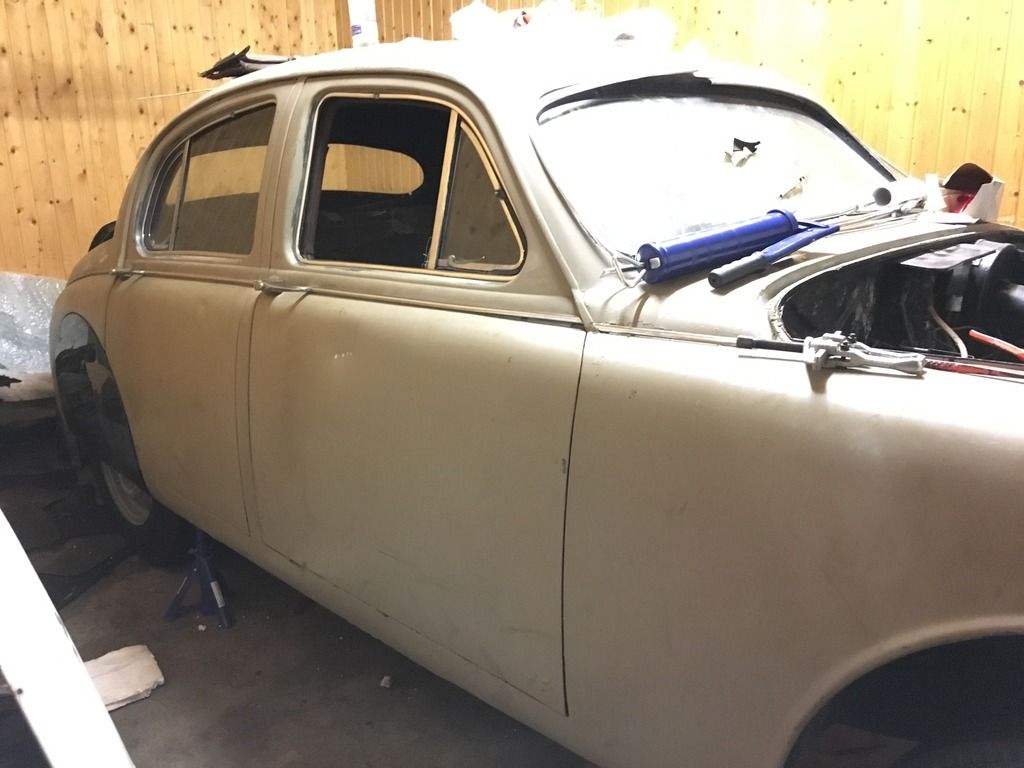
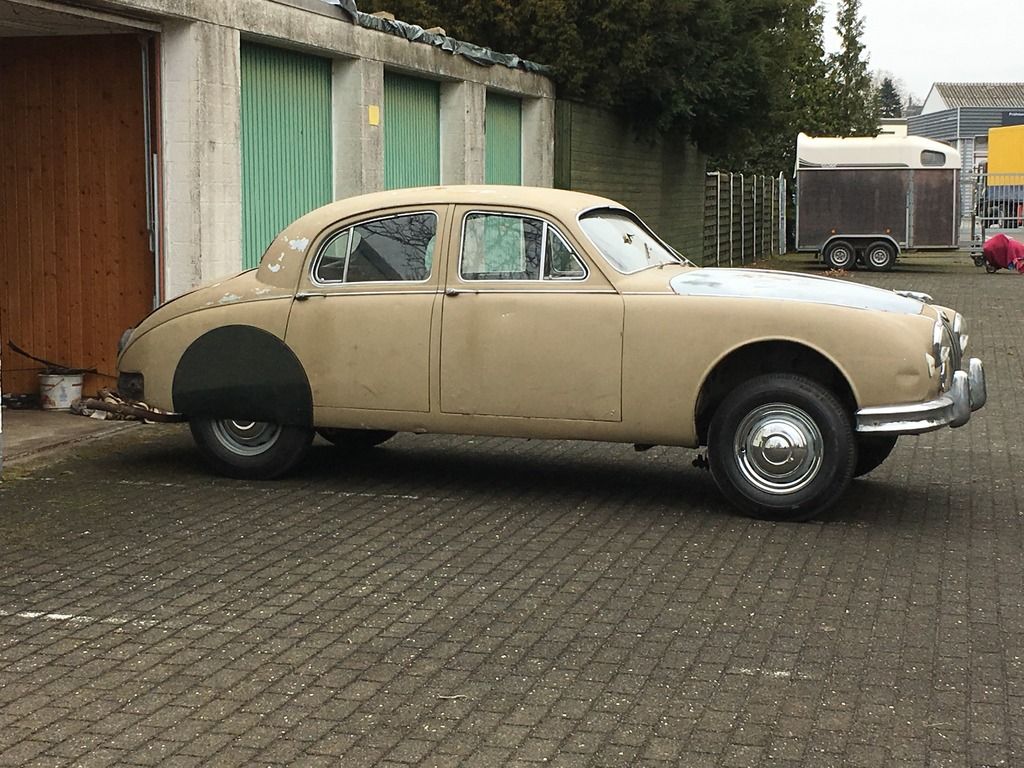
This what she looks like now.
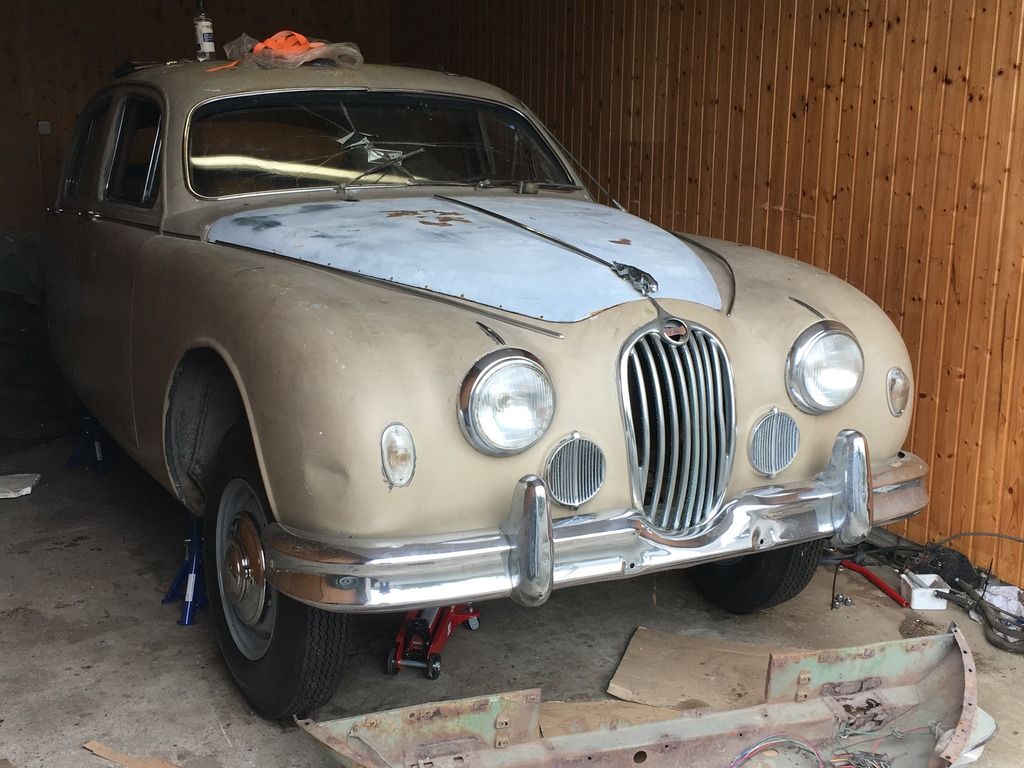
I have removed all paint from the chrome trim parts to make her look a bit more stylish and clean and I've cleaned the windshield although it is damaged beyond repair. Does anyone have a Mk1 windshield he/she's willing to part from? Also, I've painted the rims in the correct colour found new tyres and hubs, hoping this will add to the overall looks. I also found a pair of closed spats as I like them much more than the open ones she had when I got her. We're expecting rain her today so I'm not sure about her 'first airing' today.
--Chris
Last edited by CTDavies on Sun Feb 26, 2017 8:17 am; edited 1 time in total |
|
| Back to top |
|
|
CTDavies
Joined: 09 Dec 2015
Posts: 16
|
| Posted: Sun Feb 26, 2017 8:02 am Post subject: |
|
|
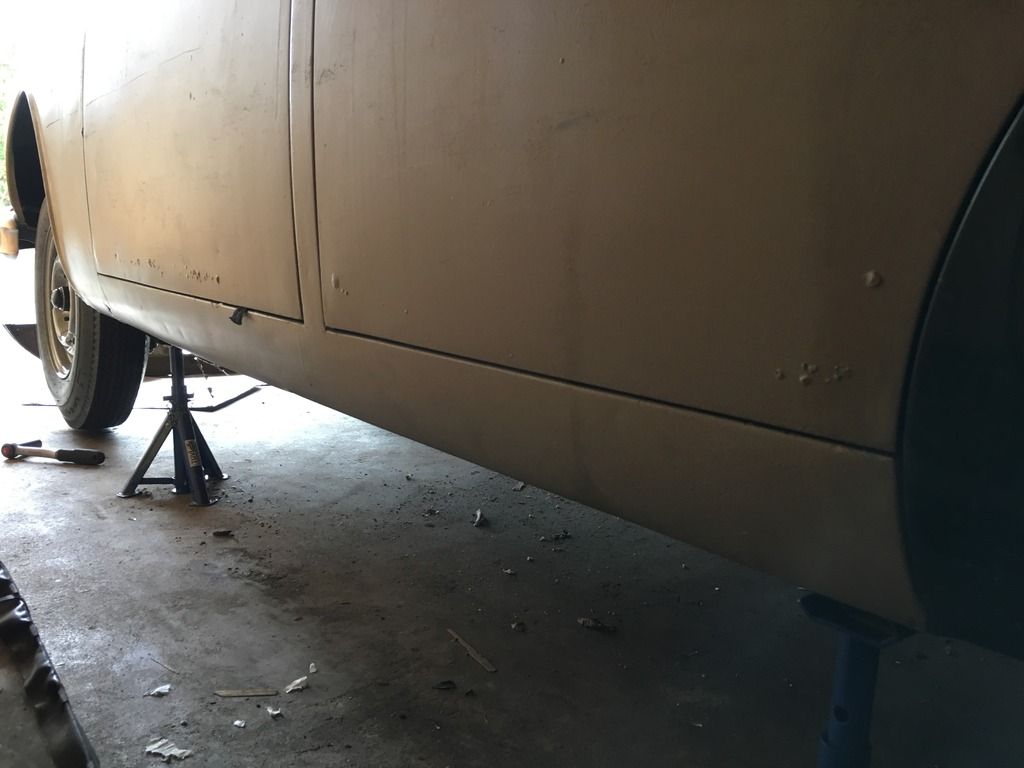
I know there will be a few rust issues as can be seen on the following two pictures. I'm hoping to make a trip to the UK early April. Then I will stop by at Robey's to get some lower door panel halves and sill parts.
 |
|
| Back to top |
|
|
Rick
Site Admin

Joined: 27 Apr 2005
Posts: 22446
Location: UK
|
|
| Back to top |
|
|
CTDavies
Joined: 09 Dec 2015
Posts: 16
|
| Posted: Sun Feb 26, 2017 12:05 pm Post subject: |
|
|
Hi Rick, I would like to see your photos of the exhibition Mk1. There was a nice one, a 3.4, for sale here locally a few weeks back. Way above my budget, though.
Ready for ice-blasting
 |
|
| Back to top |
|
|
|
|
You cannot post new topics in this forum
You cannot reply to topics in this forum
You cannot edit your posts in this forum
You cannot delete your posts in this forum
You cannot vote in polls in this forum
|
php BB powered © php BB Grp.
|


