|
|
| Author |
Message |
lowdrag
Joined: 10 Apr 2009
Posts: 1585
Location: Le Mans
|
 Posted: Mon Nov 04, 2019 8:16 pm Post subject: Posted: Mon Nov 04, 2019 8:16 pm Post subject: |
 |
|
| Terminals in the wrong place is all. The earth lead is back right and the negative back left. I could of course put in new longer straps but a couple of days' wait won't hurt. |
|
| Back to top |
|
 |
Ray White

Joined: 02 Dec 2014
Posts: 6310
Location: Derby
|
| Posted: Mon Nov 04, 2019 11:10 pm Post subject: |
|
|
Ah yes. I had a similar problem but it was of my own making. I decided to fit a heavy duty battery to the Range Rover but one of the wires wouldn't quite reach the terminal. The amount of work involved just to gain an extra inch of wire made me doubt the wisdom of it all.!!
Today I removed one of the front springs on the TC with the intention of removing surface rust from between the leaves. These springs are different from the back ones in that they have rivetted steel clamps folded over as opposed to bolts through rollers.
I managed to open the clamps enough to remove the leaves...but not before snapping off one of them. What was supposed to be a straightforward job turned into a drawn out affair. I drilled out the remains and made a new clamp then rivetted it to the leaf.
All I need to do now is grease the individual leaves and assemble with new shackle pins and bushes. One of the front spring pins had broken and was held on by some twisted wire. I have ordered two new ones from the trusted Octagon Club spares scheme.
I have also discovered that the rear half shafts have been GLUED into the hubs - presumably to hide worn splines.!! I have bitten the bullet and ordered new ones. The later design employs a morse taper interference fit of the hubs onto the half shafts; something I shall leave to the engineer.! |
|
| Back to top |
|
|
MikeEdwards
Joined: 25 May 2011
Posts: 2470
Location: South Cheshire
|
| Posted: Tue Nov 05, 2019 10:27 am Post subject: |
|
|
Yet more preparation of some repair panels for the Audi coupe, getting ready to fit the replacement rear wheelarch that I bought a while ago, once I've trimmed it down, and the bottom end of the rear quarter that I've made to go with it. I've had to extend the latter because I thought the arch would be a better fit, must remember that for the other side. As the sill is thick with filler, I need to make one of those, too.
And the modern (relatively) went in for a pre-MOT service today, and it turns out the ball joint has a lot of play in it. It's a QH-branded part, and it was fitted on 31st October 2018, 6000 miles ago. So it's a week over 12 month old. I've contacted the seller for a replacement, not holding out a lot of hope but it's worth a try. |
|
| Back to top |
|
|
Ray White
Joined: 02 Dec 2014
Posts: 6310
Location: Derby
|
| Posted: Sat Nov 09, 2019 6:03 pm Post subject: |
|
|
Spent goodness knows how long struggling to get the o/s king pin out. The cotter pin came out easily enough but the king pin was well and truly stuck in it's bearings.
Eventually, I removed the front axle and mounted the offending end in the 12 ton press but it wouldn't budge.
In the end I fixed the axle beam on the bench and using the big vice as an anvil (Tutt, tutt) I managesd to drift out the pin using a brass drift and a big hammer.
I then went indoors and had a cuppa.  |
|
| Back to top |
|
|
Rootes75
Joined: 30 Apr 2013
Posts: 3813
Location: The Somerset Levels
|
| Posted: Sun Nov 10, 2019 7:02 pm Post subject: |
|
|
Spent the afternoon moving lorries about, both non runners so my fathers trusty Series 2A Landy came into use, and a lot of elbow grease.
We had to move our Commer out in order to move the Karrier that is for sale out. We have people wanting to come and view her but access was a problem at the back of the shed.
_________________
Various Rootes Vehicles. |
|
| Back to top |
|
|
Ray White
Joined: 02 Dec 2014
Posts: 6310
Location: Derby
|
| Posted: Sun Nov 10, 2019 11:49 pm Post subject: |
|
|
Managed to get a few more jobs done. Dismantled the o/s front spring (this time without breaking a clasp) and removed a good deal of red rust. Reassembled and greased. I found it easier to put the leaves back together and then grease between them using a flat blade.
With the clasps pressed back in place poly it was a satisfying Job to return the springs to the car; new pins and poly bushes throughout as a matter of course.
Next on the to do list was to remove the brass bushes from the o/s stub axle which (with a bit of a struggle) eventually drifted out. Now ready for crack testing. |
|
| Back to top |
|
|
Ray White
Joined: 02 Dec 2014
Posts: 6310
Location: Derby
|
| Posted: Tue Nov 12, 2019 11:06 pm Post subject: |
|
|
Replaced the o/s king pin and bushes. Reamed easily to 3/4" with plenty of talow melted onto the job.
Fitted the new front spring shackle pins and poly bushes but cursed when I discovered one of the rear spring silent block bushes has disintegrated. This could be a pig of a job.
Took delivery of two new half shafts and hubs pressed together. I had been shocked to discover that someone had glued the old ones together in an attempt to avoid replacement.
I will be getting a new Dremel for my 65th. birthday....some consolation I suppose. |
|
| Back to top |
|
|
MikeEdwards
Joined: 25 May 2011
Posts: 2470
Location: South Cheshire
|
| Posted: Wed Nov 13, 2019 11:21 am Post subject: |
|
|
Replaced the droplink on the modern, and tried to replace the ball joint the other day. Unfortunately they'd sent the wrong ball joint, but the replacement has just turned up so I'll try that again later on.
The good thing about the parts lasting such a short time is that the bolts don't have time to rust.
Met someone in a dark business park last night to collect some other parts for it that might be flagged on the MOT. Chap had sold his, so was selling off his parts stash. |
|
| Back to top |
|
|
Rootes75
Joined: 30 Apr 2013
Posts: 3813
Location: The Somerset Levels
|
| Posted: Sun Nov 17, 2019 3:36 pm Post subject: |
|
|
Got the Karrier Bantam almost running, got the battery fully charged and put a booster on aswel. She is now turning over nicely, now its down to checking the injectors etc.
_________________
Various Rootes Vehicles. |
|
| Back to top |
|
|
Vulgalour
Joined: 08 May 2018
Posts: 474
Location: Kent
|
| Posted: Sun Nov 17, 2019 8:51 pm Post subject: |
|
|
Got halfway through the Princess head replacement job before I ran out of light. Shall do the other half tomorrow.
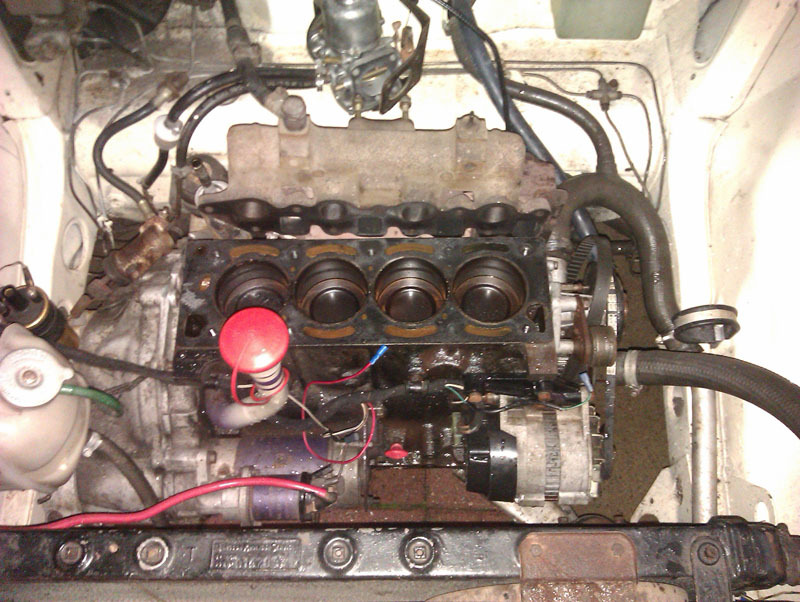
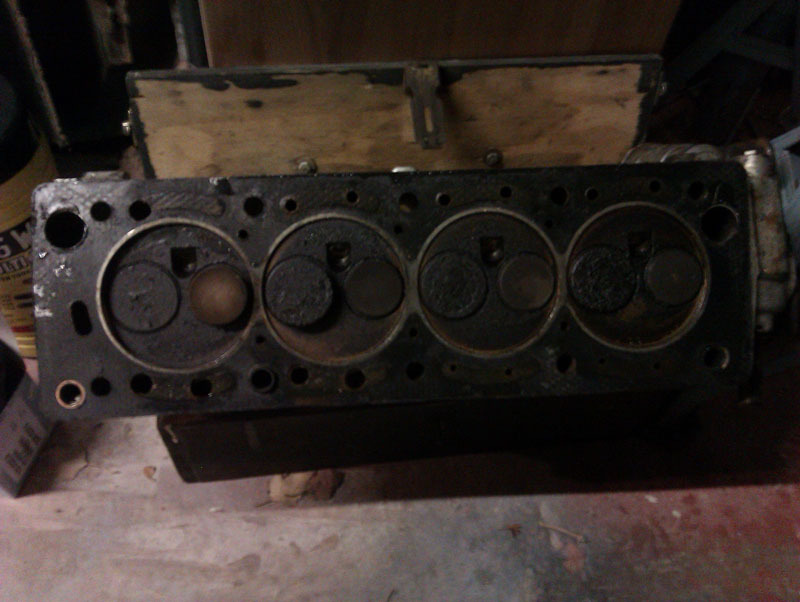
It does burn a bit of oil, has for some time, but that's not why the head is being replaced. A few months ago it blew the head and it's taken this long to get everything in order to do the replacement, mostly down to one machine shop causing a delay in proceedings. Typically, the head of the temperature sender sheared off so even though everything will be buttoned up tomorrow, it won't be running again until the replacement parts (already ordered) arrive.
I'm hoping that things continue to go smoothly and the car is running again and back in use by this time next week at the latest. |
|
| Back to top |
|
|
Ray White
Joined: 02 Dec 2014
Posts: 6310
Location: Derby
|
| Posted: Sun Nov 17, 2019 11:08 pm Post subject: |
|
|
I don't usually swear but what I discovered today could be enough to make a saint swear.
Having fitted the new rear springs it has become apparent that the axle has now been moved back about half an inch.
This means that the new prop shaft will be too short. I suppose it all depends on how much lea way there is on the splines?
More wishful thinking on my part, I expect.  |
|
| Back to top |
|
|
peter scott

Joined: 18 Dec 2007
Posts: 7118
Location: Edinburgh
|
| Posted: Mon Nov 18, 2019 8:40 am Post subject: |
|
|
How did the movement come about Ray?
Was it caused by a difference between your old and new springs?
Was it caused by changes to the chassis or engine mountings?
Peter
_________________
http://www.nostalgiatech.co.uk
1939 SS Jaguar 2 1/2 litre saloon |
|
| Back to top |
|
|
Ray White
Joined: 02 Dec 2014
Posts: 6310
Location: Derby
|
| Posted: Mon Nov 18, 2019 11:01 am Post subject: |
|
|
| peter scott wrote: | How did the movement come about Ray?
Was it caused by a difference between your old and new springs?
Was it caused by changes to the chassis or engine mountings?
Peter |
I expect the new springs are slightly different. I have concluded that the locating nibs must be 1/2" out because the hoops that limit vertical axle movement won't bolt back in their original holes in the chassis without fouling the banjo casing.
The engineer who supplied the 5 speed gearbox conversion kit specifically requested I give him a measurement between the old box and the pinion flange as there could be a variation between one car and another; so I assume it is quite a common problem. |
|
| Back to top |
|
|
alastairq
Joined: 14 Oct 2016
Posts: 1952
Location: East Yorkshire
|
| Posted: Mon Nov 18, 2019 11:12 am Post subject: |
|
|
Spacer at rear axle pinion end, plus slightly longer prop bolts? Nice bit of alloy off ebay, perhaps?
_________________
Dellow Mk2, 1951 built, reg 1952.
Fiat 126 BIS
Cannon special [1996 registered. Built in 1950's]
----------------------------------------------
Ford Pop chassis, Ashley 1172 bodyshell, in pieces. |
|
| Back to top |
|
|
Ray White
Joined: 02 Dec 2014
Posts: 6310
Location: Derby
|
| Posted: Mon Nov 18, 2019 11:57 am Post subject: |
|
|
| alastairq wrote: | | Spacer at rear axle pinion end, plus slightly longer prop bolts? Nice bit of alloy off ebay, perhaps? |
Yes. I expect I will have to turn up a spacer.
I could modify a surplus pulley I suppose? (so long as I removed the key way or it might put the prop out of balance...)
Edit: I have discovered that prop shaft extensions are available for Land Rovers etc for when an suspension lift is fitted. All I need to do is find one the right size!! |
|
| Back to top |
|
|
|


