
Classic cars forum & vehicle restoration.
|
|
| Author |
Message |
Mauricio Yeo
Guest
|
 Posted: Tue May 01, 2007 9:22 am Post subject: Restoring a Daimler Conquest Century 1956 Posted: Tue May 01, 2007 9:22 am Post subject: Restoring a Daimler Conquest Century 1956 |
 |
|
Señores,
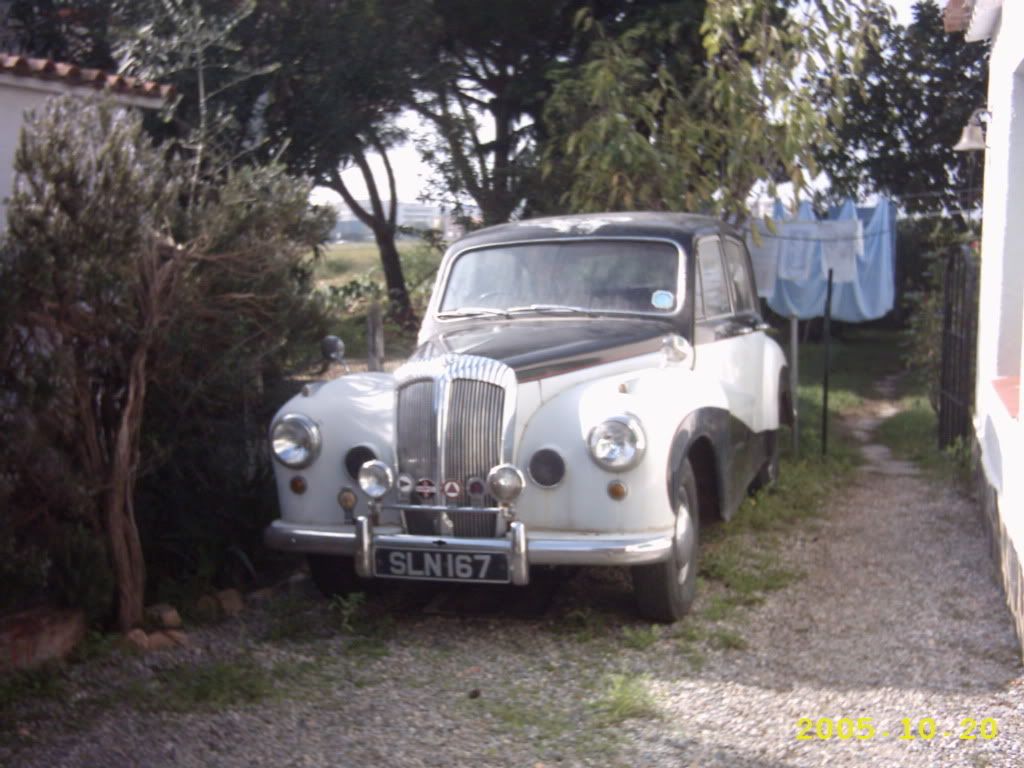
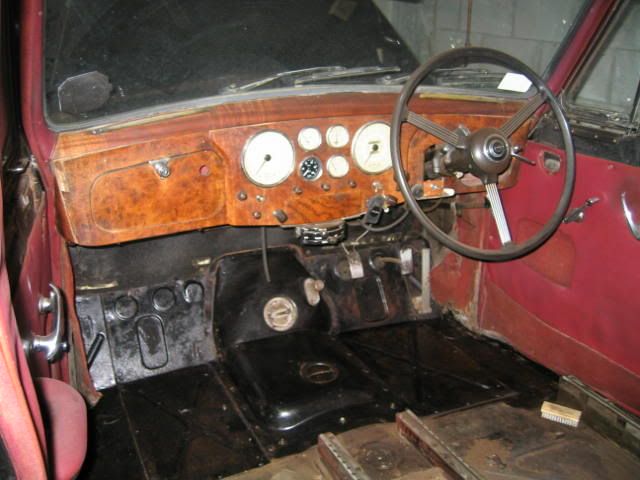
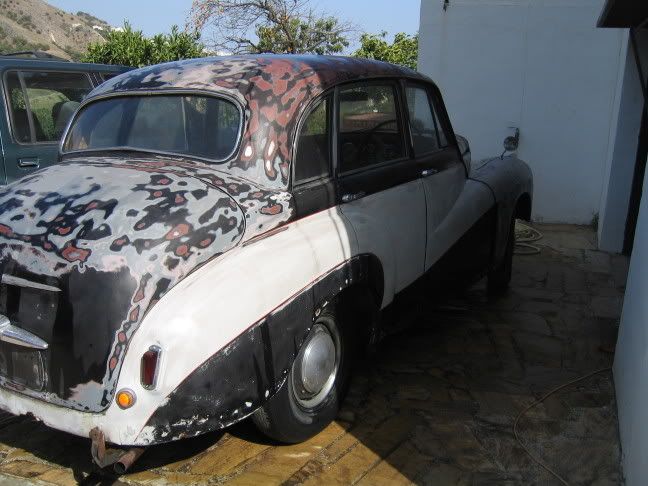
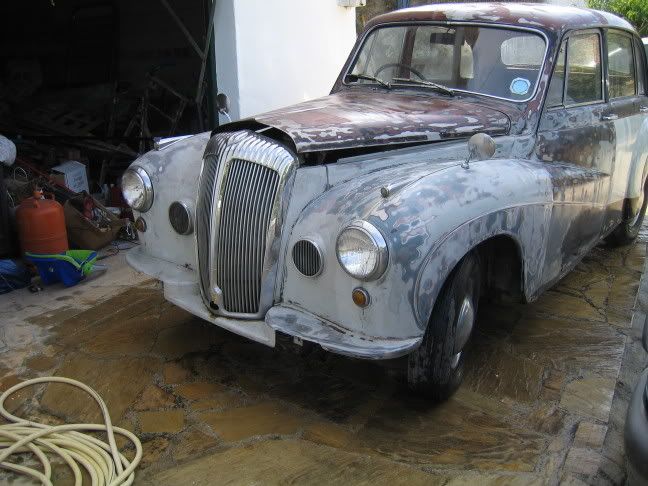
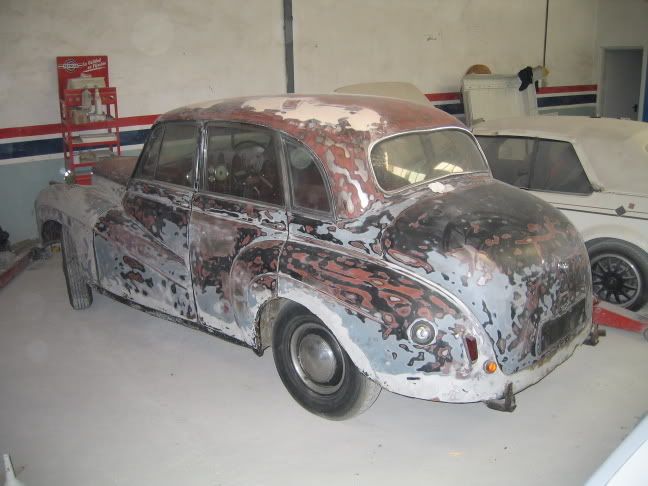
I am new to the Forum and it has been suggested that I post a series of photos of the restoration project that I have been doing for the past eighteen months. I found the car in Gerona which is about 700 miles away from where I live in Nerja (Malaga), and the old owner had just bought a boat and the car was in the way, and I had the car transported down to Nerja. Here are some photos of the car in the original state.
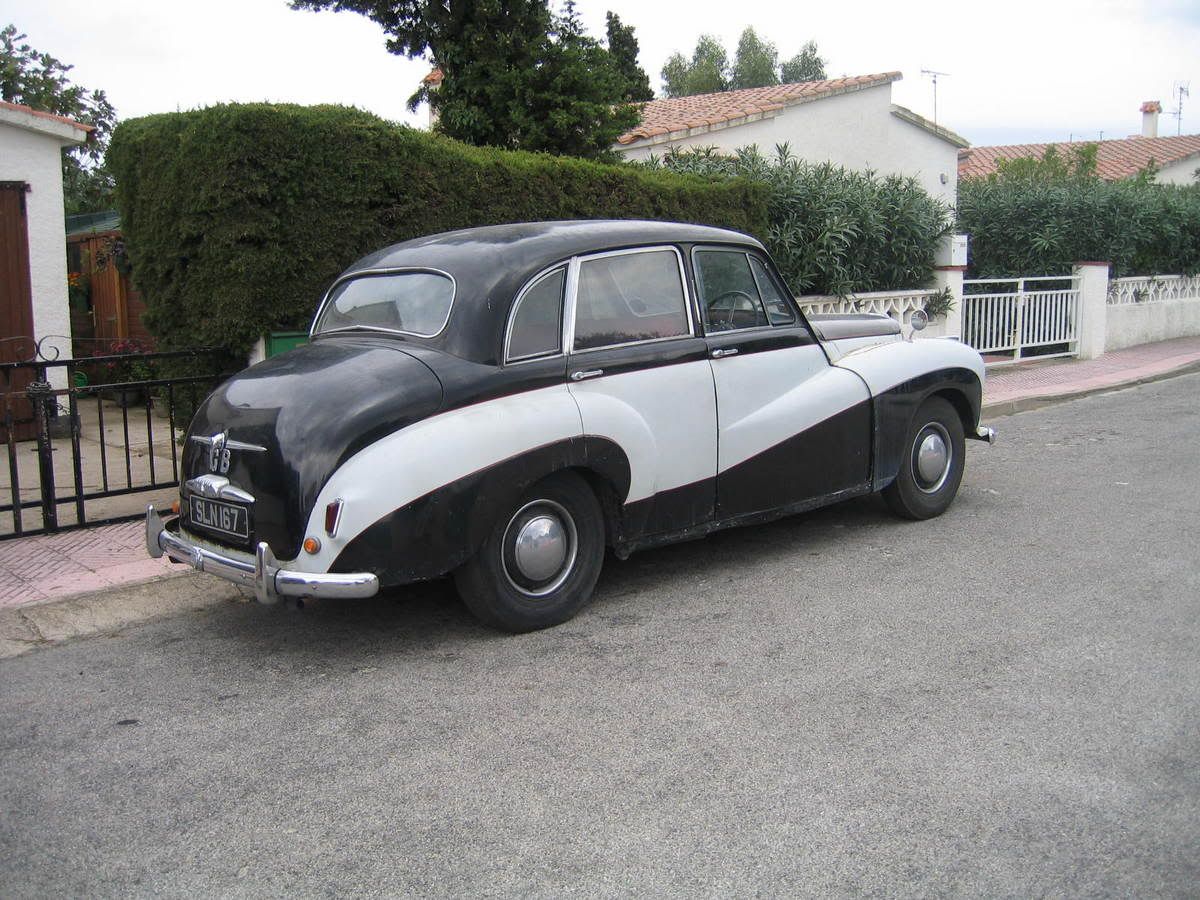
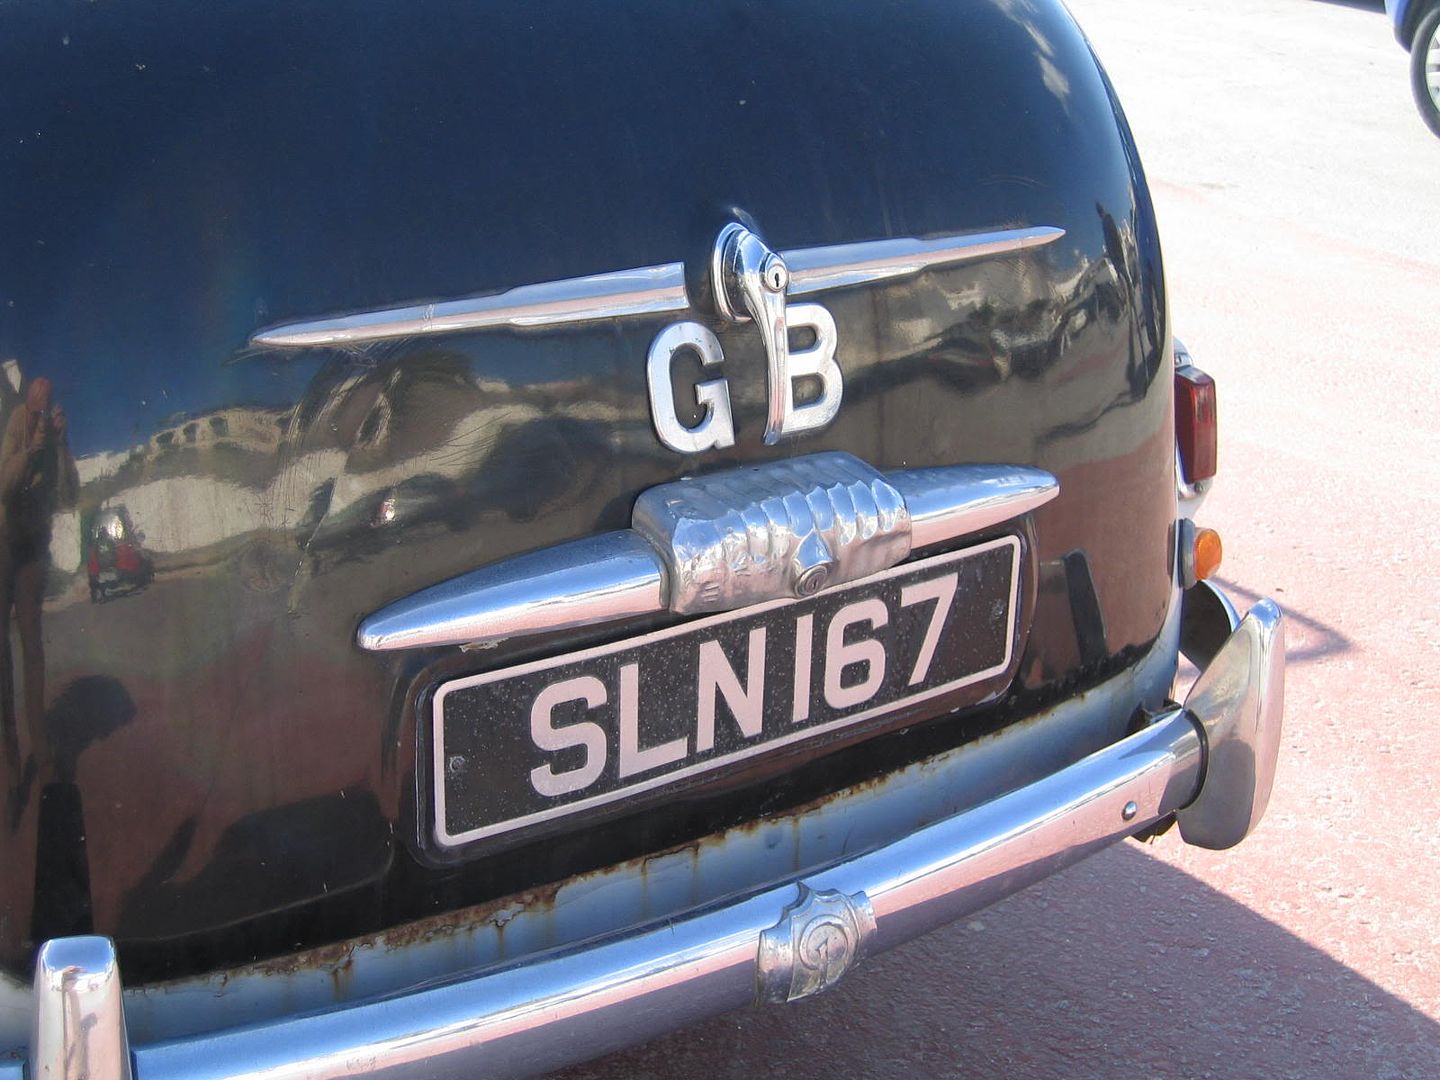
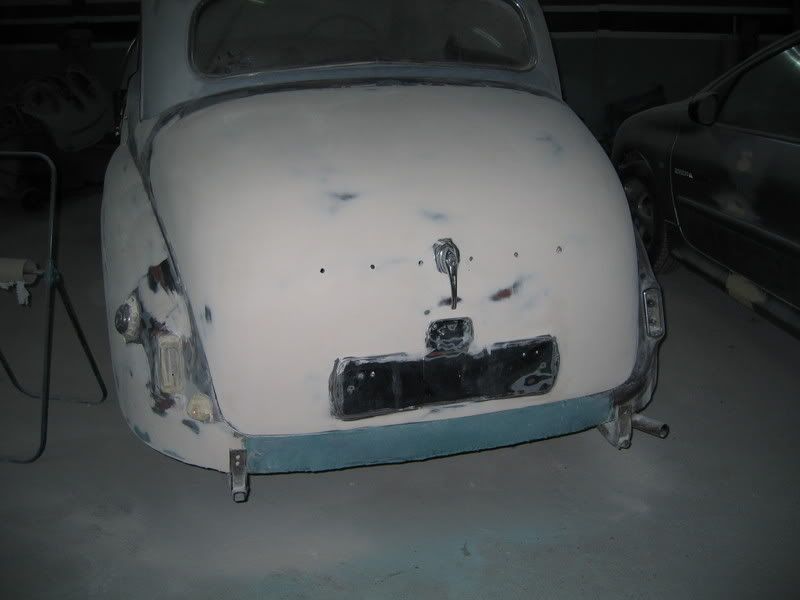
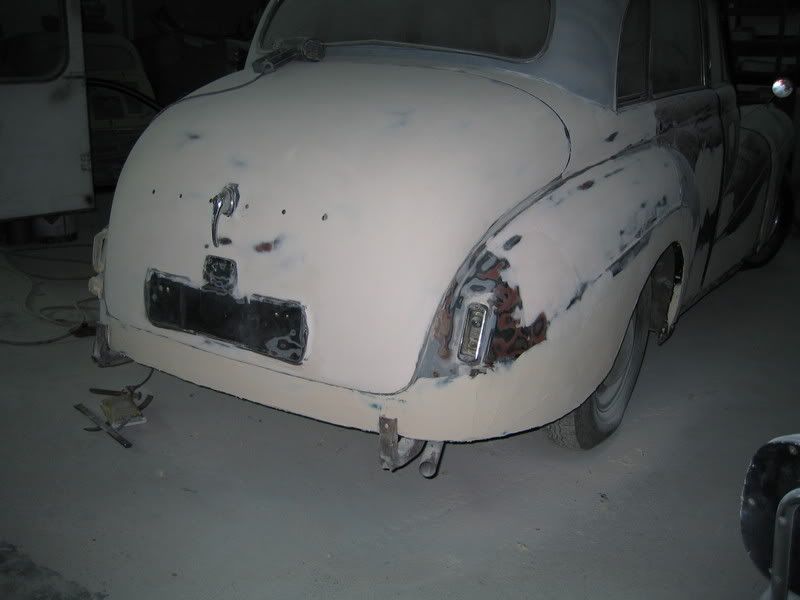
On getting the car home I had time for a closer inspection and here I found rust had settled in especially around the boot and front bumper areas.
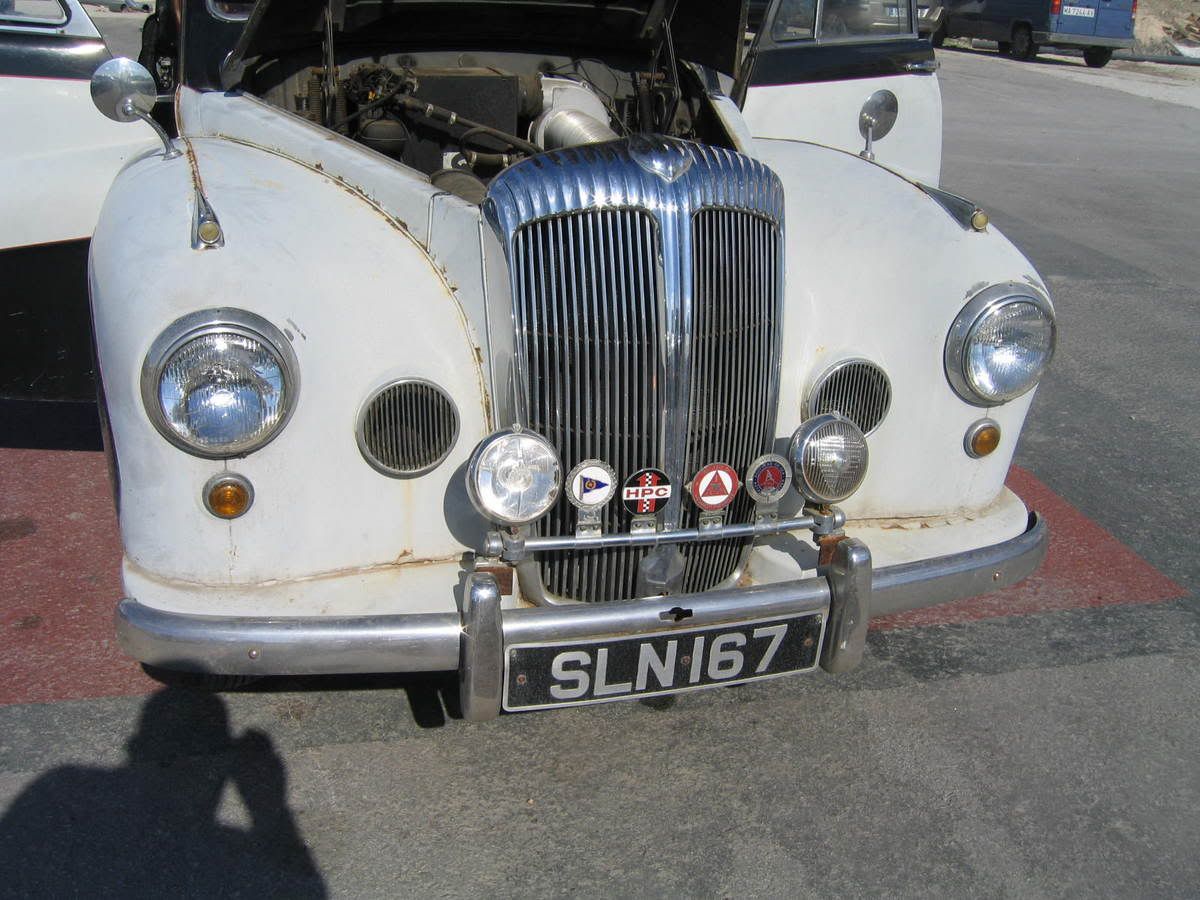
I went off for my first ride and just as I was getting used to the Fluid Flywheel semi auto box, I realised that there was little petrol in the car, so being that the lock up garage was closer that the petroñ station I returned back eager to start the restoration.
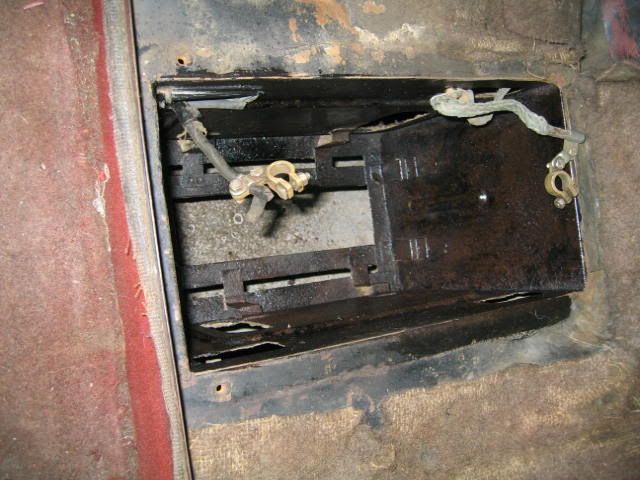
This next one shows that I have stripped out the inside of the car first, taking out the seats, carpets, and woodtrim on the doors. Next I´ve wirebrushed the floor and utilised an anti-rust treatment to get the metal back to a decent state.
Also treated the battery box with the same paint.
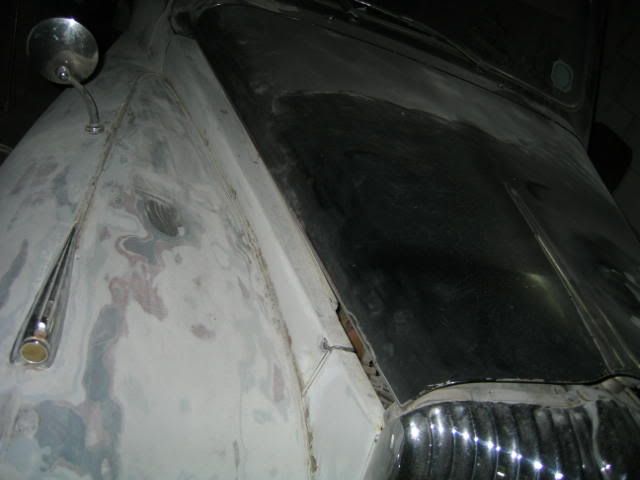
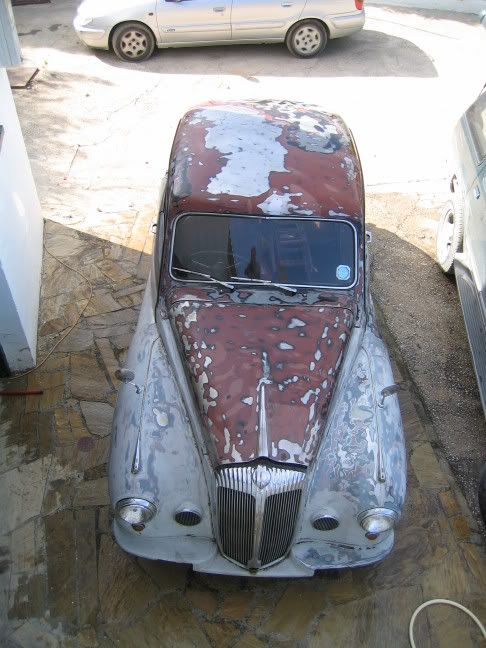
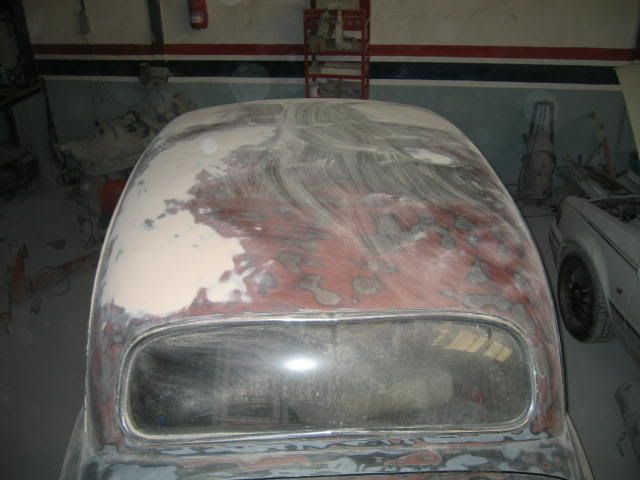
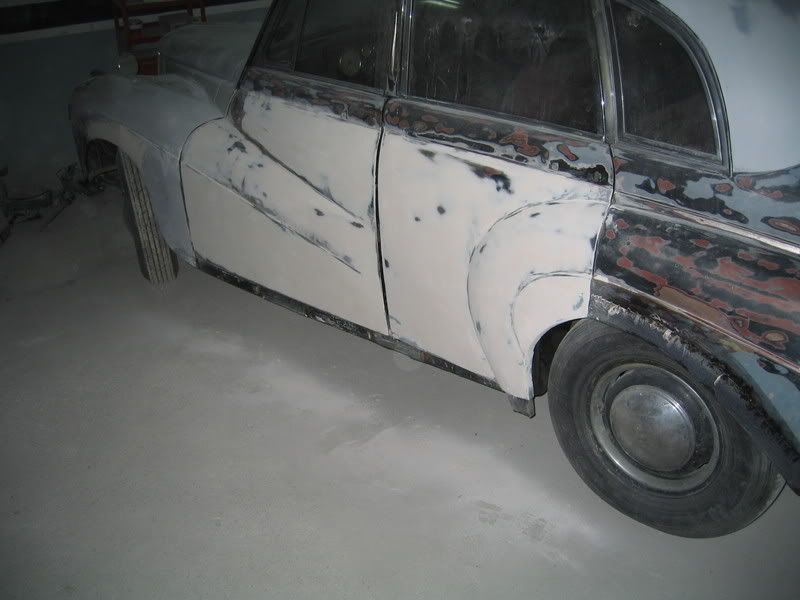
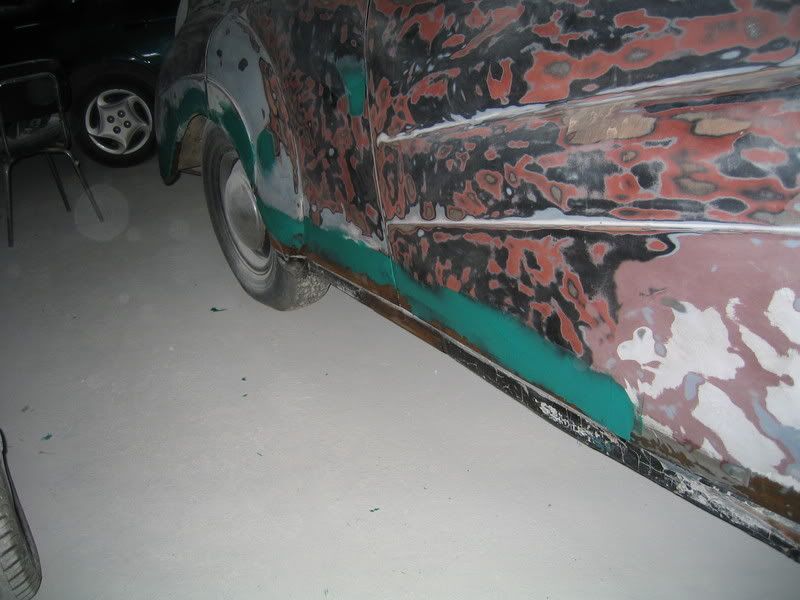
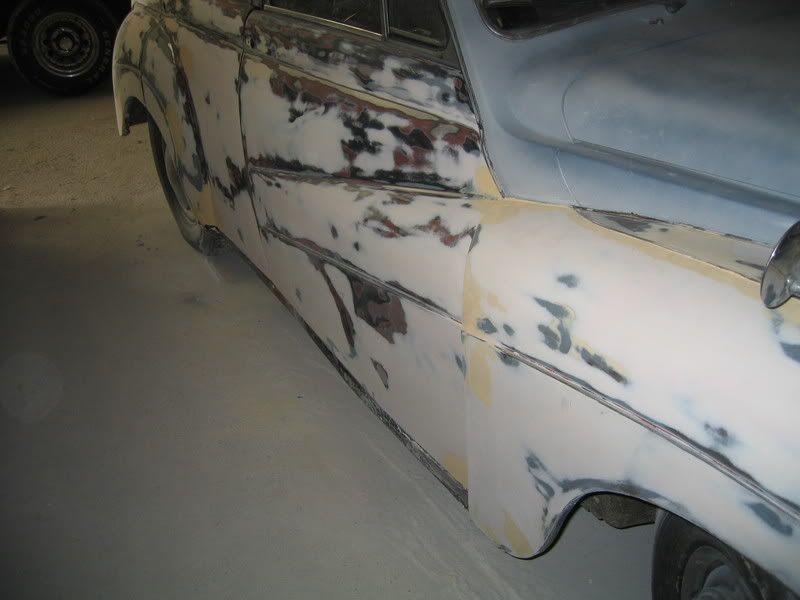
The next job was to rub down the exterior paintwork which was bedly cracked in many places.
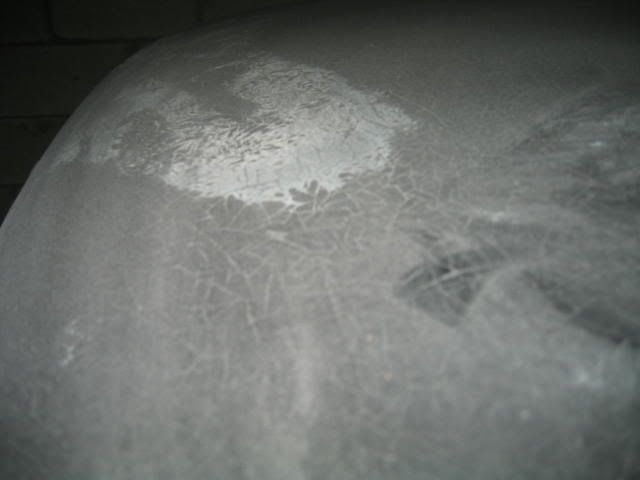
The roof was the worst place for the paintwork.
Now four months had gone past and the rubbing down of the several coats of paint was going slow and I was dependant on an old sander that was always breaking down, and being in March we had Father´s Day I got a Pro-Sander as a present. Here is a photo of the results........
Paint came away in gusts and I was so happy that I forgot to look in the mirror before coming home.
I will make more posts of the restoration so as not to bore you all in one sitting.
Regards To All
Mauricio |
|
| Back to top |
|
 |
Rick
Site Admin

Joined: 27 Apr 2005
Posts: 22446
Location: UK
|
|
| Back to top |
|
|
Mauricio Yeo
Guest
|
| Posted: Tue May 01, 2007 9:36 am Post subject: |
|
|
Rick,
The previous owner, as most Brits that come to live in Spain, do not bother to get their cars reregistered with Spanish plates, which incidentally is not the correct procedure. It has been in Spain for several years and now I have the car in my name and will be placing the Spanish Historic plate.
I have been asked to attend the Fuengirola Car Club this afternoon to give the members a chat on how to get their cars on Historic plates and get them all road legal.
Mauricio |
|
| Back to top |
|
|
buzzy bee
Guest
|
| Posted: Tue May 01, 2007 10:07 am Post subject: |
|
|
Hi
I have the same dusty face most days!
Nice car, looks good as it was found, bet is it going to be better when finished!
Cheers
Dave |
|
| Back to top |
|
|
Old-Nail
Guest
|
| Posted: Tue May 01, 2007 3:30 pm Post subject: |
|
|
| That's a charming old car Mauricio I look forward to seeing the progress you make on it. |
|
| Back to top |
|
|
Mauricio Yeo
Guest
|
| Posted: Sat May 05, 2007 5:10 pm Post subject: |
|
|
Next batch of photos.
I took the car out of the garage and in to the open air, as the lead based undercoat was getting in my throat and possibly not doing much good.
During the hot parts of the day I was stripping down the wood (in the shade of course),and learning by trail and error how to replace the burr walnut. I purchased some loose leaves off of E Bay. When I got all of the bad paint off it was time to take the car to the spray shop to start filling and rubbing down. Last photo before going to the shop.
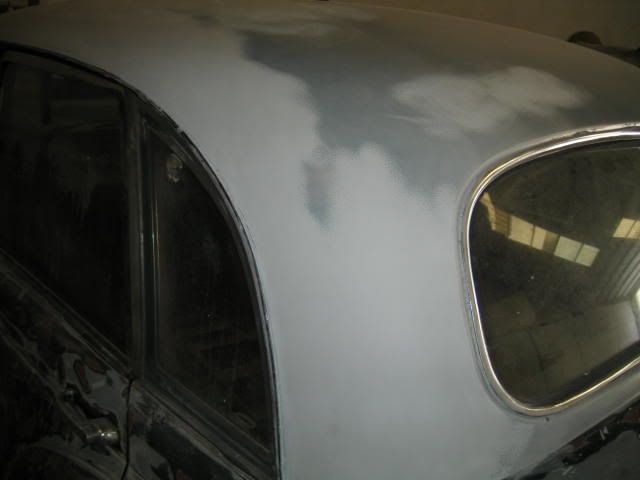
Now in the shop I started on the roof of the car which was almost right down to the bare metal.
Although this was the first time that I had done bodywork I found that I was begining to enjoy my "new" trade.
Next week I will post more photos.
Mauricio |
|
| Back to top |
|
|
Mauricio Yeo
Guest
|
| Posted: Thu May 24, 2007 5:48 pm Post subject: |
|
|
More photos taken in the workshop.
Slowly , slowly the bodywork begins to take shape and as I finish each part, I put on the primer coat.
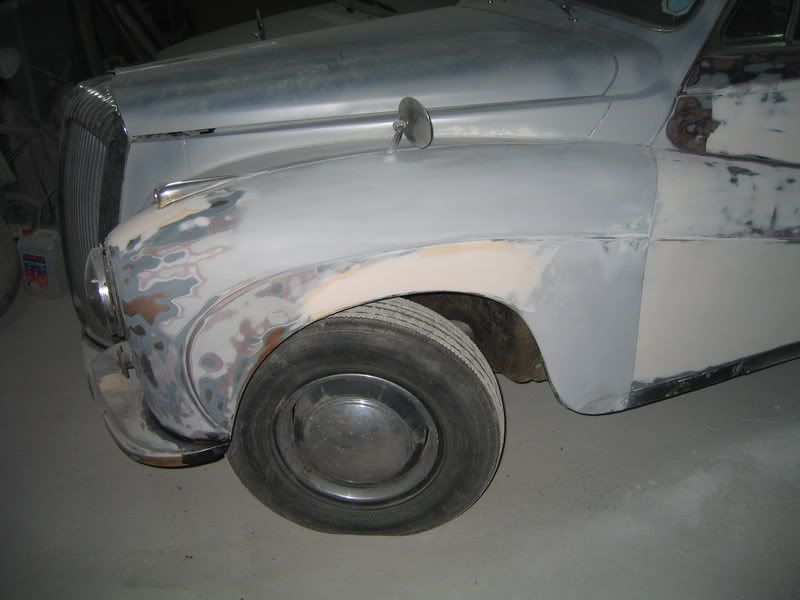
Also trying to follow the door lines.
Had to do some welding to the bodywork under the boot and on the sills. Protected with a genorous coat of glass fibre.
The boot has several layers of filler as I think that the rounded parts require a little more attention.
Last of all I did the offside part of the car.
Getting the Granson in to help out on the lower parts. 
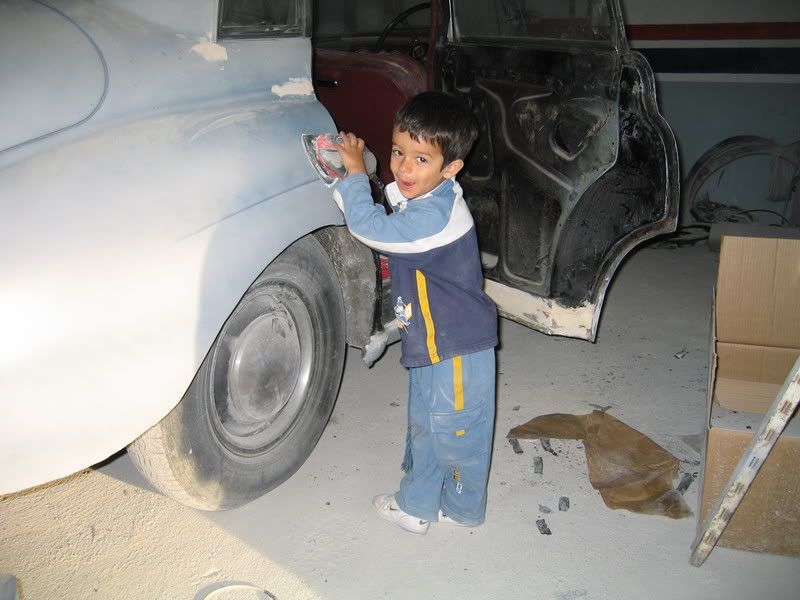
Last photo for today showing the car all primed up and ready to go in to the spray cabin.
Mauricio Yeo |
|
| Back to top |
|
|
Mauricio Yeo
Guest
|
| Posted: Wed Aug 01, 2007 7:30 pm Post subject: |
|
|
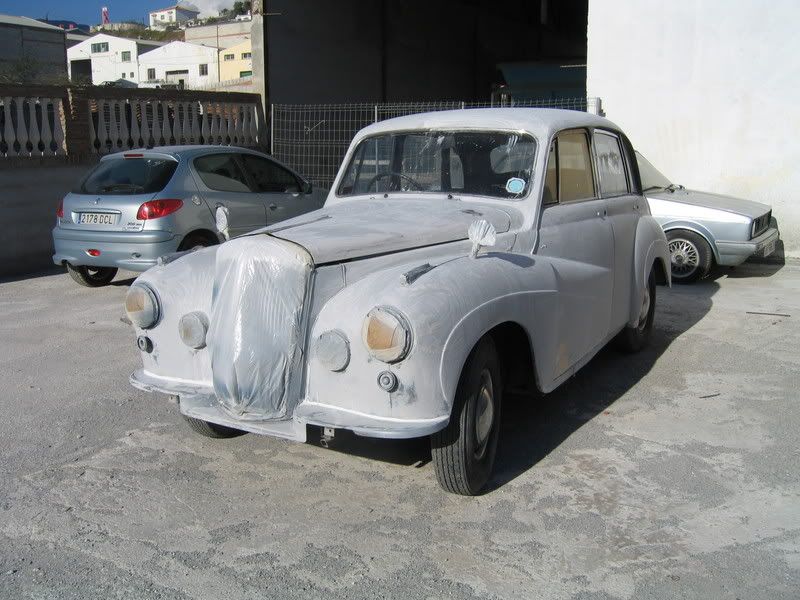
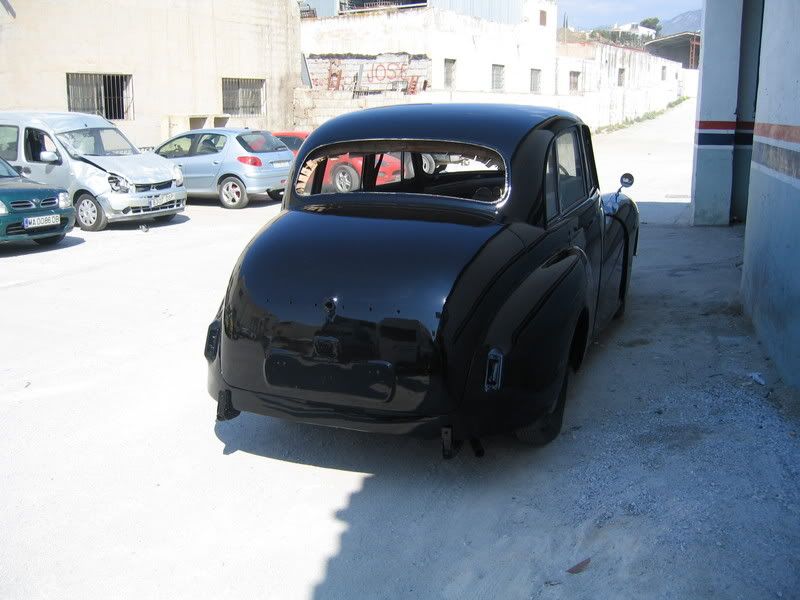
Good Afternoon Señores,
I have been off for a while due to loosing most of my data via a bug but now up and running.
I have some more photos for the record.
Ready for the respray.

First "light" spray and check for defects.
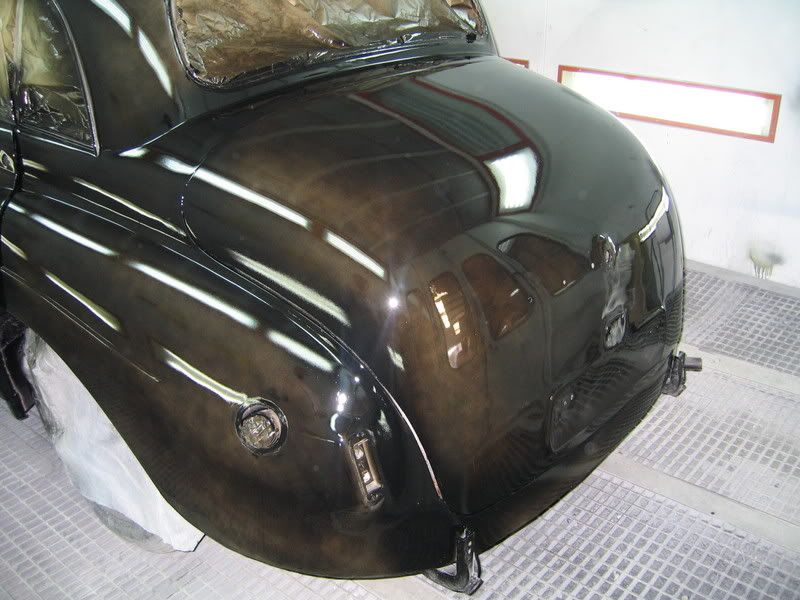
Being that the results were good we decided to go for the second coat.
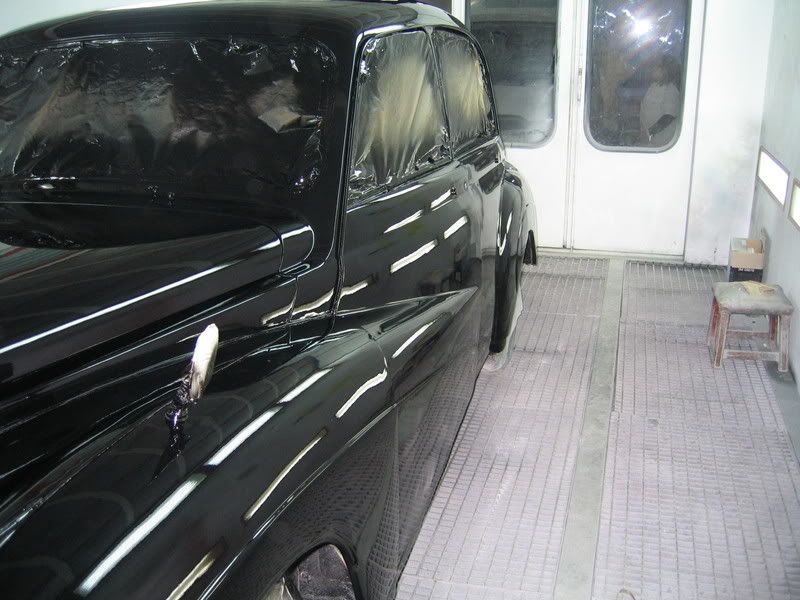
Three coats of black and two of lacquer saw the job through.
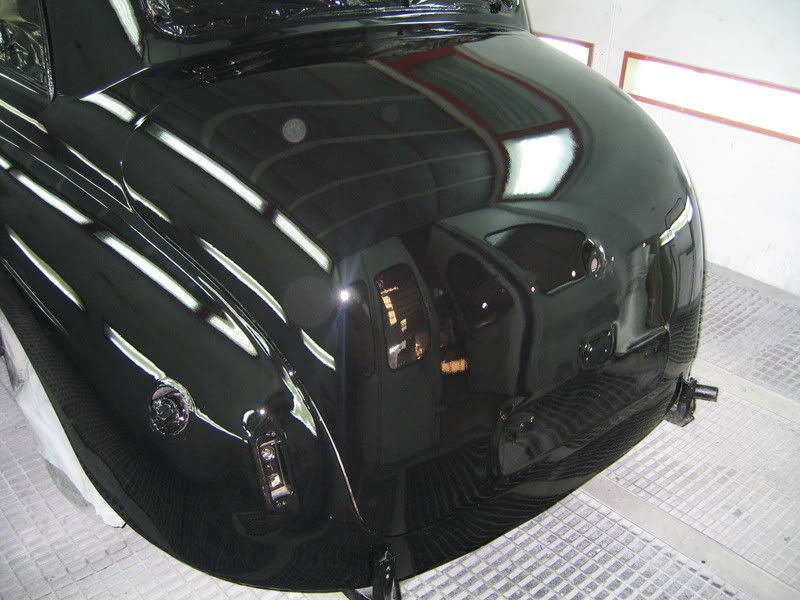
Final shot in the open air next evening.
Up to the Farmhouse and starting to put back together.
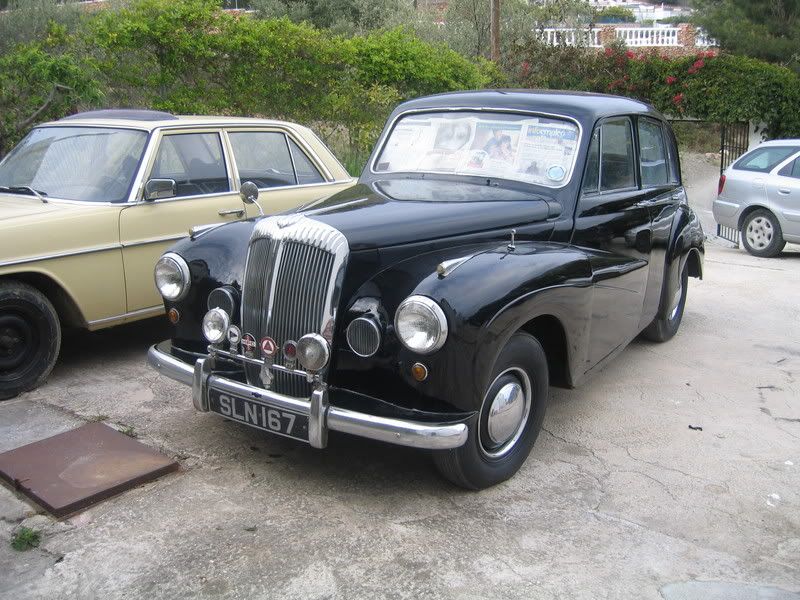
Incidently, thanks for placing a photo of my Conquest on the Forum´s opening page. Very encouraging.
Mauricio Yeo |
|
| Back to top |
|
|
Rick
Site Admin
Joined: 27 Apr 2005
Posts: 22446
Location: UK
|
|
| Back to top |
|
|
Job-Rated
Guest
|
| Posted: Thu Aug 02, 2007 12:17 am Post subject: |
|
|
That really is a corker. Nice job, Mauricio & welcome to the forum.  |
|
| Back to top |
|
|
Mauricio Yeo
Guest
|
| Posted: Fri Aug 03, 2007 6:04 pm Post subject: |
|
|
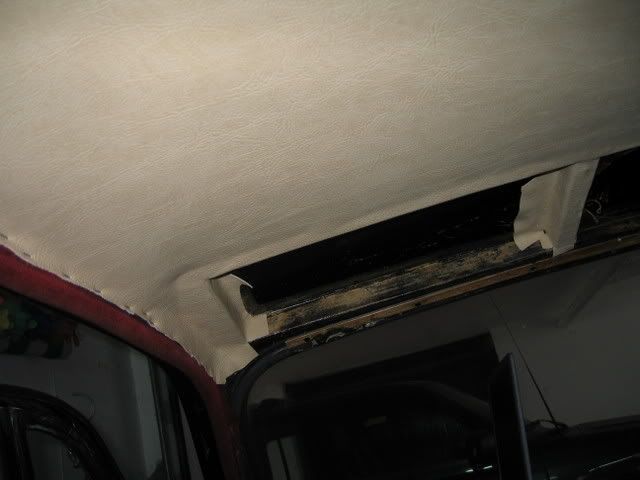
Señores,
After getting the Conquest back together I was disappointed with the interior roof lining that now does not look in keeping with the exterior.
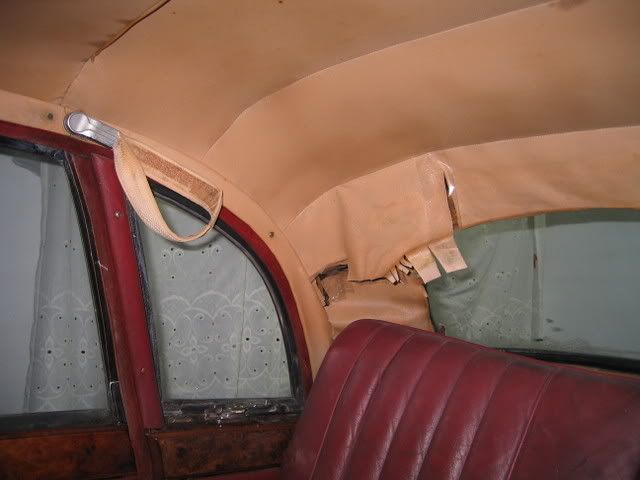
I wonder how this all comes off??? Got to be from the front and working backwards...
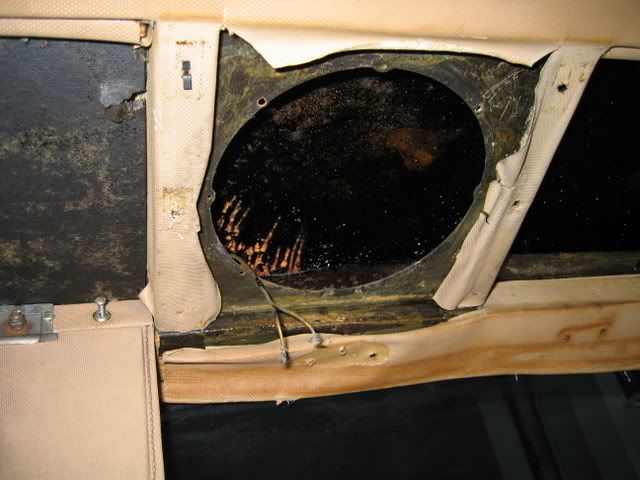
Starting to peel back nicely...
Nearly all off...
So that´s what was under the lining....
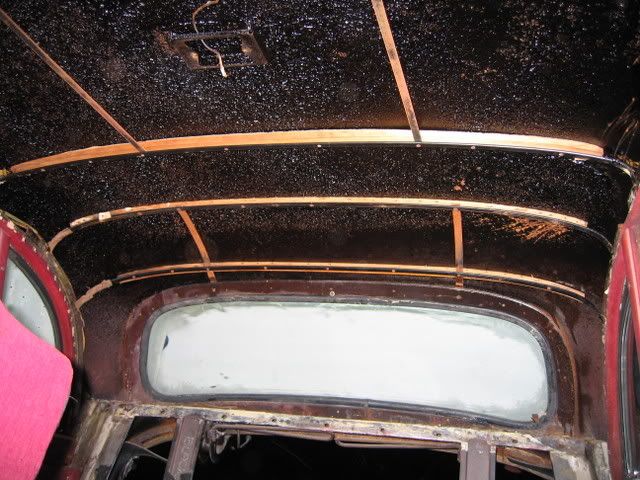
Better get some matching material... |
|
| Back to top |
|
|
buzzy bee
Guest
|
| Posted: Fri Aug 03, 2007 10:13 pm Post subject: |
|
|
Hi
Great pictures! You look like a natural at painting, have you been doing it long?
What is the tin like under the headlining?
Cheers
Dave |
|
| Back to top |
|
|
Mauricio Yeo
Guest
|
| Posted: Fri Aug 03, 2007 11:36 pm Post subject: |
|
|
Dave,
I have only done the bodywork on the Conquest and this is my first attempt. I have done all the prep work for my sprayer and only until he was satisfied did he spray. He charged me 900 euros for his part of the work, that is about £600.
The old roof lining was stained heavily with what I thought was rust, but the metalwork under the lining was in fact very sound. I did cut my knuckles, as I thought that the metal was smooth, but in fact it is very rough, but as I have said, very sound.
I have spent this afternoon doing the new lining and so I will upload and post some photos. This is my second lining that I am doing, the first being on my V8 250, which worked out quite well.
Hasta Pronto |
|
| Back to top |
|
|
UKdave2002
Guest
|
| Posted: Sat Aug 04, 2007 6:43 am Post subject: |
|
|
Hi
Looks like a great paint job! shows its worth all the preperation when you see a great gloss like that.
Dave |
|
| Back to top |
|
|
Mauricio Yeo
Guest
|
| Posted: Sat Aug 04, 2007 1:44 pm Post subject: |
|
|
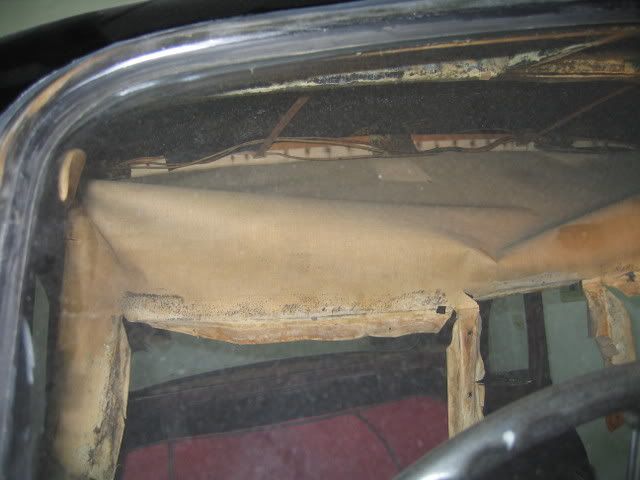
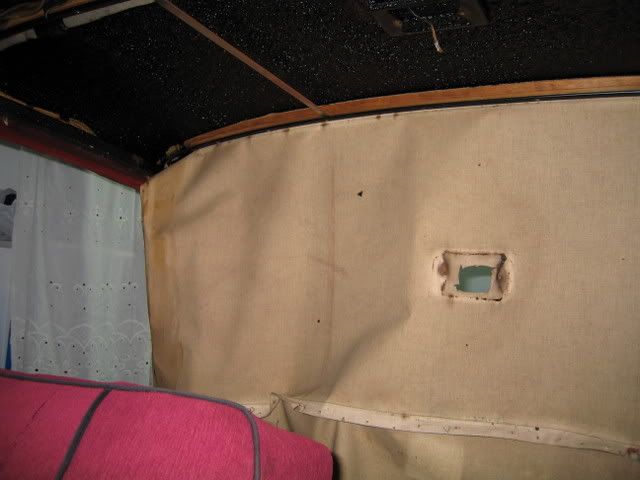
Señores,
Last Friday afternoon started to install the roof lining, and with help this is as far as we got before the heat got to us.
Firstly my mate had the original lining in his shop and had sown in the pleats using the old lining as a guide. Started at the rear of the car and stapled in the firstly the front section.
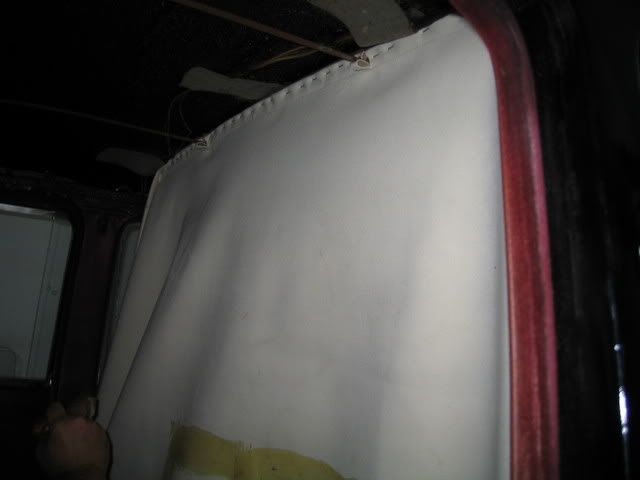
Working forwards and also adding the rear section.

Rear section partially in.
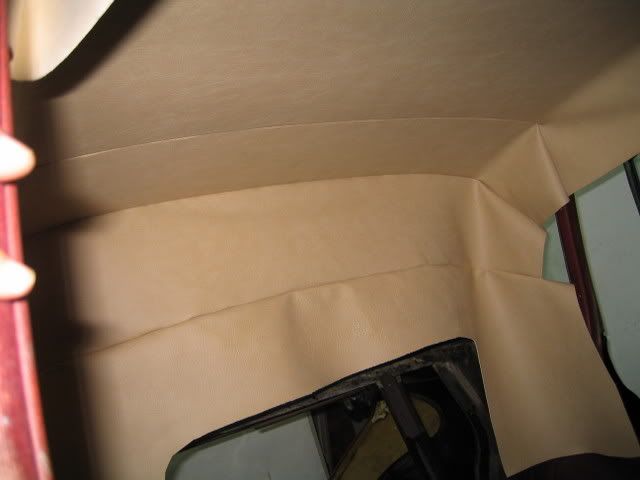
Front section ends up glued on to the area around the sunshades.
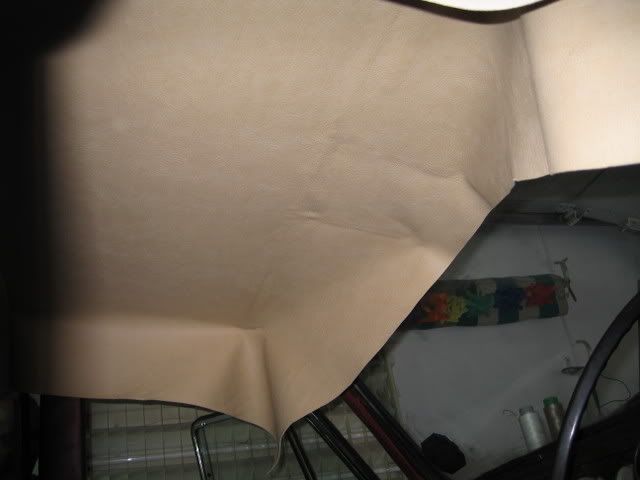
The new rubbers around the windscreen allowed to tuck in the materials to the windscreen surrounds.

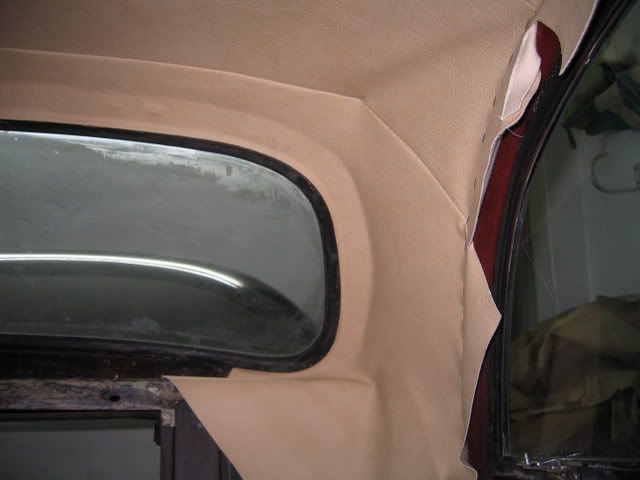
Cut away the material around the shades...
Now this is as far as we got about three hours later.
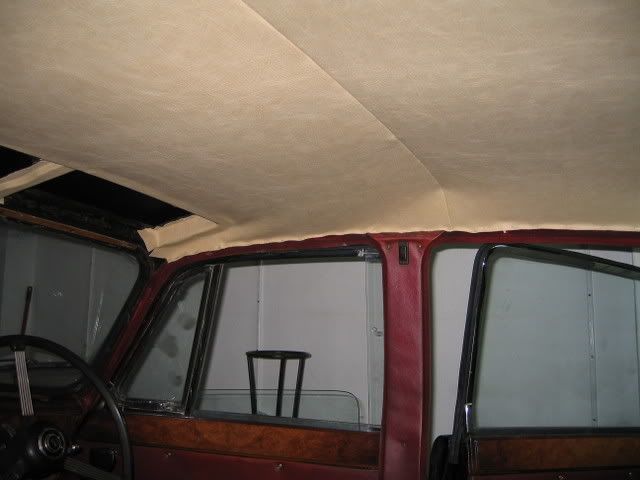
Will give it another go this afternoon and see if we can finish the job off.
By the way, seats should also be finished off during this week.
Mauricio Yeo
http://i16.photobucket.com/albums/b37/mauri5952/f93c6223.jpg |
|
| Back to top |
|
|
|
|
You cannot post new topics in this forum
You cannot reply to topics in this forum
You cannot edit your posts in this forum
You cannot delete your posts in this forum
You cannot vote in polls in this forum
|
php BB powered © php BB Grp.
|


