
Classic cars forum & vehicle restoration.
|
|
| Author |
Message |
ukdave2002
Joined: 23 Nov 2007
Posts: 4104
Location: South Cheshire
|
 Posted: Sun Oct 05, 2008 9:32 am Post subject: 1939 Morris 8 Series E nut and bolt Restoration Posted: Sun Oct 05, 2008 9:32 am Post subject: 1939 Morris 8 Series E nut and bolt Restoration |
 |
|
I have been threatening this post for some time, so as restoration has begun in earnest here it is. 
Bit of Background
The car is a 1939 Morris 8 Series E 4 door, I bought it unseen in 2000 off eBay, which is always a bit risky, my logic was that as it had its original number plate and 12 months MOT, if it turned out to be a can of worms I could break it sell the bits and the plate so recover my money. However it turned out to be a reasonable run about, so the plan was then to make it a rolling restoration.
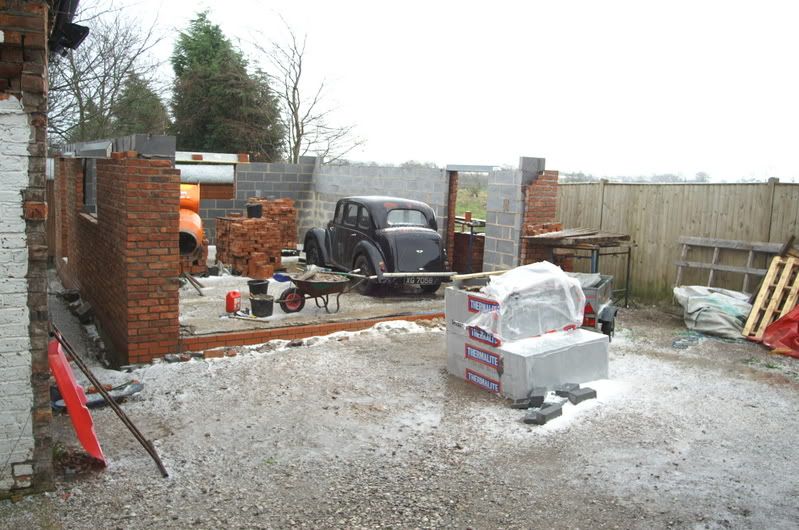
I ran it for about 4 years, it flew through MOT’s until the last one when the inspector found a small hole in the near side sill; he let it go as the car has a separate chassis. I got the cat home with the intention of repairing the hole; started prodding around…… you can probably guess the next bit! I found some of the most skilled bodging that I have ever seen, that probably went back 25 years, t most of the sills and lower body were a combination of wood and fibreglass!. The E does have a separate chassis, but much of the strength is in the body, and you could right off the bottom 9” of the body on both sides. Major restoration was being called for, which coincided with the time we demolished the original garage to build the new one so the project was put on hold.
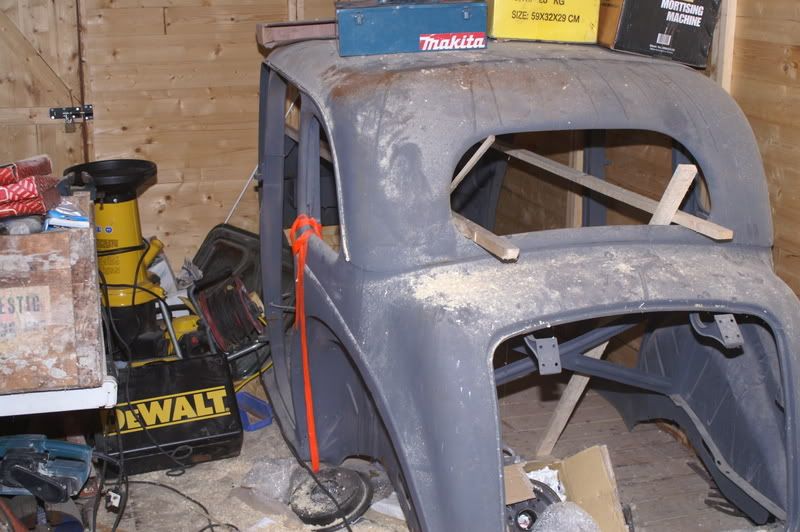
A couple of years ago I came across a NOS 4 door body shell, the story being that in the early 50’s a Morris 8 had accident damage that meant it required a new shell, so it was ordered in, there was then some kind of dispute, net result being the shell was never used and sat in the corner of a Morris dealer until 2006 when a developer acquired the garage site. Fortunately the developer was interested in cars and so rather than scrap it offered it for sale and I picked it up for scrap money.
The restoration
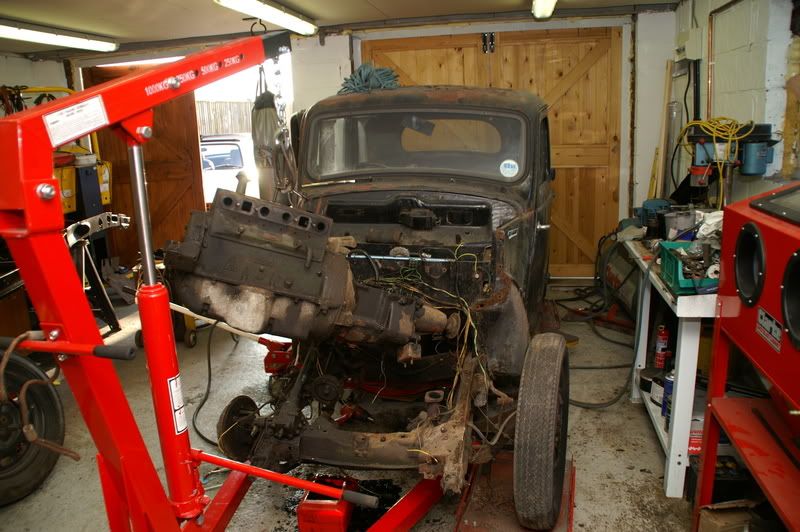
Now I have a new shell, the restoration has turned into a nut and bolt job! This started a couple of weeks ago with me stripping the car, and cleaning the thick end of 70 years of grime away. The car is 70 years old next June (2009) so the target is to hav it on the road for its 70th birthday.
Much to the amazement of anyone who knows me I am trying to be organised, so every part that comes off is being cleaned, bagged, labelled and recorded on a database with a photo reference if necessary, I’m also doing the same with parts I have bought, so that I know what I have, where it is and saves me buying the same part again!

The engine
The engine was running fine although burning a bit of oil after measuring the bores I decided on a rebore. The pistons fitted were +60’s on the maximum bore size, so it would need, The crank was 20” undersize, so hopefully could be ground down, the machine shop put it on a bit of electronic crank measuring wizardry which confirmed taking another .010” off would have it back in good shape.
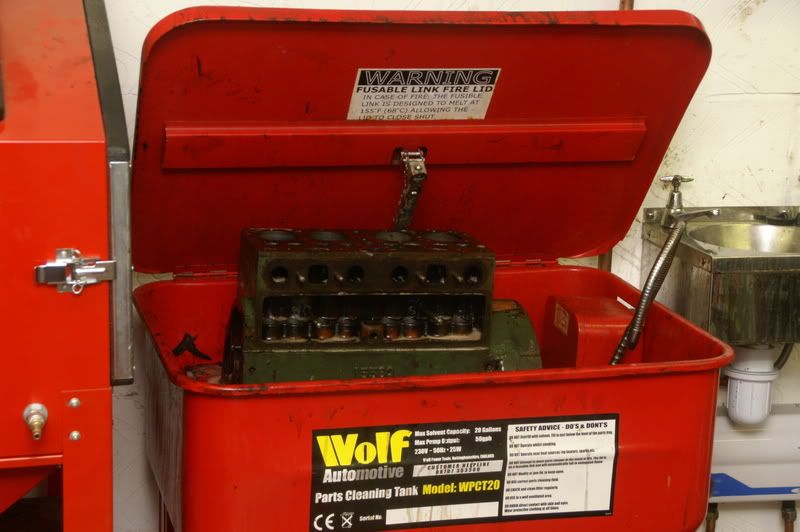
I cleaned the engine up before taking it to the machine shop, dropped it off last Wednesday, collected it on Friday 
So this week end am busy rebuilding it, will let you know how it goes
Dave |
|
| Back to top |
|
 |
peter scott

Joined: 18 Dec 2007
Posts: 7118
Location: Edinburgh
|
| Posted: Sun Oct 05, 2008 9:49 am Post subject: |
|
|
Wow! Having a brand new body shell for a car that age is absolutely wonderful. It will certainly be interesting to how it all goes together.
Peter
_________________
http://www.nostalgiatech.co.uk
1939 SS Jaguar 2 1/2 litre saloon |
|
| Back to top |
|
|
andycars
Joined: 03 Dec 2007
Posts: 239
Location: South Wales
|
| Posted: Sun Oct 05, 2008 9:51 am Post subject: |
|
|
Dave,
I seem to recall some time ago you weren't sure whether to use the new shell. I think this is a fantastic opportunity to produce a first class car and you've definitely made the right decision in my opinion.
Look forward to following this resto!
Andrew |
|
| Back to top |
|
|
Rick
Site Admin

Joined: 27 Apr 2005
Posts: 22439
Location: UK
|
|
| Back to top |
|
|
47p2

Joined: 24 Nov 2007
Posts: 2009
Location: Glasgow
|
| Posted: Sun Oct 05, 2008 5:31 pm Post subject: |
|
|
Good on you Dave, a mammoth task but worth it when the car is finished.
Keep us posted as the rebuild progresses
_________________
ROVER
One of Britain's Fine Cars |
|
| Back to top |
|
|
buzzy bee

Joined: 23 Nov 2007
Posts: 3382
Location: South Cheshire
|
| Posted: Sun Oct 05, 2008 5:48 pm Post subject: |
|
|
Hi
I just still can't believe the box of nuts and bolts, wow!  I will have to try it! I will have to try it!
Cheers
Dave |
|
| Back to top |
|
|
wrinx

Joined: 22 Jun 2008
Posts: 142
Location: Derbyshire
|
| Posted: Wed Oct 15, 2008 11:40 pm Post subject: |
|
|
Missed this thread, will be watching with interest....nice bags btw
wrinx
_________________
www.alfaromeo155.co.uk | www.alfamatta.co.uk
 |
|
| Back to top |
|
|
ukdave2002
Joined: 23 Nov 2007
Posts: 4104
Location: South Cheshire
|
| Posted: Mon Oct 27, 2008 3:04 pm Post subject: |
|
|
Been concentrating on the getting the engine back together whilst its all fresh in my mind how it came apart!! the engine needed liners as it was on max bore, I was quoted £320 + VAT for a set from a Morris Specialist on the basis that they could only locate 1 set!!, so I Googled “engine liners” and the first company to come up was Westwood, http://www.westwoodtrading.co.uk/ looking at the site it all looked a bit modern, but they did claim to be able to make liners up so I gave them a call, amazingly the guy who took the call didn’t seem phased when I told them what they were for, even more amazing was when he said “that its a WCL 2 in stock at £26 each” and by 8:30am the following morning they were delivered to me.
Eddie Wylde of Wyvern Spares in Shropshire supplied things like valve guides, gaskets and all the bearings.
I dropped the liners and valve guides off at the machine shop and the following day picked up a freshly machined block, head and crank.
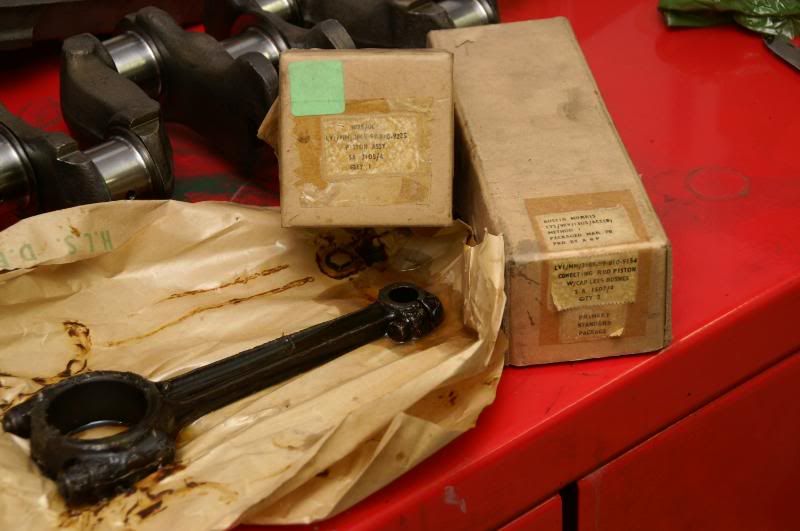
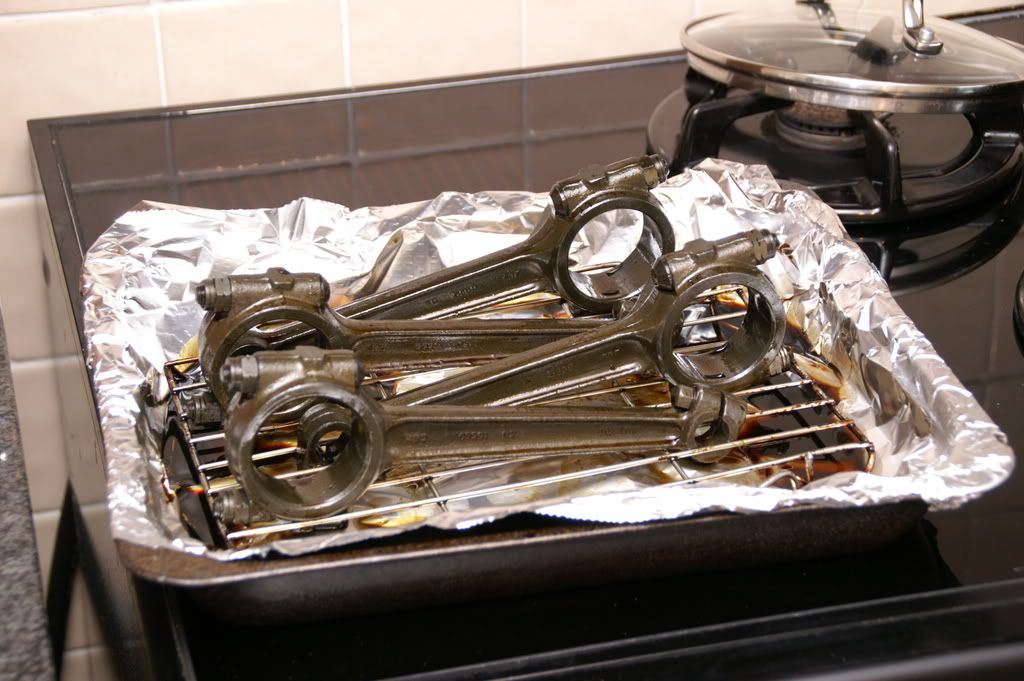
I got the engine home together with all the new bits for assembly. One benefit when rebuilding a Morris 8 engine is the plentiful parts supply, the same engine was used as a donkey engine in tanks by the military, for at least a couple of decades after the engines were fitted in vehicles,so there are lots of government surplus engine bits around, with the great advantage that the military must pack them assuming that as some point before the parts are used they are going to be submerged in sea water for a year  , so the packing must protect, the pistons and rings for example had 2 vacuum sealed bags over each piston and ring set, then heavily waxed paper another plastic bag and then the box, Con rods and timing gears were covered in a heavy wax that I removed by heating up in the oven and then getting the final bits of wax off with petrol. , so the packing must protect, the pistons and rings for example had 2 vacuum sealed bags over each piston and ring set, then heavily waxed paper another plastic bag and then the box, Con rods and timing gears were covered in a heavy wax that I removed by heating up in the oven and then getting the final bits of wax off with petrol.
Con rods waxed up decades ago!
Gas mark 4 for 20 mins turning occasionaly
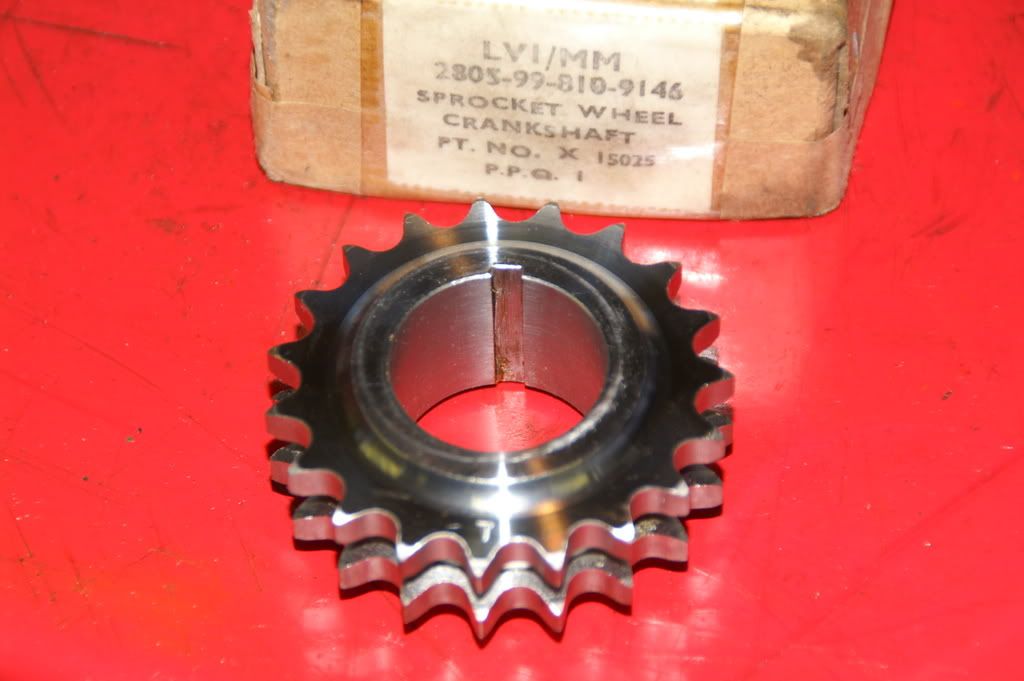
The protective wax does its job, when cleaned the bits are like new, this crank gear was packed in 1963!
To cut to the rebuild I had the same challenge that Pigtin mentioned, the pistons have to be installed from the bottom of the engine, the original liners were chamfered and I did not ask the shop to do this, its not so much of a problem if the crank is out as you can get a ring compressor in (thank you Buzzy) So I assembled the engine pistons first and then the crank, which is not so good for detecting any tightness as you build, you cant revolve the crank fully until all the con rods are connected. With the short engine assembled I turned it only to find a couple of tight spots, to cut a long storey short it was the rods just touching the cylinder walls when the crank was “offset” most from the cylinder. The 8 engine has grooves cut into the cylinder walls at each sided a the bottom to accommodate the rod deflection, the engineering shop had cut these slots but a little bit conservatively, they actually go about an inch up the cylinder, rather than take the block back I dismantled the engine and ground a bit more off with a die grinder, a bit nerve racking taking a grinder to freshly cut cylinder bores, any way its all back together and now turns without sticking.
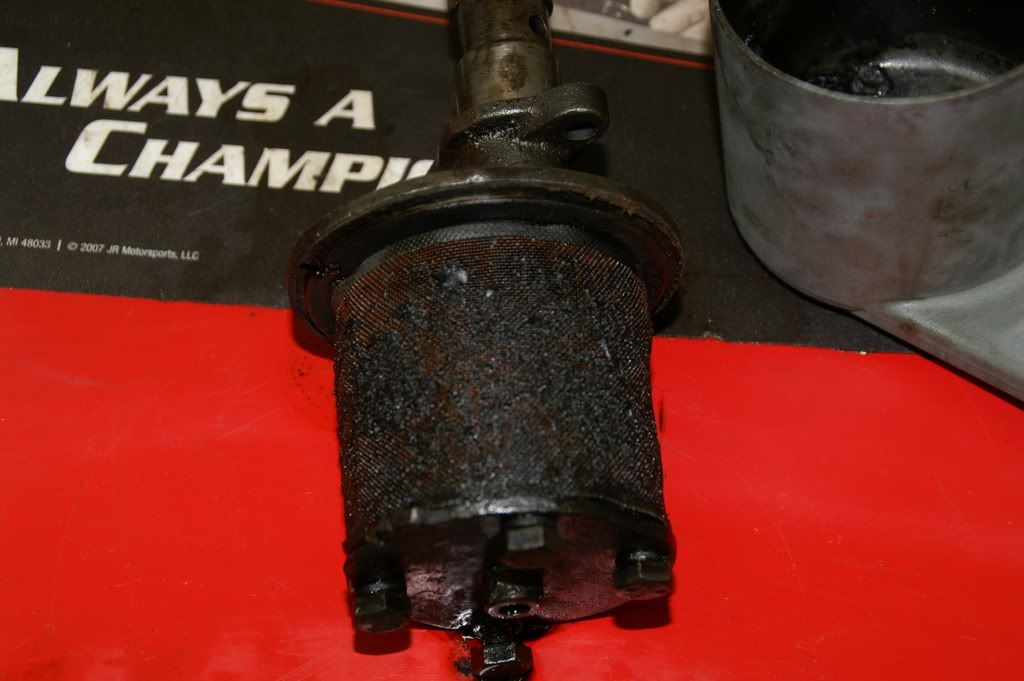
This pic is looking up the bottoms of bore through the crank.
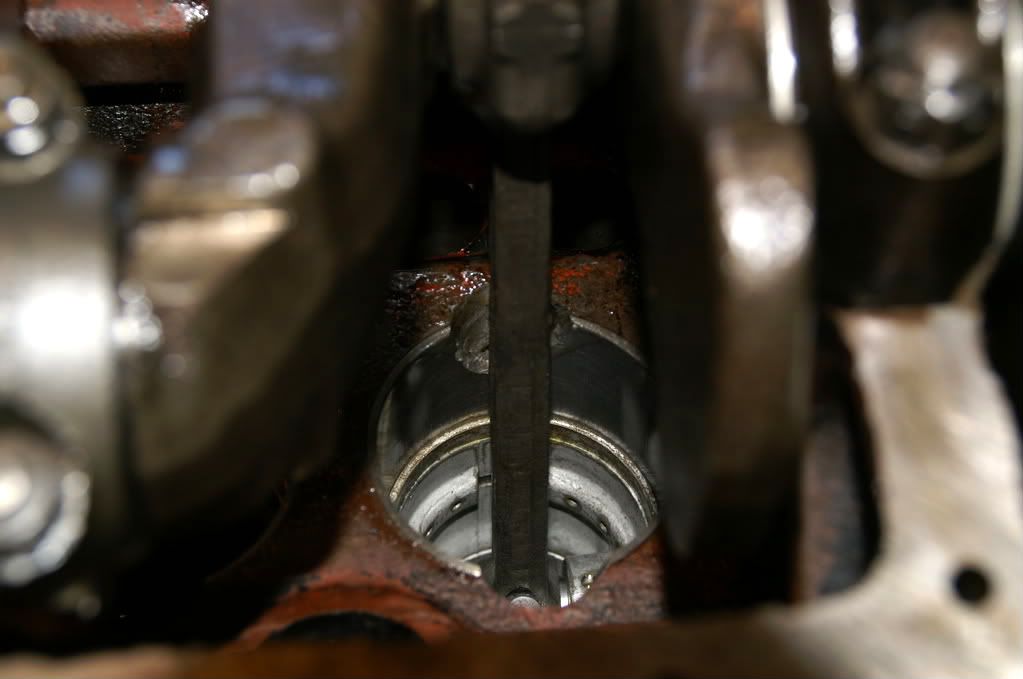
This is the oil pump gauze there must have been more than 50% of it gummed up, the engine doesn’t have an oil filter so this is the only defence, I cleaned it up and soldered a couple of small areas where the mesh had been damaged, there was a tad to much clearance between the pump gears and the bottom of the case, so I ground the case slightly with some wet & dry on a flat surface to get it back to spec.
Next job is the valves and associated gear which I hope to do at some point this week. |
|
| Back to top |
|
|
Keith D
Joined: 16 Oct 2008
Posts: 1129
Location: Upper Swan, Western Australia
|
| Posted: Mon Oct 27, 2008 10:35 pm Post subject: |
|
|
HI Dave,
That's going to a new car when you've finished! Getting a brand new body like that is something that would only happen once in a lifetime!
I have bought various ex-British military stuff at swap meets when I have visited Britain and I can appreciate your comments on the protection. It's fantastic; despite their age, the parts are as if they had been made yesterday. I bet your toil and strife was impressed with the rods going into the oven???
Keep those photo's coming.
Keith D |
|
| Back to top |
|
|
Rick
Site Admin
Joined: 27 Apr 2005
Posts: 22439
Location: UK
|
|
| Back to top |
|
|
Nic Jarman

Joined: 05 Oct 2008
Posts: 1031
Location: Stoke by Clare, Suffolk
|
| Posted: Mon Nov 03, 2008 4:45 pm Post subject: FLOOR |
|
|
Hi Dave, I am interested in the floor of your Morris. Is it wood like mine? If it is, is it original? Mine has been replaced by someone who tried to cut it out with a knife and fork. Loads of photos would be good for me.
Regards Nic |
|
| Back to top |
|
|
Nic Jarman
Joined: 05 Oct 2008
Posts: 1031
Location: Stoke by Clare, Suffolk
|
| Posted: Thu Nov 06, 2008 3:46 pm Post subject: |
|
|
Hi Dave, I thought I should put a new roof on the car. What do you think?

|
|
| Back to top |
|
|
ukdave2002
Joined: 23 Nov 2007
Posts: 4104
Location: South Cheshire
|
| Posted: Thu Nov 27, 2008 1:55 pm Post subject: |
|
|
| How does it affect the aerodynamics |
|
| Back to top |
|
|
Nic Jarman
Joined: 05 Oct 2008
Posts: 1031
Location: Stoke by Clare, Suffolk
|
| Posted: Tue Dec 02, 2008 10:59 pm Post subject: |
|
|
| Hi Dave, nice to hear from you. Of course you should know that aerodymanics did not exist in 1936. How is your 8 coming along? |
|
| Back to top |
|
|
ukdave2002
Joined: 23 Nov 2007
Posts: 4104
Location: South Cheshire
|
| Posted: Sun Dec 07, 2008 10:40 am Post subject: |
|
|
Been meaning to update this thread for some time, but work has just been manic! what recession??!!
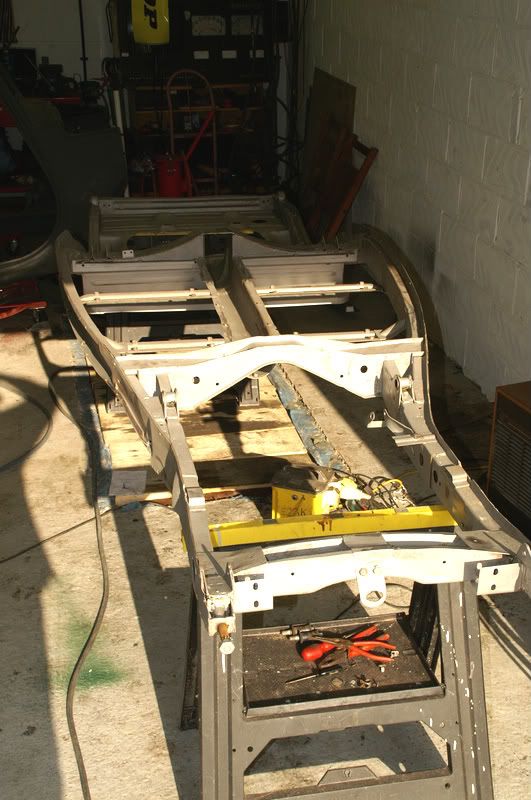
The chassis was blast cleaned ( a pig to do because it has so many nooks and crannies!) I probably would have been better getting it acid dipped, however there is a local blast cleaning firm only a mile away and they did a pretty good job.
Chassis as it was returned fro the blast cleaners
Primed with an etch primer, the same day!
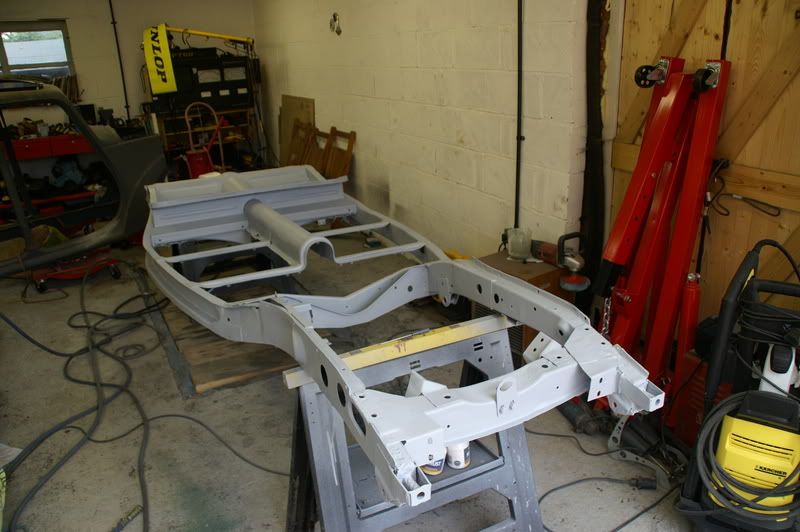
And painted with a 2 pack chassis paint, thought I had a pic of this can't find it so will add it later!!  |
|
| Back to top |
|
|
|
|
You cannot post new topics in this forum
You cannot reply to topics in this forum
You cannot edit your posts in this forum
You cannot delete your posts in this forum
You cannot vote in polls in this forum
|
php BB powered © php BB Grp.
|


