
|
|

|
| See Homepage. | This page: The tatty dashboard receives fresh paint |
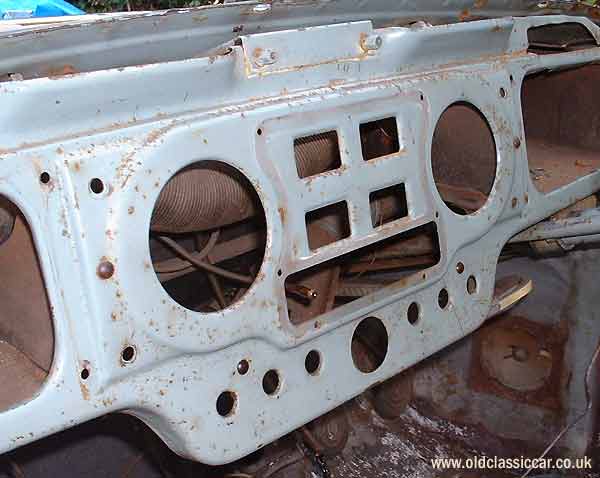
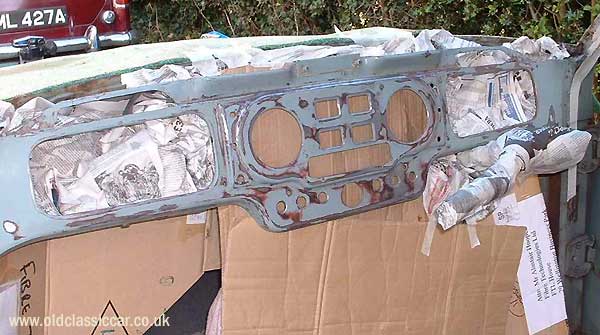
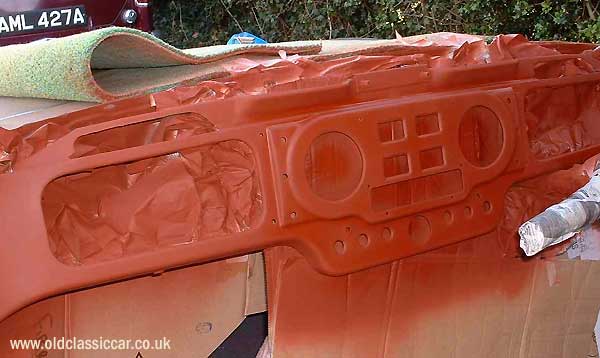
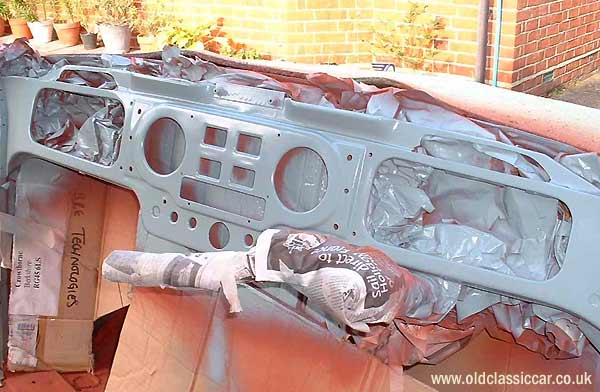
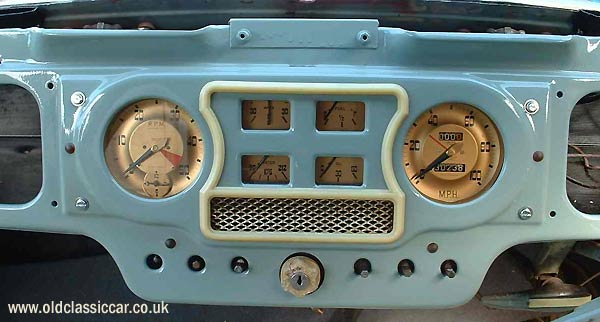
Re-spraying the dashboardPart 5 details the work done in restoring the dashboard, from its original condition, surface preparation, then application of fresh paint.George's notes and photographs are below, the latter explaining in pictures this part of the restoration on his 1950s Austin.. [Back to Page 1] The gun and compressor are new to me and I was very pleased with the results. The red oxide was bought 9 years ago and was a few years old even then! Will rub down tomorrow and give it another coat." "I put on the first coat of top coat yesterday afternoon and had a couple of sags unfortunately. I am learning painting and its a touchy subject, not easy! The worst sag was thanks to me hitting the gear lever on the stroke which kept the gun in one place for a split second too long! I was rather annoyed." |
 |
 |
 |
 |
 |
 |

|
|

Custom Search
|
 |
| Old Classic Car (C) R. Jones 2023. Content not to be reproduced elsewhere. |
| Website by ableweb. |
| Privacy Policy, Cookies & Disclaimers |