|
|
| Author |
Message |
Rick
Site Admin

Joined: 27 Apr 2005
Posts: 22472
Location: UK
|
|
| Back to top |
|
 |
Old-Nail

Joined: 23 Nov 2007
Posts: 853
|
 Posted: Wed Apr 02, 2008 3:48 pm Post subject: Posted: Wed Apr 02, 2008 3:48 pm Post subject: |
 |
|
| I don't know what they call it but it's a similar deal to how the Morris Oxford was made in India, they look like, and must be Hillman Hunters by any other name. |
|
| Back to top |
|
|
bob2
Joined: 06 Dec 2007
Posts: 1727
Location: Malta
|
| Posted: Thu Apr 03, 2008 9:21 am Post subject: |
|
|
yeah they r called paykan or peykan or something of that sort
however production has ended or at least thats what I found out by surfing the net.
Over there they love it and hundreds or thousands of them are restored or modified, seen also photos of convertible ones!!
they really love their hunters  !!! !!!
I wish to put a webasto in it but am dubious now its ready painted + webastos r quite expensive and not really obtainable over here, I'd have to import one from UK!!! |
|
| Back to top |
|
|
bob2
Joined: 06 Dec 2007
Posts: 1727
Location: Malta
|
| Posted: Fri Apr 25, 2008 10:09 am Post subject: |
|
|
Have not done much more on this car lately but next wekend I will try find some time to continue doing the boot!!
Will take some pics of the small items I have painted and post them here!!
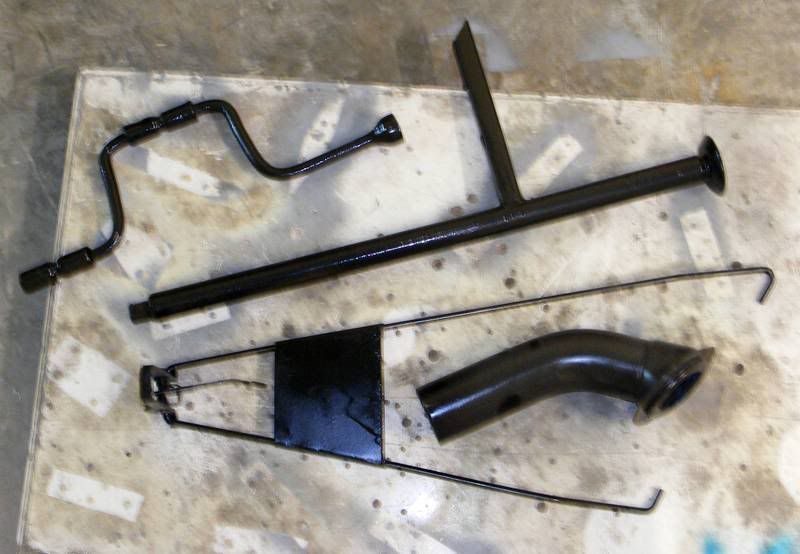
Have painted the filler neck of the petrol tank, spare wheel lock and grill in satin black!!
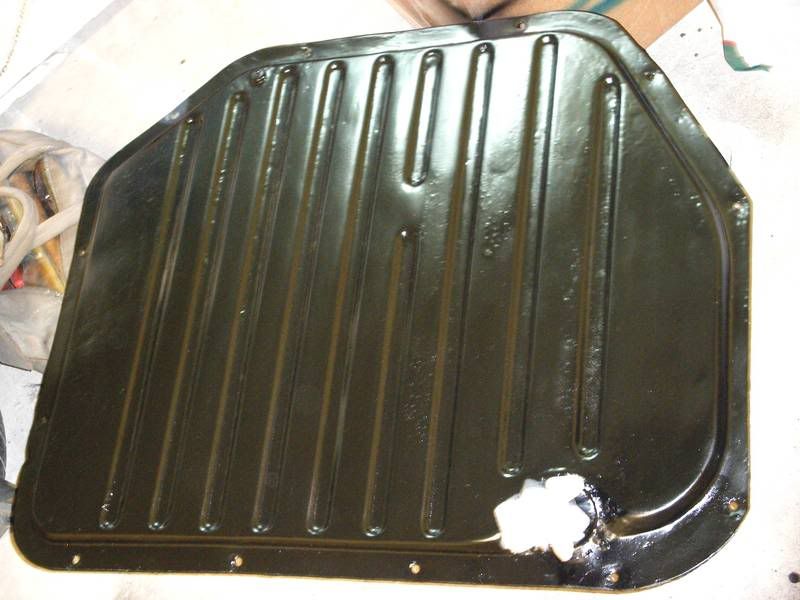
The petrol tank has not turned out as nice as I intended it so I will be giving it a coat of stone guard (it will also help preseve it from stone chips and from the stuff I throw in the booth) and then finish it off in satin black as well.
Well it will not be seen when the booth gets trimmed so I am not bothered in trying to tidying it more to make it better!
getting lazy lately  |
|
| Back to top |
|
|
bob2
Joined: 06 Dec 2007
Posts: 1727
Location: Malta
|
| Posted: Mon Jun 02, 2008 11:03 am Post subject: |
|
|
Managed to do some more bits last week, the boot area is now blu. Have found some time on saturday and rollered on a first coat, however I m not satisfied with the results and will sand it back with 320/400 and buy some new rollers as the one I used was past its best!!
Have also finished the petrol tank and the original jack of the car in satin black.
Plan is to give the boot 4 coats in all mixing the paint with hardner on a 3:1 ratio.
Than some fine wet n dry and polish and hope to obtain the best finish possible!!
will post some fotos later!! |
|
| Back to top |
|
|
bob2
Joined: 06 Dec 2007
Posts: 1727
Location: Malta
|
| Posted: Mon Jun 02, 2008 2:47 pm Post subject: |
|
|
Here are some pics;
The petrol tank cleaned inside and out and painted back to satin black. Was quite messed up with slight dents and some surface rust and could not get a better finish without loosing too much time, so I got it presentable and thats it!!
Some parts from the boot also got cleaned and painted, spare wheel catch, petrol tank filler neck, jack and wheel brace. crap photo though!
 |
|
| Back to top |
|
|
bob2
Joined: 06 Dec 2007
Posts: 1727
Location: Malta
|
| Posted: Mon Aug 25, 2008 9:21 am Post subject: |
|
|
well, have finally done some more work on the hunter lately and fitted back the petrol tank and although it had been stood for almost 5 months started on the 3rd or fourth turn!!
well chuffed with it, this week I'll continue tackling the underside.
Will post some photos when and if I remember to take the camera with me!! |
|
| Back to top |
|
|
bob2
Joined: 06 Dec 2007
Posts: 1727
Location: Malta
|
| Posted: Thu Sep 18, 2008 12:05 pm Post subject: |
|
|
its been some time since I last posted some pics, been busy lately doing the underside. Its not ready yet but soon will be (famous last words)!!
Here r some pics.
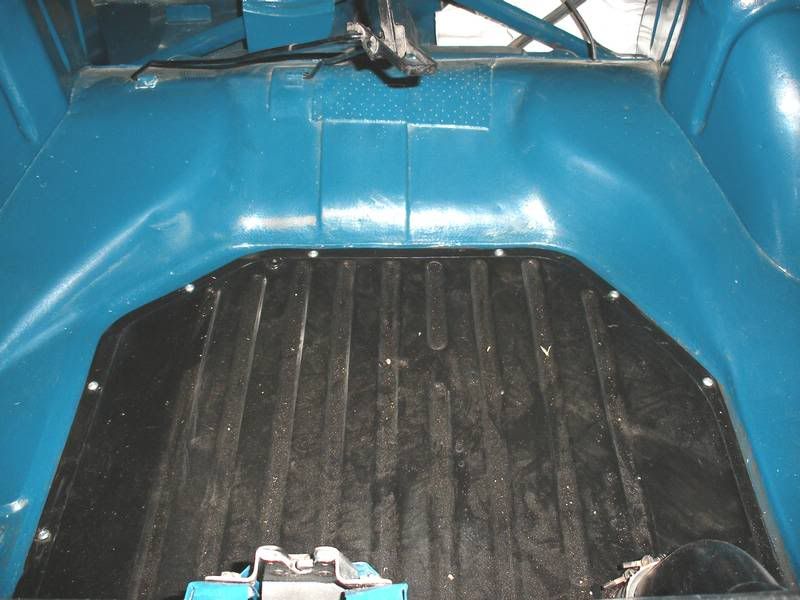
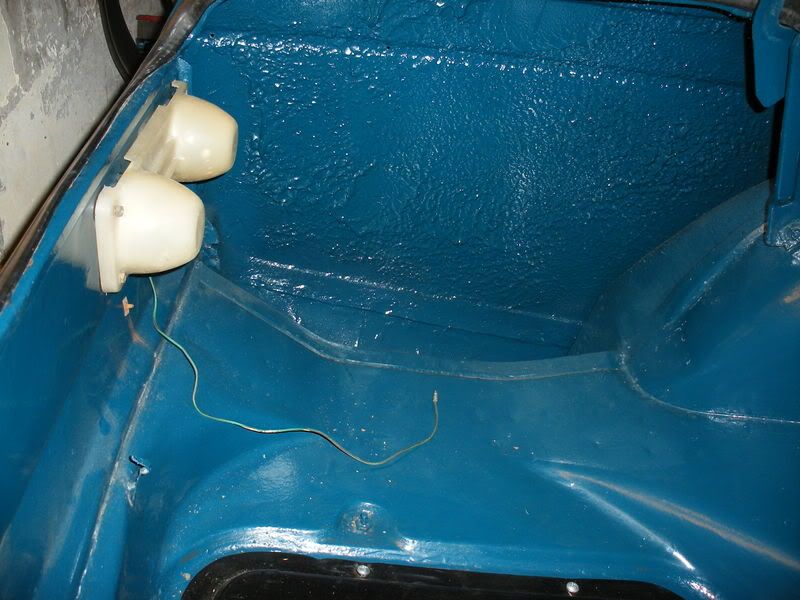
The boot interior with tank fitted
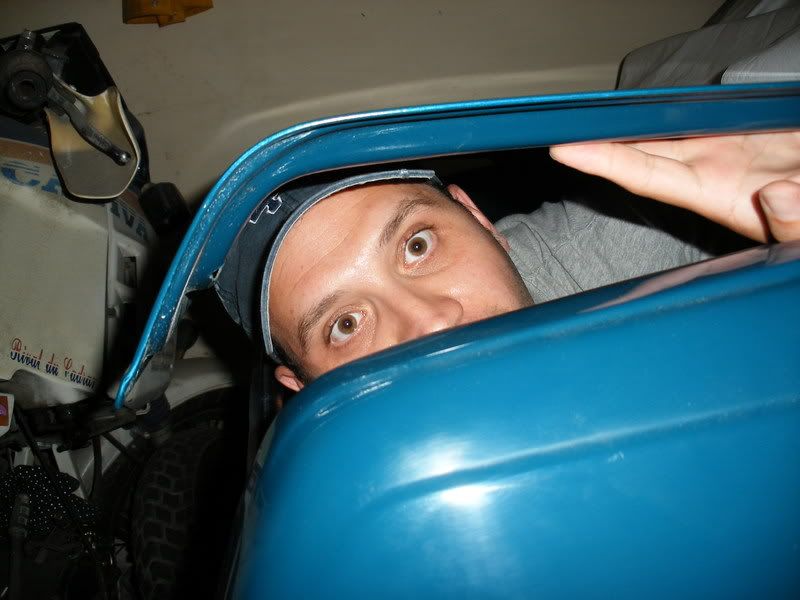
Me being silly before fitting the petrol tank
The rear light clusters covers that cleaned up really well, and look almost new
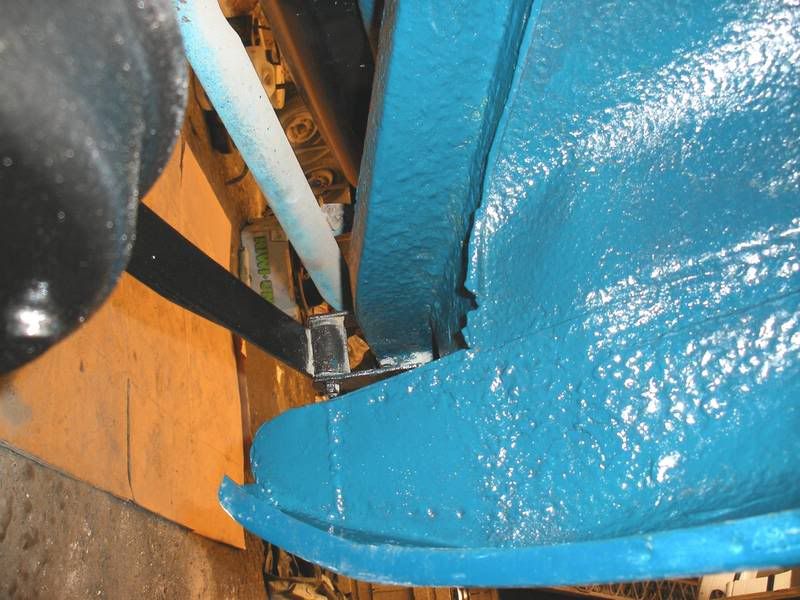
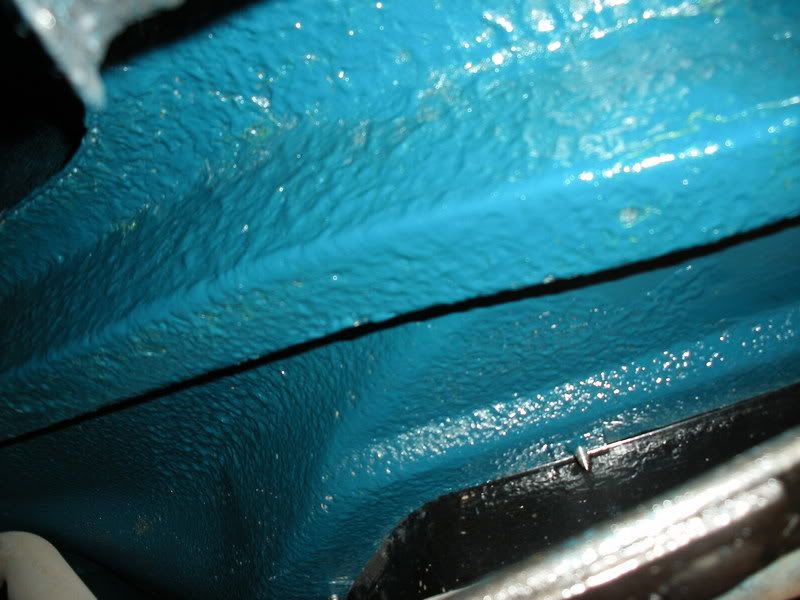
The underside rear wings
drum brake rear
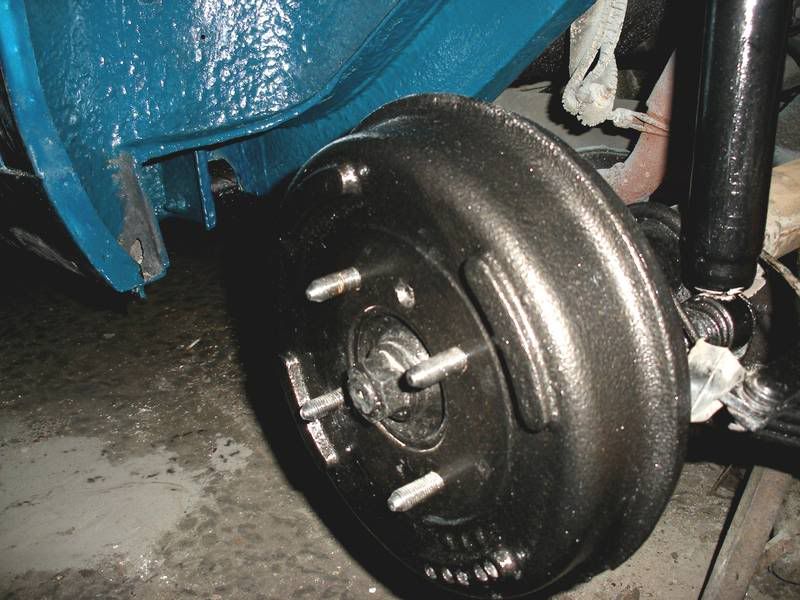
that rusty thing in the last pics is the silencer which was left in place for the time being but will be used as a template for a new one, left it there because I feared that if I took it off it would crumble up whilst doing so!!!
Also found a small hole which will be patched up later!!
the shock absorber will also be changed later when and if I find some for sale locally!!
bushes have been replaced with standard items!!
This week I am doing the front side!!
I left the underseal in place cause its really thick stuff and its this stuff that kept this car's underside so solid!!! |
|
| Back to top |
|
|
bob2
Joined: 06 Dec 2007
Posts: 1727
Location: Malta
|
| Posted: Thu Sep 25, 2008 10:27 am Post subject: |
|
|
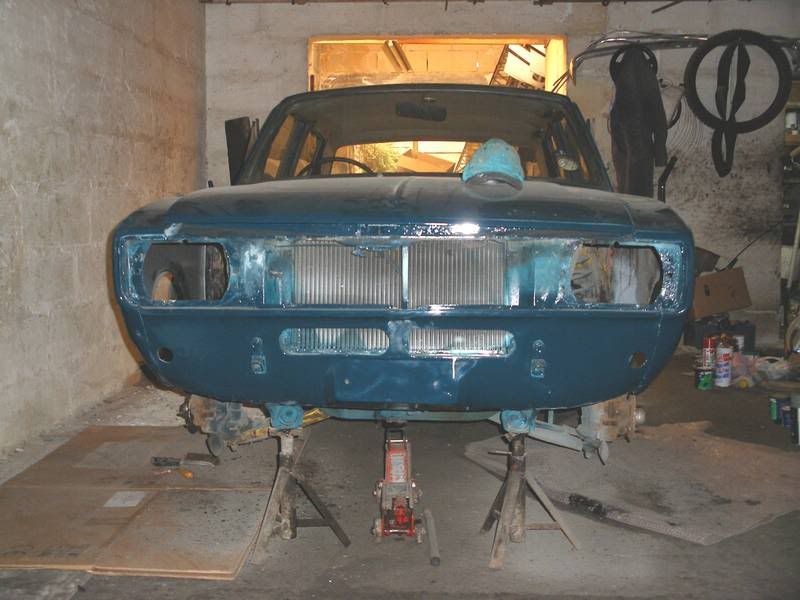
Some more updates on the Hunter, pics mostly;
As it sits at the moment
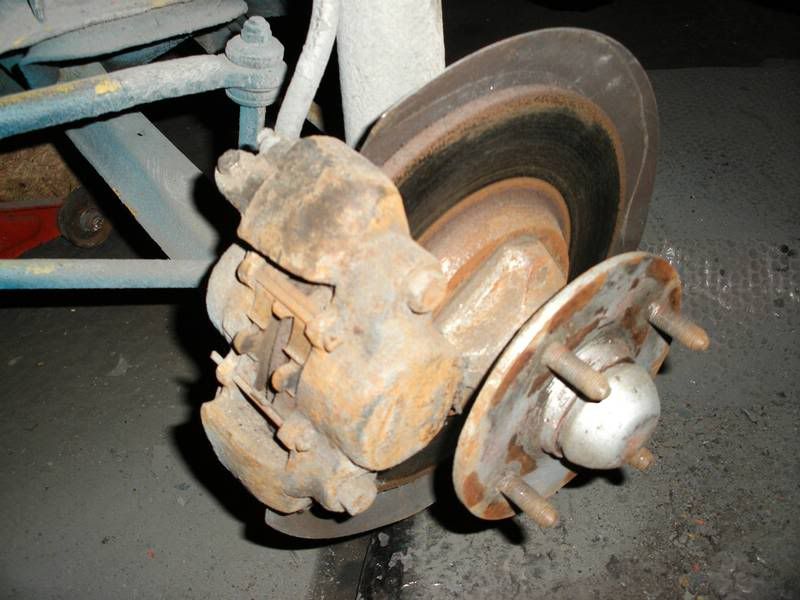
Hub assembly now dissasembled and being refurbished, will take pics when ready and fitted in place;
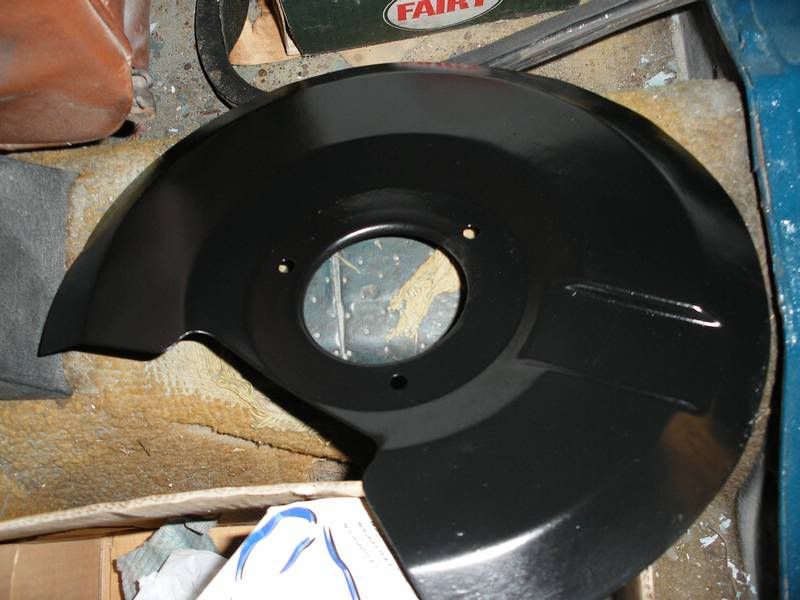
Dust cover cleaned and sprayed satin
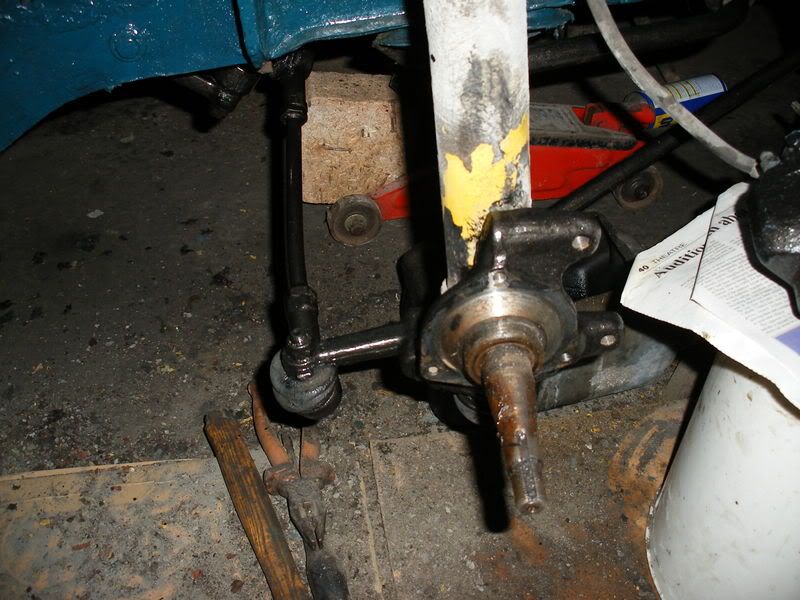
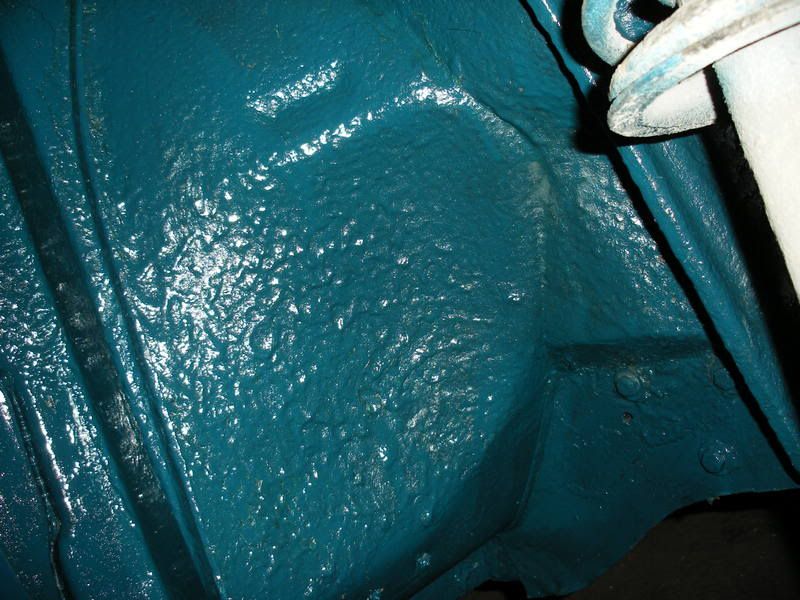
Front suspension partly refurbished
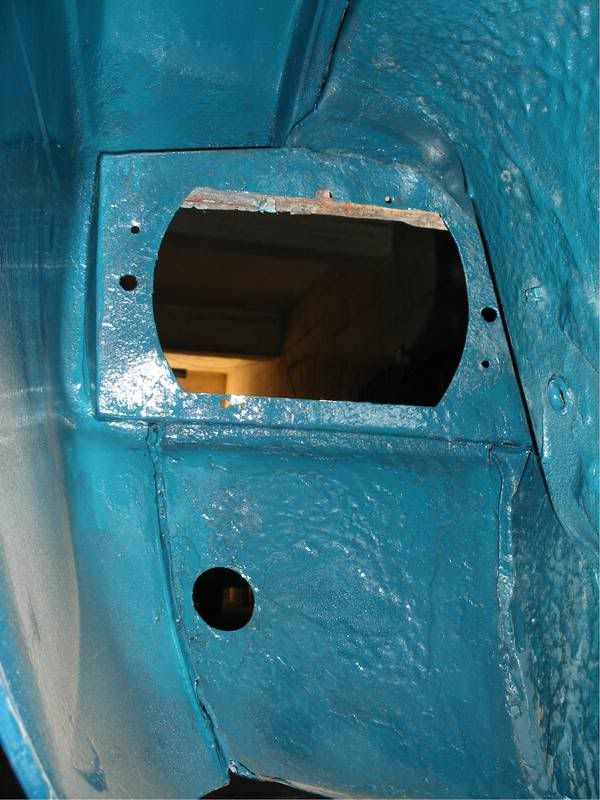
Passenger side front underside (mudguard and inner panel) before
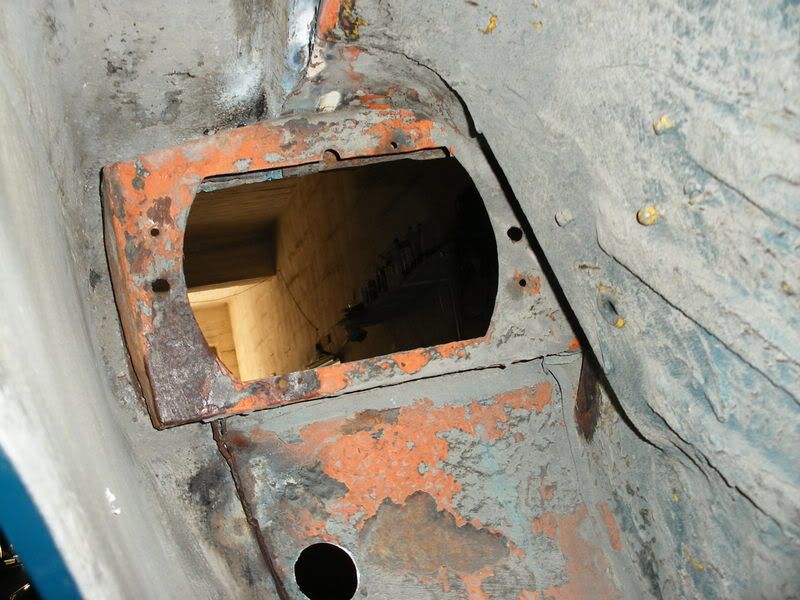
After
Thats all for now hope someone likes what I am doing not a concourse standard but its got to be usable!! |
|
| Back to top |
|
|
Rick
Site Admin
Joined: 27 Apr 2005
Posts: 22472
Location: UK
|
|
| Back to top |
|
|
bob2
Joined: 06 Dec 2007
Posts: 1727
Location: Malta
|
| Posted: Thu Sep 25, 2008 11:27 am Post subject: |
|
|
well thats what I want to achieve nothing OTT
I need to dismantle the front shocks and springs now, never done it before as I've only worked on minis!!
Will see how things go and if I m stuck will ask for help.
Should be fairly straight forward though I need to borrow some clamps to compress the springs!! |
|
| Back to top |
|
|
bob2
Joined: 06 Dec 2007
Posts: 1727
Location: Malta
|
| Posted: Mon Sep 29, 2008 9:39 am Post subject: |
|
|
Did some more work this weekend and with some help from my cousin have the shocks and springs out and both springs are already cleaned and painted satin black!!
However I cannot find how to get the damper out of the casing, I have new refills to insert and cant find the haynes manual I had bought some time ago, cannot remember where I put it!!! (must be getting old  ) ) |
|
| Back to top |
|
|
bob2
Joined: 06 Dec 2007
Posts: 1727
Location: Malta
|
| Posted: Mon Oct 20, 2008 8:48 am Post subject: |
|
|
Hi from my last update I have moved a bit in the right direction, car is back on its wheels though its resembling a 4x4 right now!!
Its on bricks, all 4 wheels so that I can start cleaning and painting the underside. (problem of not having a pit)
Will start paint stripping the underside next saturday.
In the meantime what happened is the following; put new bearings in hubs, new lower ball joints, 1 new steering outer ball joint, the others were still in good order, new dampers up front and painted everything either in balck hammerite or satin black!!
photos will be taken when all 4 wheels will touch terra ferma again.  |
|
| Back to top |
|
|
Phil - Nottingham

Joined: 01 Jan 2008
Posts: 1252
Location: Nottingham
|
| Posted: Tue Oct 21, 2008 11:02 pm Post subject: |
|
|
check carefully by breaking the taper that there is no play in the ball joint on the bottom of the front suspension leg.
I had one pop out travelling round a roundabout, there was no play evident at the MOT six moth ago or no signs after. The wheel tipped and bent the front wing and all steering was lost. I walked back home and removed one off anothe Hunter I had and replaced it at teh side of the road in 10 mins so I could drive it home
I later checked the other side and this was rusty and slightly loose
_________________
Rover P2
Rover P4
Rover P5 & P5B
Land Rover S2 & S3
Morris Mini Traveller Mk2 |
|
| Back to top |
|
|
bob2
Joined: 06 Dec 2007
Posts: 1727
Location: Malta
|
| Posted: Wed Oct 22, 2008 7:52 am Post subject: |
|
|
ok thanks phil, I will be checking every bolt/nut that I have dismantled at the end, however I have used all new parts so there shouldnt be any problem with rust and having sanded every part down, treated with rust converter and then painted with primer, hammerite or satin black should see it through ok hopefully.
The only part I need cause I dont have is the steering box, I have a little play in mine and was thinking of fitting a good one and in the meantime rebuild the original one it has!!
Also need 2 overriders and the front badge with the 3 spires situated on the grill!! |
|
| Back to top |
|
|
|


