|
|
| Author |
Message |
giz
Joined: 27 Jul 2011
Posts: 35
|
 Posted: Mon Sep 19, 2011 11:53 am Post subject: Posted: Mon Sep 19, 2011 11:53 am Post subject: |
 |
|
| thanks for the info, can you still get the compound or is there a similar product on the market? |
|
| Back to top |
|
 |
exbmc
Joined: 18 Jun 2009
Posts: 236
Location: Derby East Midlands
|
| Posted: Mon Sep 19, 2011 9:10 pm Post subject: Allegro |
|
|
| I don't know if anti-chip is still used by any oem's, these days. I would expect something like it is still available. It was not a rubber underseal, but we applied it with a brush, like underseal. When dry, it was more like the weatherproof side of roofing felt! You then applied the body colour, and any flying pebbles would dent it but not break the paint. |
|
| Back to top |
|
|
giz
Joined: 27 Jul 2011
Posts: 35
|
| Posted: Mon Sep 19, 2011 11:00 pm Post subject: |
|
|
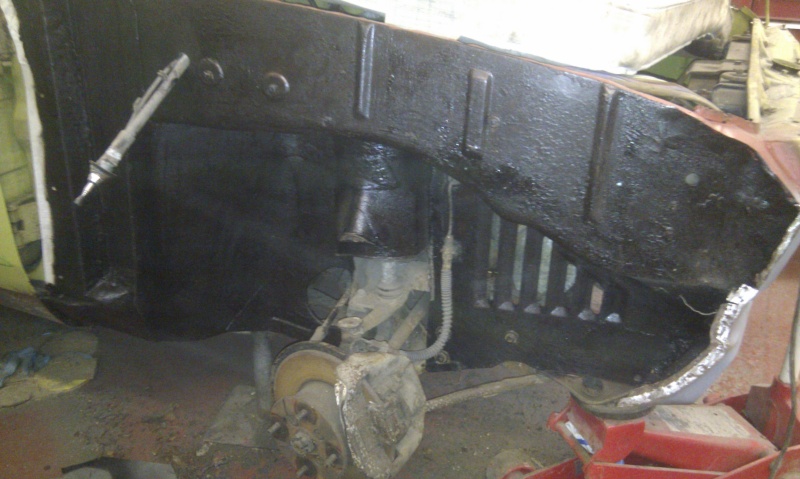
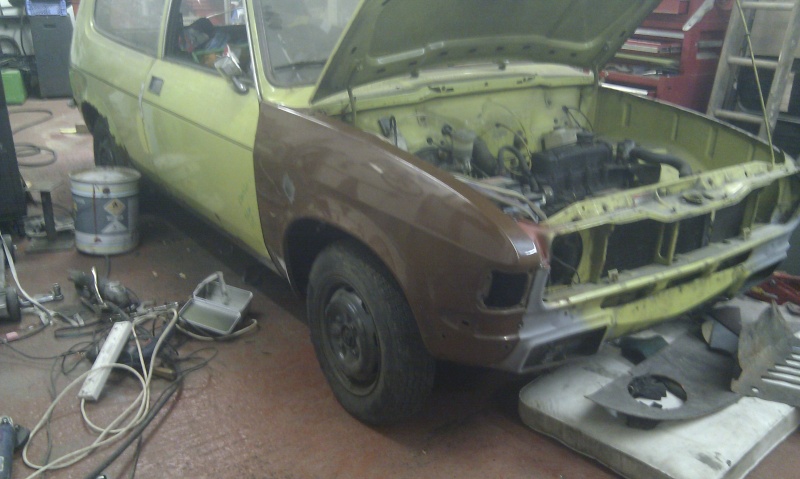
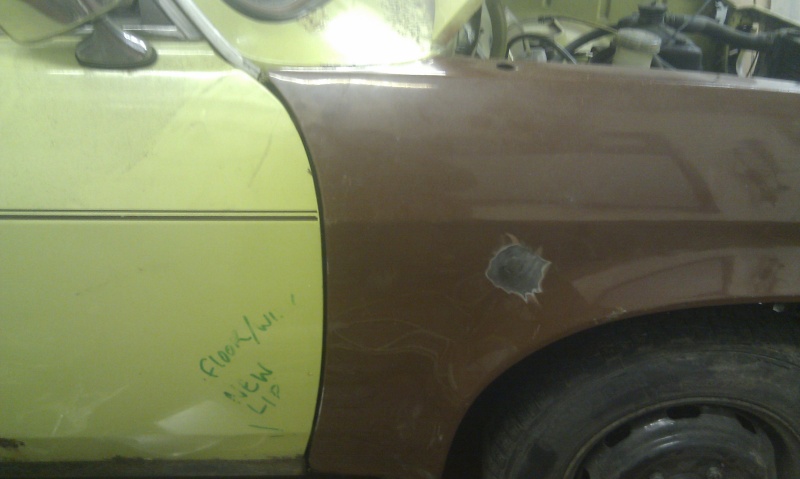
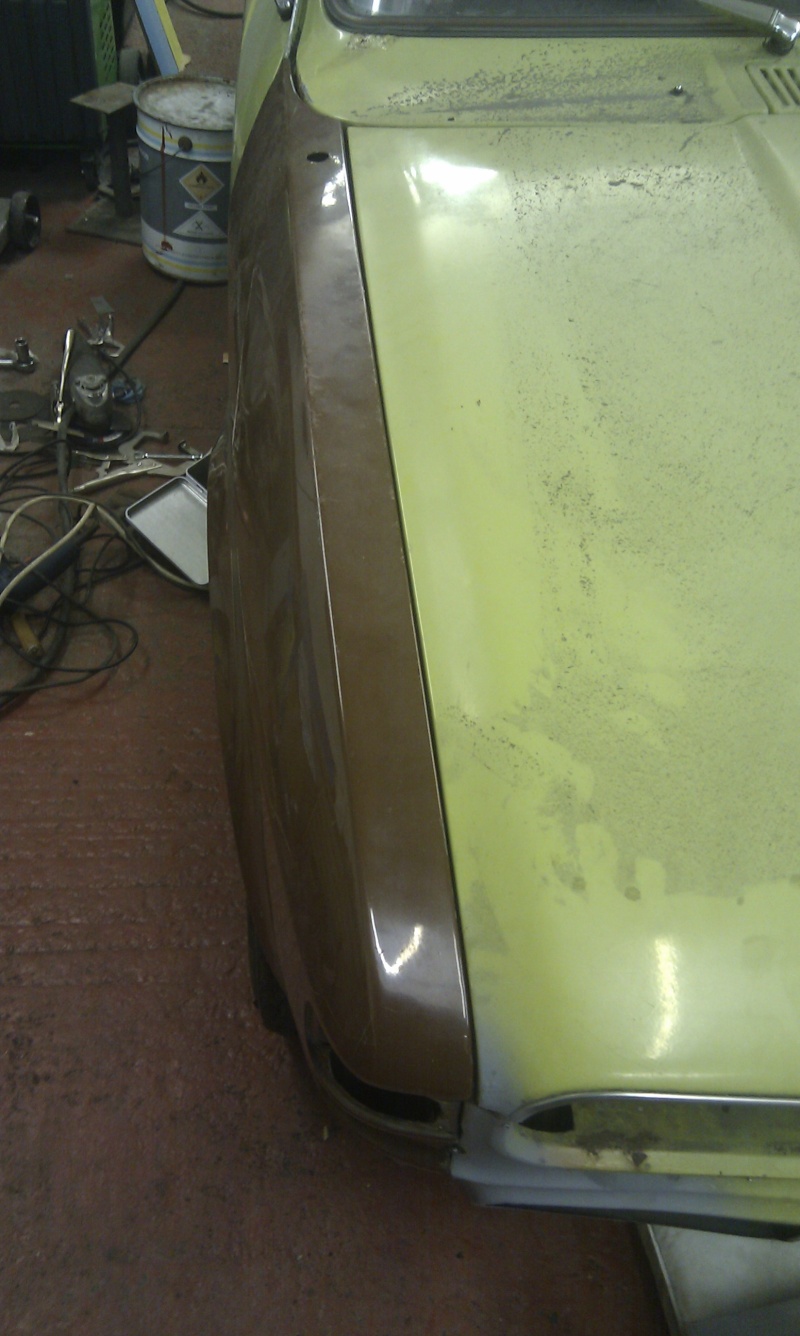
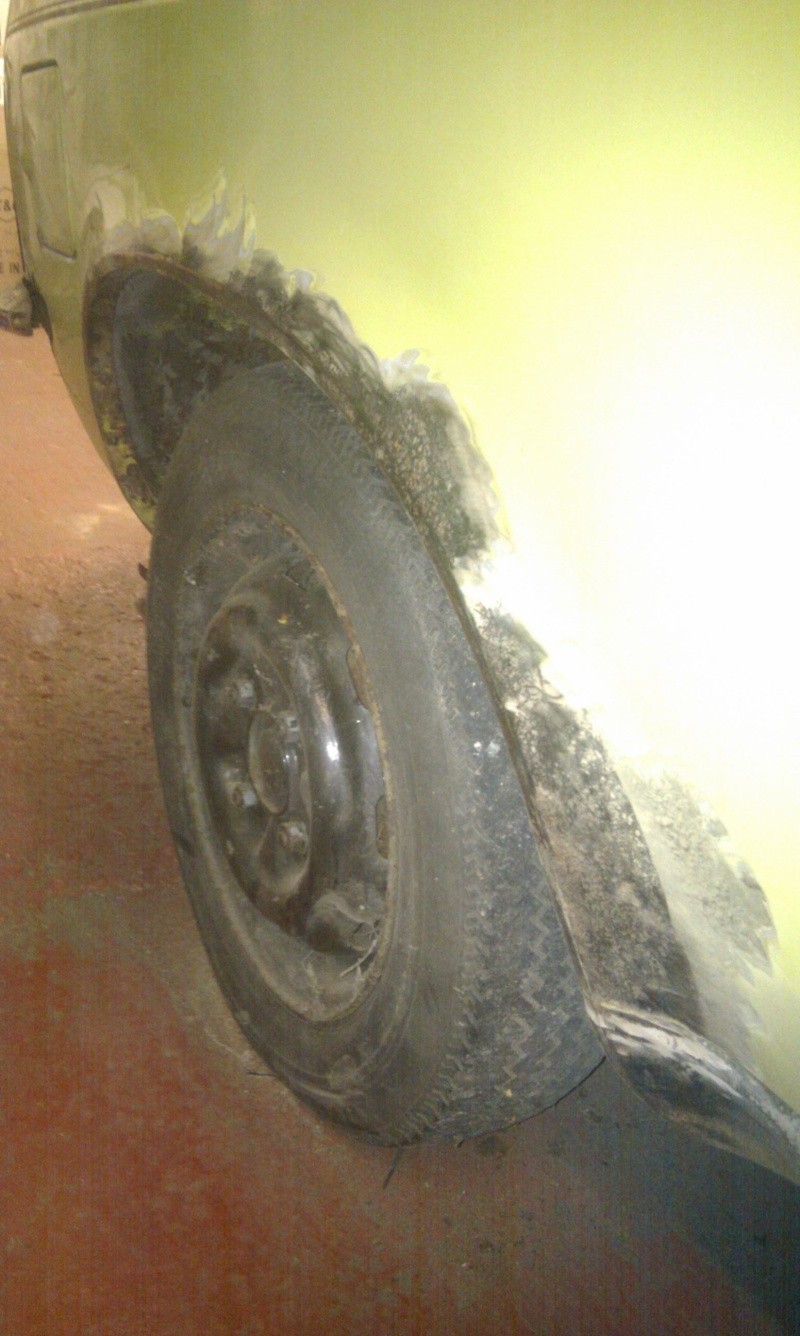
i managed to find some paint able under seal from the local factors which also goes on with a brush.
i'm very pleased with tonights progress, the o/s inner wing is now 100% rust free (wheel side at least).
the welding is now finished, ground and painted, i have also cleaned up the inside of the replacement wing and got it almost completely fitted.
all that is left to do is finish welding to the front panel and sill and i can move on to the n/s.
a few pictures.....
 |
|
| Back to top |
|
|
exbmc
Joined: 18 Jun 2009
Posts: 236
Location: Derby East Midlands
|
| Posted: Tue Sep 20, 2011 8:26 pm Post subject: Allegro |
|
|
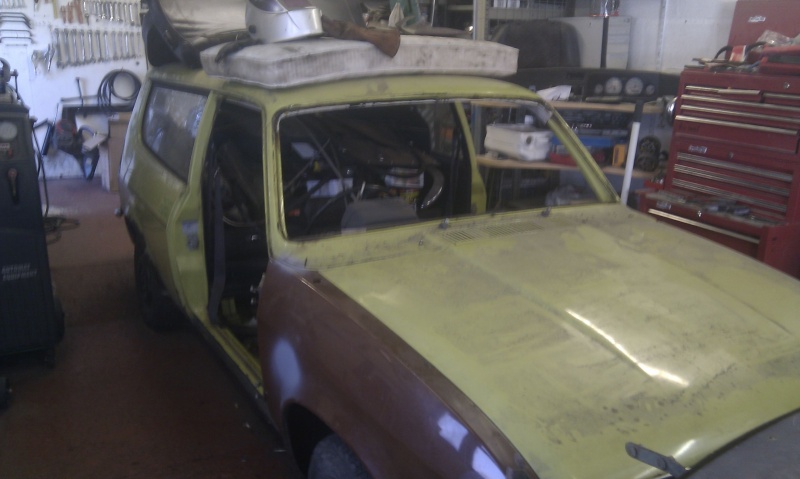
| Yep, she's coming on Giz. The steering and suspension looks a bit "crusty" in the pictures. While it's normally quite robust, and the steering swivels are easy to overhaul, there is one spot that often goes unnoticed. The tie bar from the bottom arm, can pull through it's front mounting under braking. It's well worth having a look at the hole size, the bushes, and for corrosion of course. The front mount is only held on to the "chassis" with three or four 10mm bolts so is easy to fix if you have to. |
|
| Back to top |
|
|
giz
Joined: 27 Jul 2011
Posts: 35
|
| Posted: Tue Sep 20, 2011 8:53 pm Post subject: |
|
|
| thanks for the advice, every thing that can be removed will be and either repaired or replaced during the resto including the chassis which needs a small amount of welding. |
|
| Back to top |
|
|
alan 869

Joined: 07 Mar 2011
Posts: 388
Location: Linköping Sweden
|
| Posted: Wed Sep 21, 2011 7:48 am Post subject: |
|
|
Great job! Always liked the estate. The winter of 78/80 I got a lift from a finnish guy I´d been chatting to on the boat from Tilbery to Gothenburg. We set off from Gothenburg to Stockholm late afternoon in lots of snow and -15C. The car behaved with no probs at all, even the heater worked. He had snow tyres on it. It was a -middle- blue Allegro estate from 77 I think. It was his company car and he´d been to meetings in London. He dropped me off in Stockholm where I was living and then got the ferry from Stockholm to Helsinki.
Do you fancy a new right hand front blinkers  |
|
| Back to top |
|
|
giz
Joined: 27 Jul 2011
Posts: 35
|
| Posted: Wed Sep 21, 2011 10:20 am Post subject: |
|
|
thanks for the offer, i was lucky enough to buy a barn clearance of allegro parts so i have most of the parts i need.
if anyone does have any parts i do need the following:
rear mud flaps with BL logo
navy blue carpet
navy blue front head rests
navy blue door seals
and a set of floor pans would be nice
rear wiper motor
Last edited by giz on Wed Sep 21, 2011 3:10 pm; edited 1 time in total |
|
| Back to top |
|
|
giz
Joined: 27 Jul 2011
Posts: 35
|
| Posted: Wed Sep 21, 2011 3:09 pm Post subject: |
|
|
i squeezed in 2 hours down the garage today, the spare parts/tools/rubbish was piling up in the back of the estate so pull pulled everything out and had a quick tidy.
then to make some room i unbolted the drivers seat but had to cut one stubborn bolt in half.
then as the rust was exposed i started making a repair panel for the front drivers side floor pan.
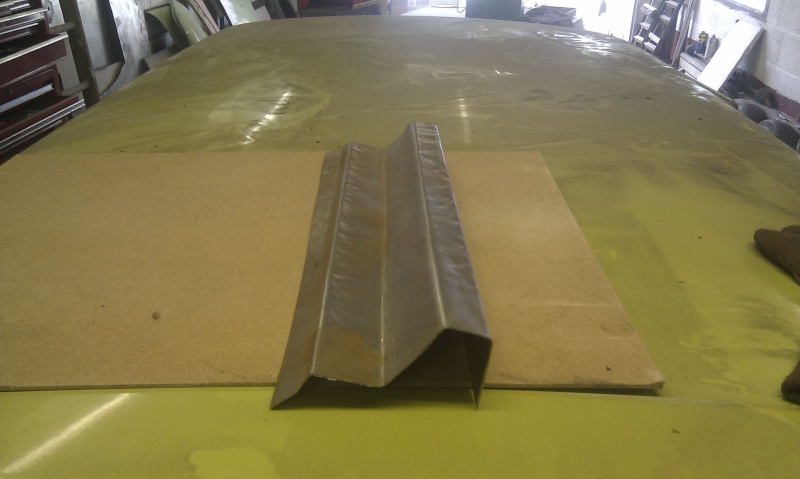
the angles aren't quite right yet but it shouldn't take too much work to be able to fit it.
after that's done i can move on to the seat mount
 |
|
| Back to top |
|
|
giz
Joined: 27 Jul 2011
Posts: 35
|
| Posted: Thu Sep 29, 2011 10:05 am Post subject: |
|
|
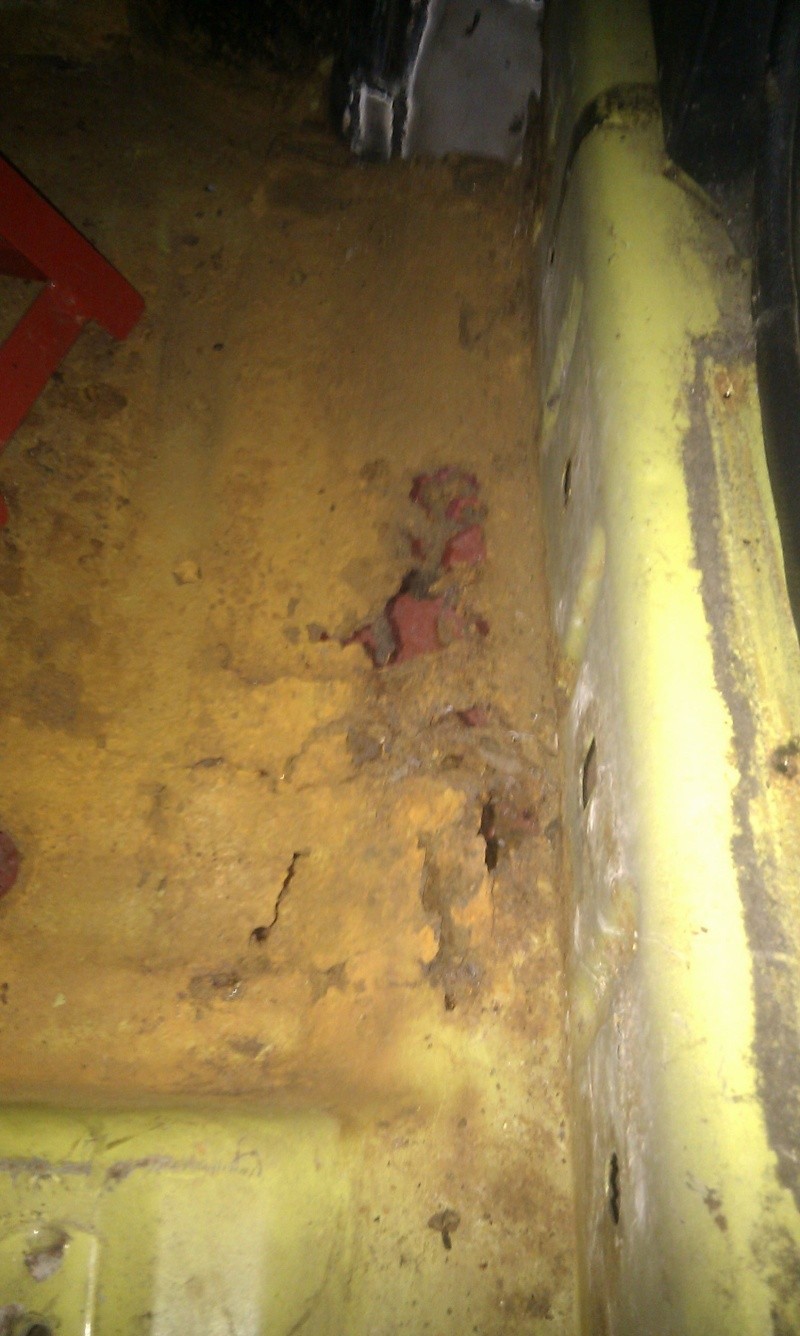
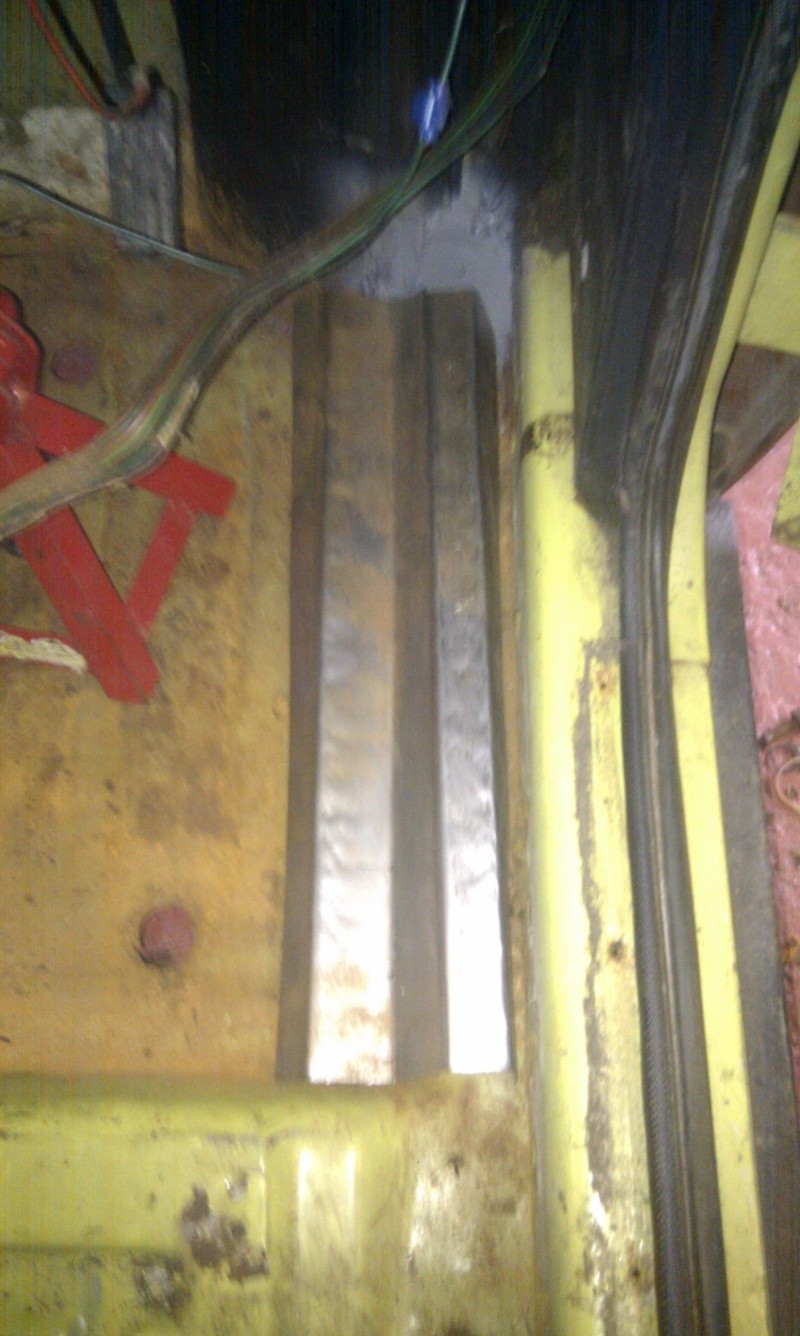
last nights progress.......
in have finished repairing the front drivers floor and i'm pleased with the way it looks.

i've got 2 patches to finish off in the rear and i think i'm going to have to start a full strip down so that i can roll the car onto it's side and give the underside the same treatment.
since the chassis also needs some attention i can do that at the same time. i really didn't want to have to roll it over but it's necessary i think since the floor pans are double skinned and the bottom skin is very very rotten  |
|
| Back to top |
|
|
Scotty
Joined: 23 Nov 2007
Posts: 883
|
| Posted: Thu Sep 29, 2011 7:59 pm Post subject: |
|
|
Just a small point which has just come to me when you mention you might roll the car over -
I seem to remember dire warnings in the handbook that owners must use the marked jacking points as anywhere else would cause damage to the shell. Now I don't know how or why it would, but BL felt it important enough to raise it in big print.  |
|
| Back to top |
|
|
giz
Joined: 27 Jul 2011
Posts: 35
|
| Posted: Thu Sep 29, 2011 8:33 pm Post subject: |
|
|
wasn't that due to a few front windscreens popping out! the screen will be out before i roll it so i'm sure it will be fine  |
|
| Back to top |
|
|
Scotty
Joined: 23 Nov 2007
Posts: 883
|
| Posted: Fri Sep 30, 2011 7:35 am Post subject: |
|
|
| It may very well be giz - at least I have an answer now to many many years of wondering! |
|
| Back to top |
|
|
giz
Joined: 27 Jul 2011
Posts: 35
|
| Posted: Fri Oct 07, 2011 8:09 am Post subject: |
|
|
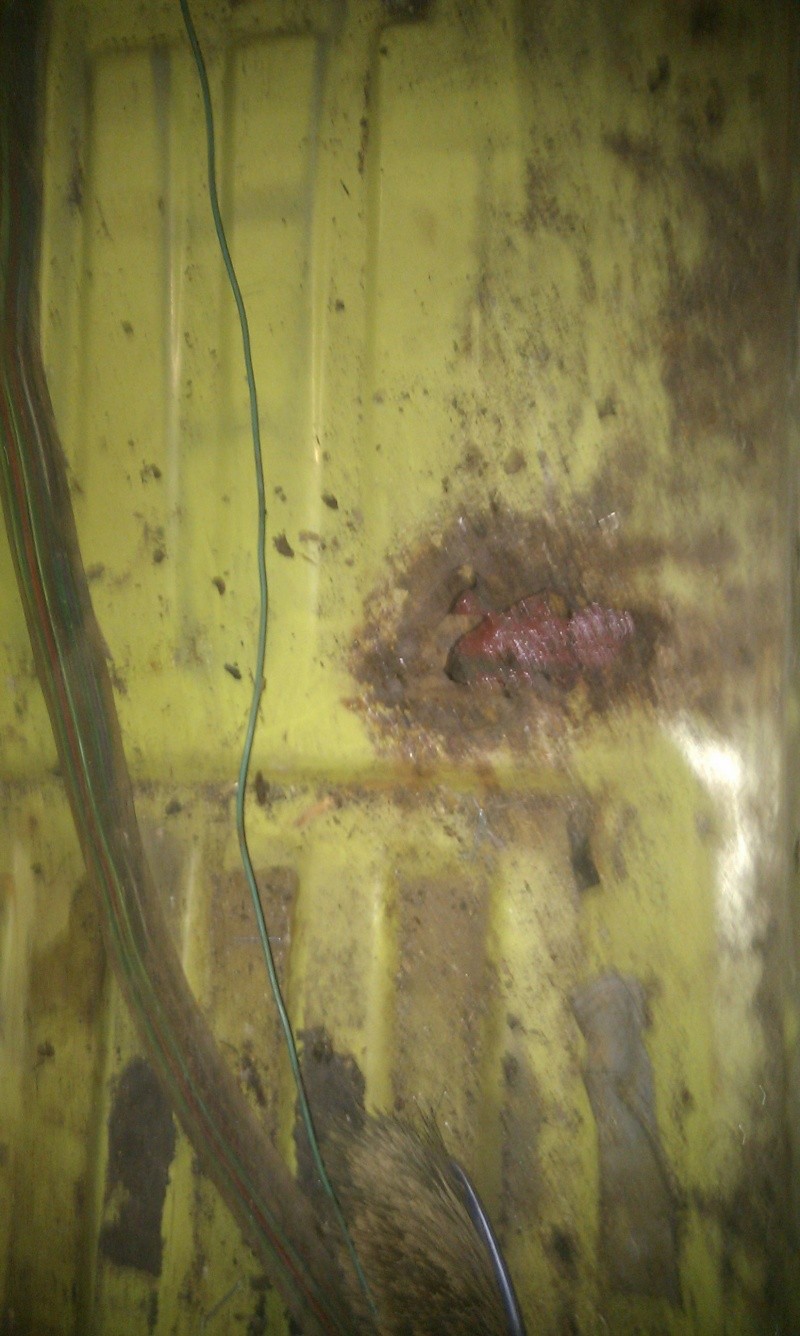
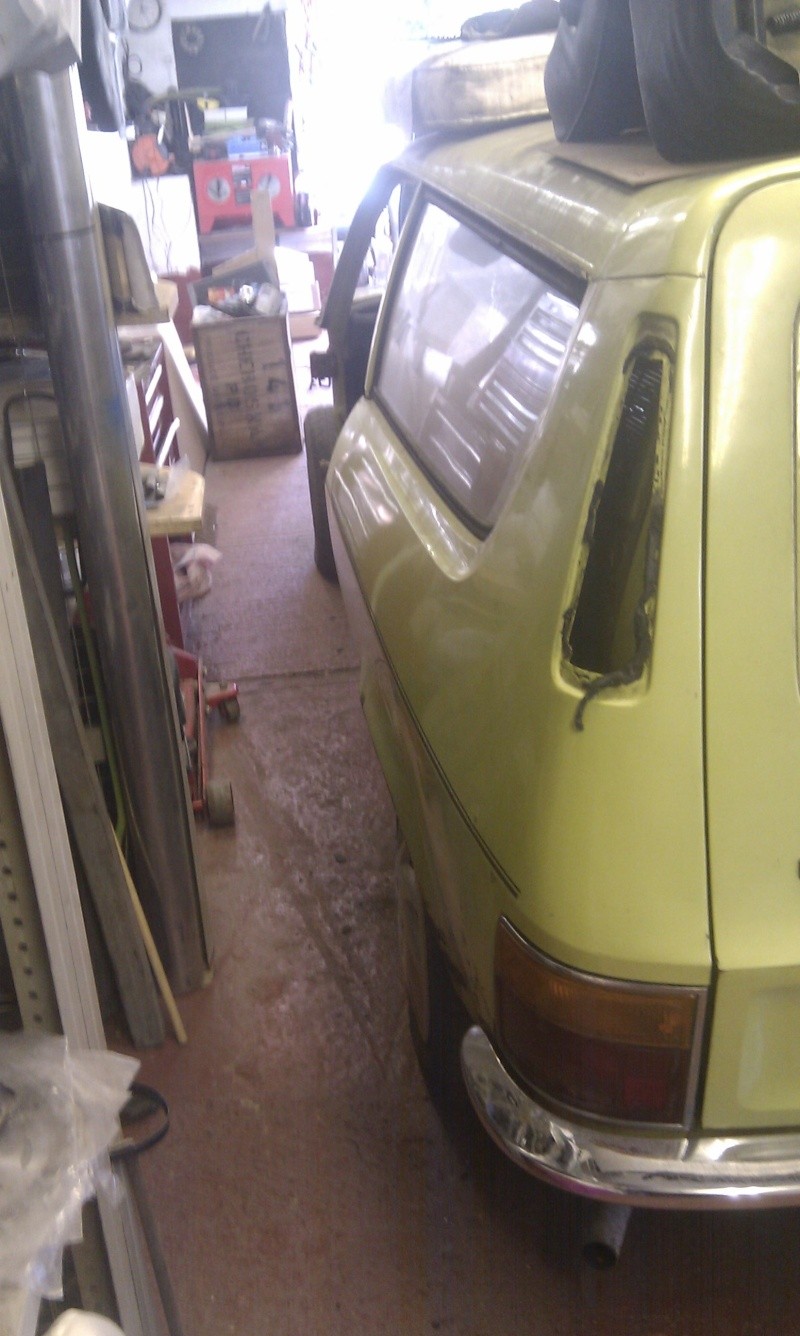
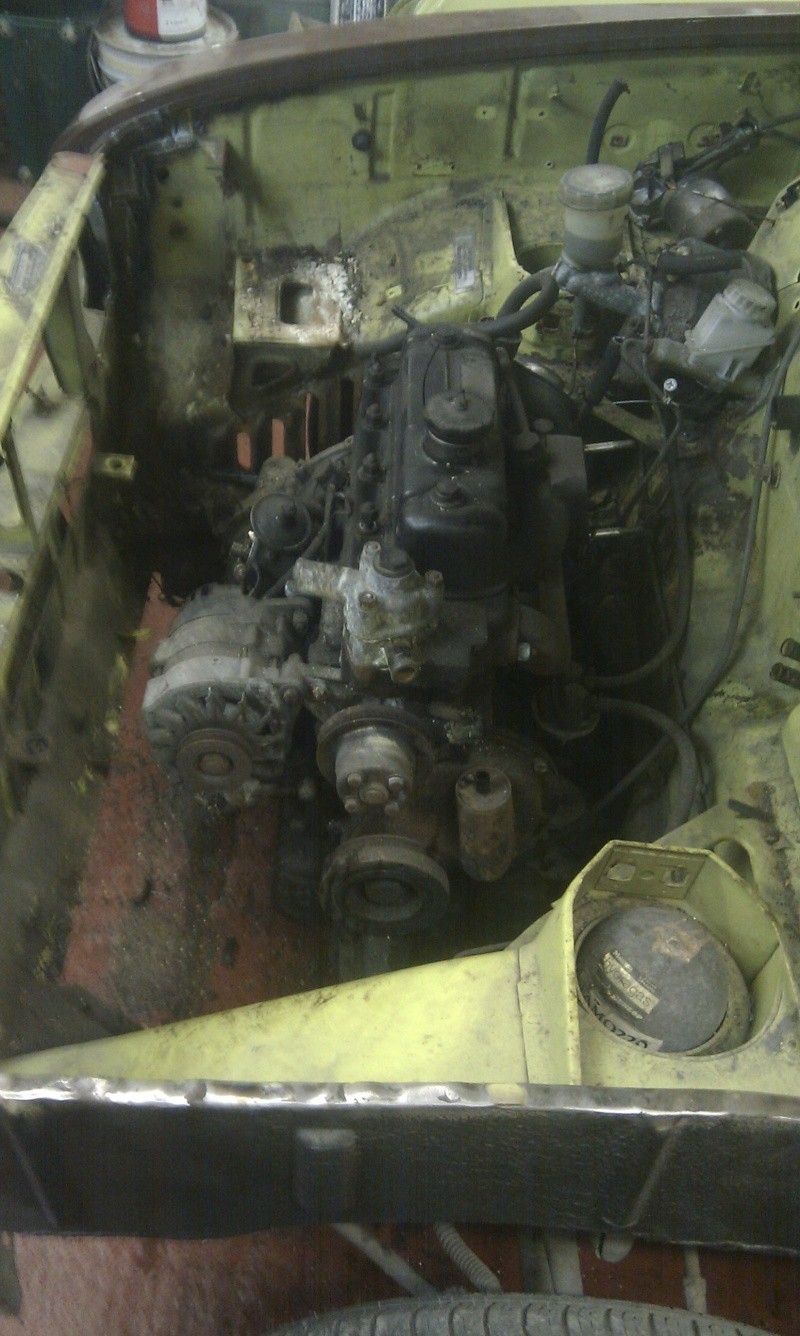
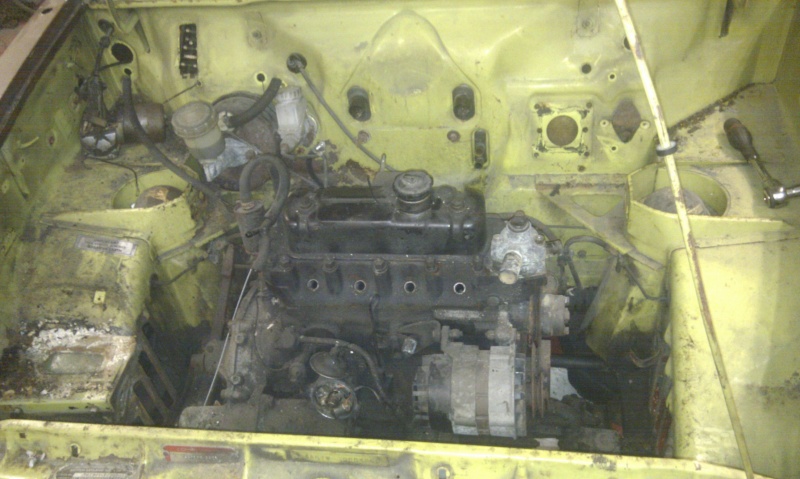
the strip down has begun! i'm at a point now where i need more space, everything i have removed from the car is being put inside the car and i can't go any further until i find some where to put it all
the rear drivers floor has had a few patches in the mean time.
i have also removed the surface rust on the rear arch where i have found my second bit of filler, the first being in the drivers foot well! the arch is in pretty good condition, much better than i was expecting.
pictures of the strip down
yesterday i sent off my £5 postal order along withh a v888 to the dvla, hopefully what should come back is details of the former keepers, british leyland being the first and mr norwood being the second. as i all ready know who they were some might ask why i've bothered but having an official document confirming leyland as the original owners is the idea behind it. i'm also hoping they will be able to copy any other documents for me such as old v5's which they used to do but as everything is electronic now i doubt it.
Whilst i was at it and going to the post office anyway i decided i would write a letter addressed to the family of mr norwood, i have asked nicely if they can give me any more information, photos, memories etc and included a note pad, pen and sae. i have no idea if the family still live there but fingers crossed! |
|
| Back to top |
|
|
JC T ONE
Joined: 30 Oct 2008
Posts: 1139
Location: Denmark
|
| Posted: Wed Oct 12, 2011 1:41 am Post subject: |
|
|
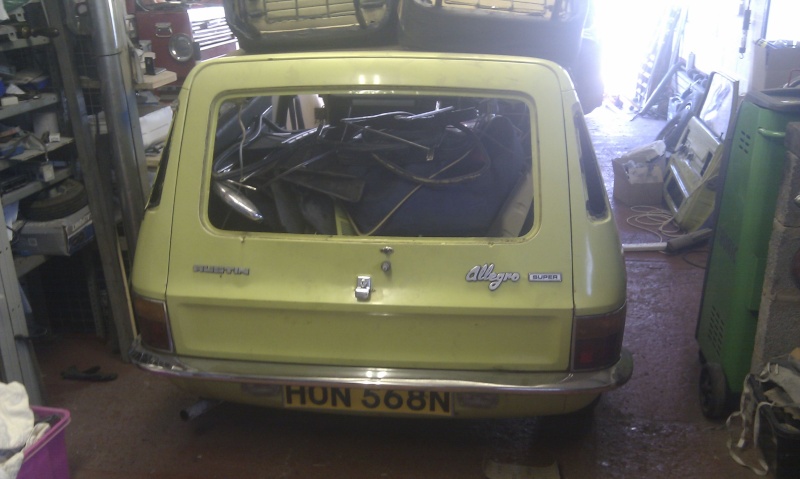
Great stuff there  well done of you, to save this early BL press car. well done of you, to save this early BL press car.
Saw there were NOS genuine hoseclamps in your spares  and your car still had its original ones fitted, and your car still had its original ones fitted,
so you can sell the spare ones, on "Fleabay" and get some of your money back
NOS BL / BMC parts sell for nice prices on the bay.
Nice with the original BL brochure
keep up the good work.
Jens Christian
_________________
http://www.eurods.eu/wp/index.html |
|
| Back to top |
|
|
giz
Joined: 27 Jul 2011
Posts: 35
|
| Posted: Wed Oct 12, 2011 8:10 am Post subject: |
|
|
oh yes well spotted!
just after i bought the car i bought a barn clearance of allegro spares so i can't remember what i have! although any nos i have will be going on the car rather than selling it on. besides it didn't cost a huge amount of money in the first place |
|
| Back to top |
|
|
|


