|
|
|
Restoration work continues on the truck's bodywork. |
|
|
Restoration Part 32. Click here to return to the main Dodge lorry restoration page. Part of oldclassiccar.co.uk. Contact page. |
|
|
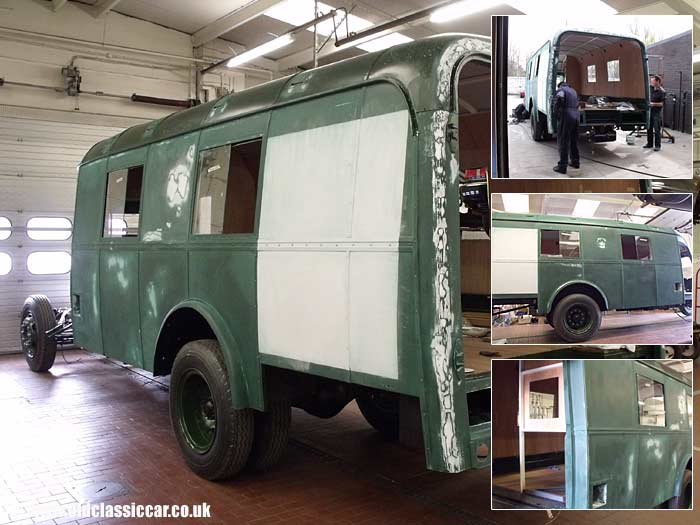
The end of March saw the main bodywork receive its first coat of green undercoat, the fourth coat of paint to be applied to the truck. Each coat uses approximately 5-6 litres of paint - firstly there was a coat of etch primer, following by two coats of a white/grey undercoat, then it was the turn of the first green undercoat. Before the next layer of green could be applied, the whole truck had to be flatted off, and extra remedial work undertaken as required. This took most of April and May, although work on the Dodge has had to fit in around other projects more pressing in the workshop. To assist with the fettling I spent a few more days helping out. By the end of May, the second layer of green undercoat was beginning to be applied. Will it see completion in 2010 - its 70th year? |
|
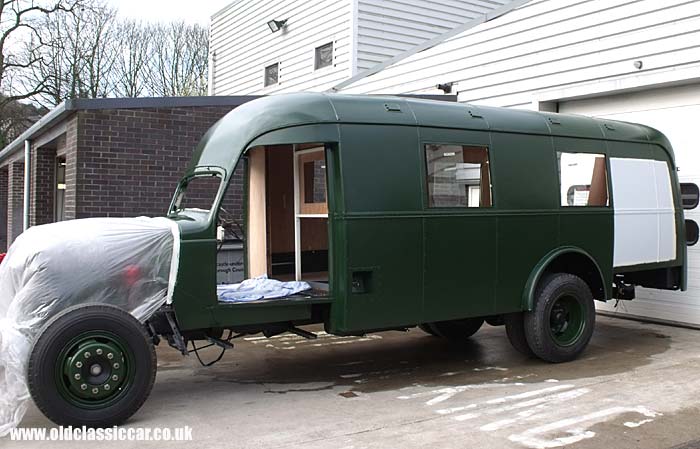
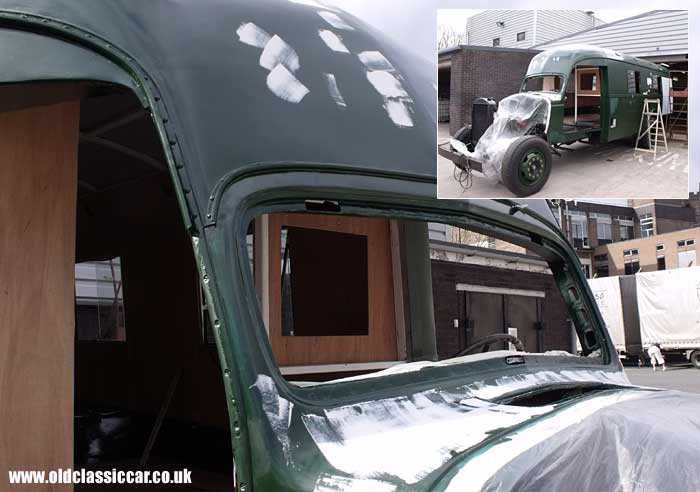
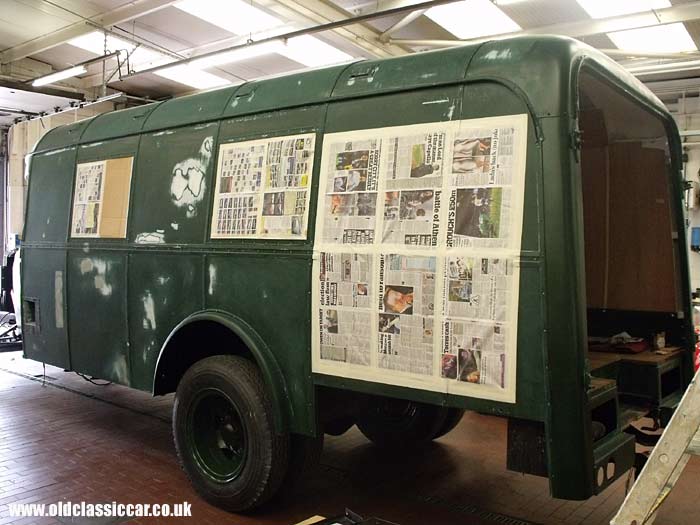
| With the first green undercoat fully hardened off, the Dodge's coachwork could now be prepared for a second coat. This would require an epic amount of sanding, flatting, and localised rectification work. As it's a dusty job, whenever possible the old girl was pushed outside before flatting off could start for the day. Seeing it painted and outside in the sun, rather than in the workshop, seemed like a great step forward somehow. |
|
| Another shot of the Dodge outside. |
|
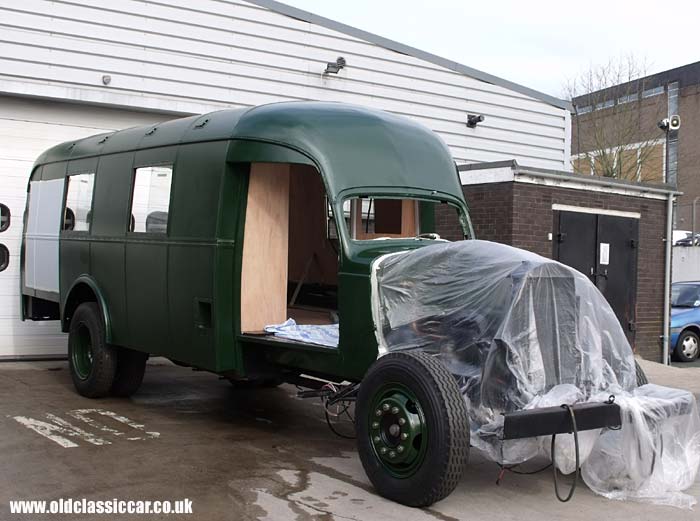
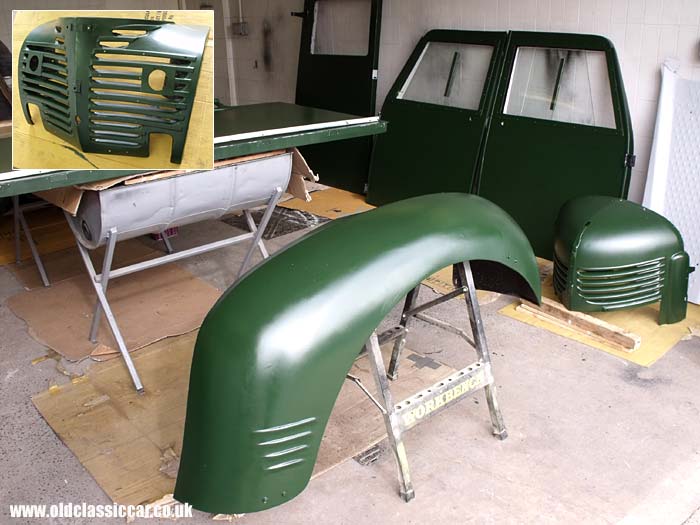
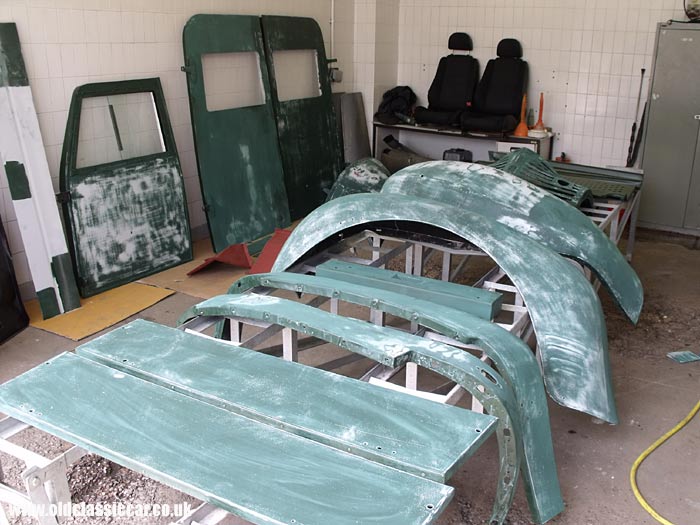
| The wings, bonnet and doors had also received their first coat of green by this time, and they too would need flatting back. |
|
| The panel above the screen is the original from 1940/41, and as such needed some stopper to bring the surface up to the required standard. Same for the scuttle, both of which can be seen in the above photo. |
|
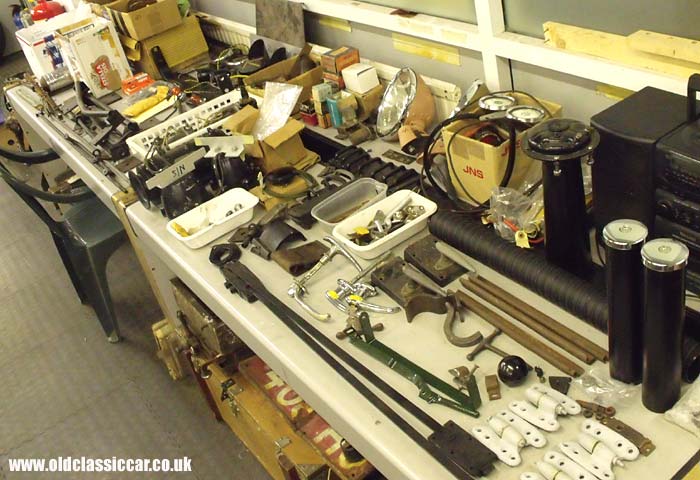
| I spent one morning sorting out all the loose parts, boxing up old parts that would no longer be required, and organising those bits and pieces that are yet to be fitted. The fuel filler necks, bought off ebay in the US, are seen here fitted with new locking caps sourced from elsewhere in the States. The Marchal lamps, fitted by Dennis Poore in the early 1950s, can also be seen, ready for paint and fitting. |
|
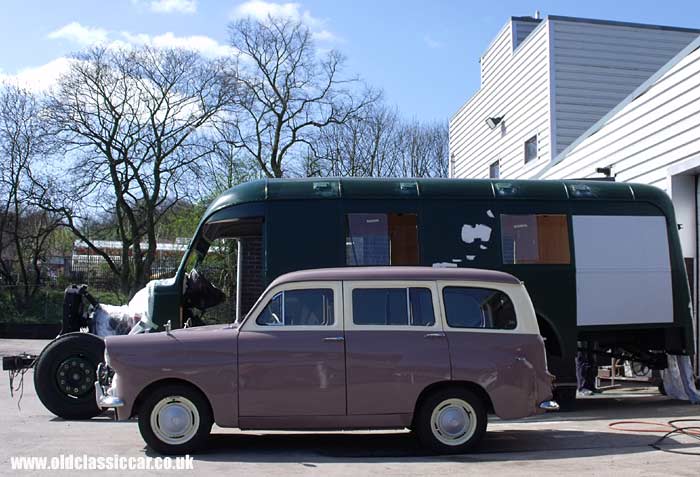
| The Standard 10 Companion is my daily runabout, and is seen here on one of the days I spent at the 'shop helping to move the project along a bit. |
|
| By late April, most of the coachwork had been flatted back as required. The more time spent getting this stage right, the better the final finish should be. |
|
| The loose panels needed more flatting back than the main body, so will probably end up receiving a further coat of green just to build them back up again. |
|
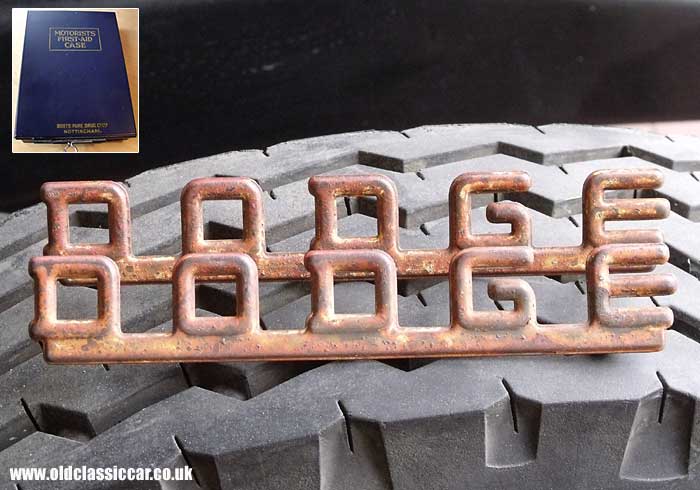
| All the while that work continues on the truck, time is spent behind the scenes sourcing more parts that will eventually be needed. One thing I've been trying to find is a good set of bonnet badges. Hunting around online in the US for "hood emblems" brought up some used chrome badges, but invariably these were in a pretty poor condition, often missing studs and usually with a pickled finish. When I landed upon this set of badges, they were swiftly purchased. These particular badges were never chromed. Around 1944 Dodge produced "black-out" spec trucks, and all items of brightwork were either removed, or painted in a dull finish, even down to instrument surrounds and grille trims. These two DODGE emblems were off just such a truck. The plan is to gently buff them, and powdercoat them in satin black so that they look smart yet don't stand out too much. Hopefully they'll look a lot better than a tired set of 60-70yr old chrome examples. The only downside was waiting for their arrival - due to the volcanic ash drifting over from Iceland, and the impact on international flights, they took over two months to arrive in the UK! |
| The Motorists' First Aid kit, an original item from the 1930s or 1940s, turned up in April and will be fitted to the partition behind the driver's seat. |
|
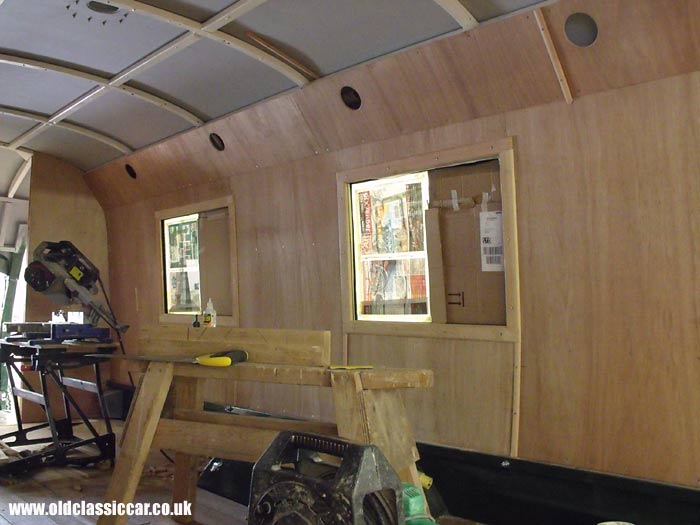
| In mid-May the remainder of the interior woodwork, in the back at least, was completed. This involved trimming and installing the newly-made inner window surrounds, fitting the final few sections of interior panelling, and then cutting and fitting the beadings as required. The centre of the roof remains un-covered, and will - along with all the wood panelling - be painted white, as per original. Only once this has been done can the brass air vents be re-instated. |
|
| The next coat of undercoat is imminent, and the windows have been masked out again in preparation for this stage. |
|
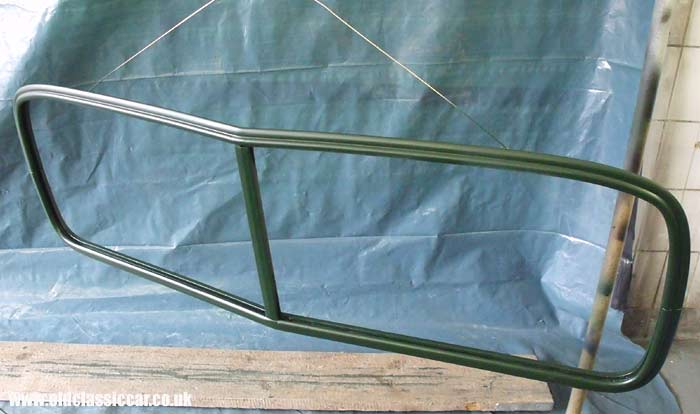
| The windscreen frame received some attention in May. New screws were sourced, and the threads re-tapped before the two halves were re-united. A separate small piece of trim attaches to the outside of the central vertical strip, and will be re-fitted shortly. |
|
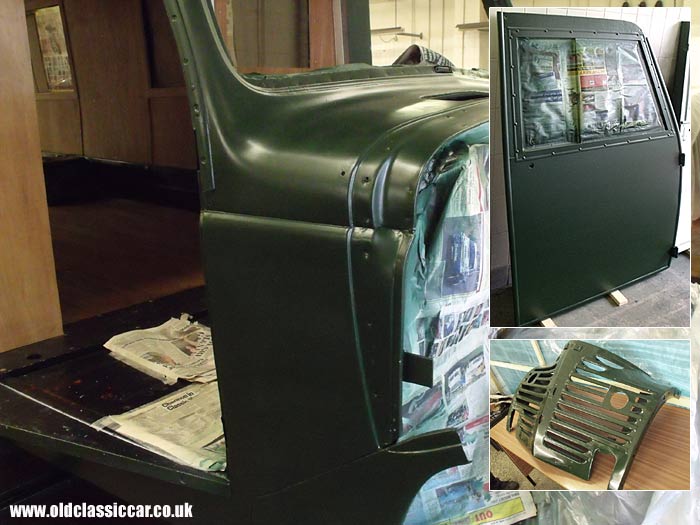
| As May drew to a close, the application of a second green undercoat began at VHC's workshop. Shown here is the scuttle, one of the four doors now in their fresh coat of paint, and also the front nosecone (lower section). Slowly but surely the panelwork is approaching a level of finish suitable for top coats to be applied, something that may take place during June 2010. |
Transport Trust Award.In 2009 a Restoration Award from the Transport Trust landed on the doormat as, following an inspection of the truck, they deemed its restoration to be suitably interesting and worthy of support. Although I'm not able to attend the official ceremony in June this year, their enthusiasm for the project and this recognition from a national charity established to support preservation in the UK, was both welcome and unexpected. Details of the Trust's objectives, and some of the other restorations they've supported in previous years, can be found on their website. |
|
Return to the Dodge lorry restoration page for more info on this rebuild. Previous Page: Part 31 - Painting the lorry in undercoat begins. Next Page: Part 33 - More paintwork and under-bonnet assembly |
|
|

Custom Search
|
 |
| Old Classic Car (C) R. Jones 2026. Content not to be reproduced elsewhere. |
| Website by ableweb. |
| Privacy Policy, Cookies & Disclaimers |